Due to the important role pictures play in terms of memory and aesthetics, would it not be cool to capture those moments in the most visually-appealing way possible? Well, photo editing can make that happen.
Editing your pictures can take them from basic to extraordinary. The right photo editing apps can enhance the colors, lighting, and composition of your pictures right from your phone. But how do you make any of that possible if you have little to no editing experience? Let us help you with that.
In this article, we’ll provide a close look at how you can begin editing your photos on your phone. Whether you want to edit photos professionally or just for fun, this guide will give you the tools you need to begin.
Choosing the Right App
The first step to editing photos on your mobile phone is choosing the right app. Here are a few popular photo editing apps available on mobile:
Adobe Lightroom

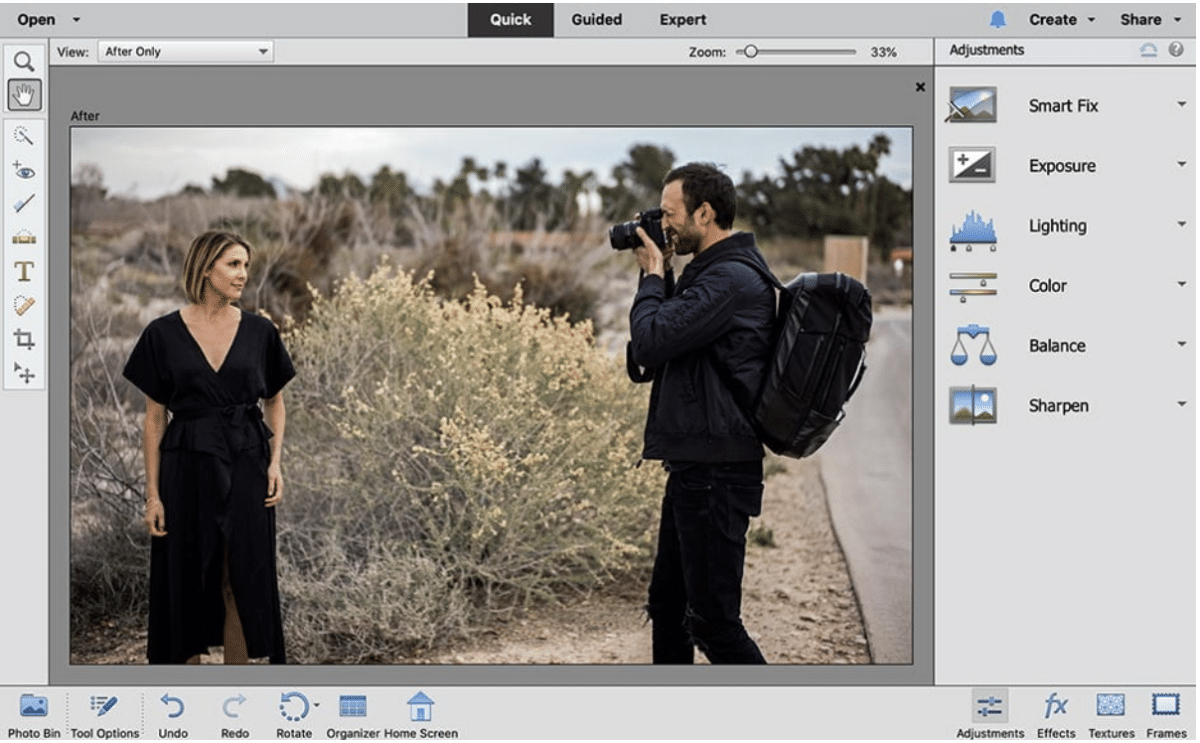
Adobe Lightroom offers users editing tools that they can use to retouch, crop, and enhance their photos with ease using detailed effects and broad color adjustments. The app is free to use, although there is a premium monthly subscription that unlocks access to the full range of tools. The premium version includes advanced geometry, healing, and masking tools, as well as many professional presets.
VSCO
VSCO provides basic editing tools like contrast, brightness, saturation, exposure, and temperature correction. It is popular for its trendy filters and many presets to choose from. VSCO is a free app but would require a membership to access other features like video editing and more presets.
Snapseed

Owned by Google, Snapseed offers basic and advanced editing tools and balances well between simplicity and in-depth editing. 30+ tools and filters are available including healing, brush, structure, HDR, and perspective correction features. Other impressive features available on Snapseed are the Selective Adjustments, Expand tools, and the ability to edit RAW files.
Afterlight
Afterlight offers a wide range of editing tools, including precise editing tools, such as hue, saturation, and color adjustment. The app also has a collection of presets, filters, adjustment tools, and overlays. Afterlight offers RAW image support and other tools, such as light leak, double exposure, fusion, and film grain. The app itself is free, but you’ll have to pay a one-time fee for its premium features.
When choosing an app for photo editing, consider your editing needs and your budget. There would be no need to pay for a premium subscription if you only need basic editing tools and features. It’s also important to choose an app with a user-friendly interface to make the editing process easier and more enjoyable.
Basic Editing Tools
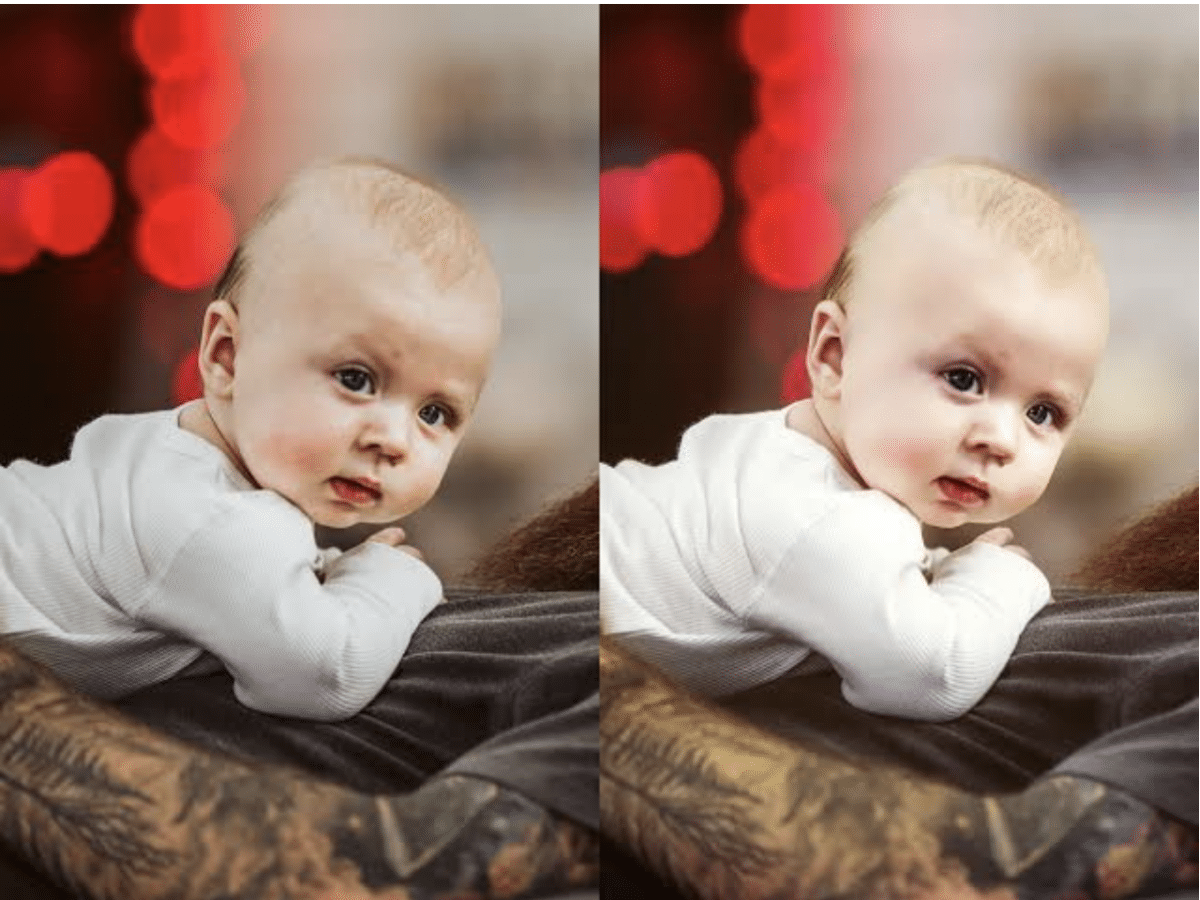
Basic editing tools are the most commonly used tools in photo editing. These tools include brightness, contrast, saturation, and sharpness. Here’s a closer look at each one and how to use it:
Brightness
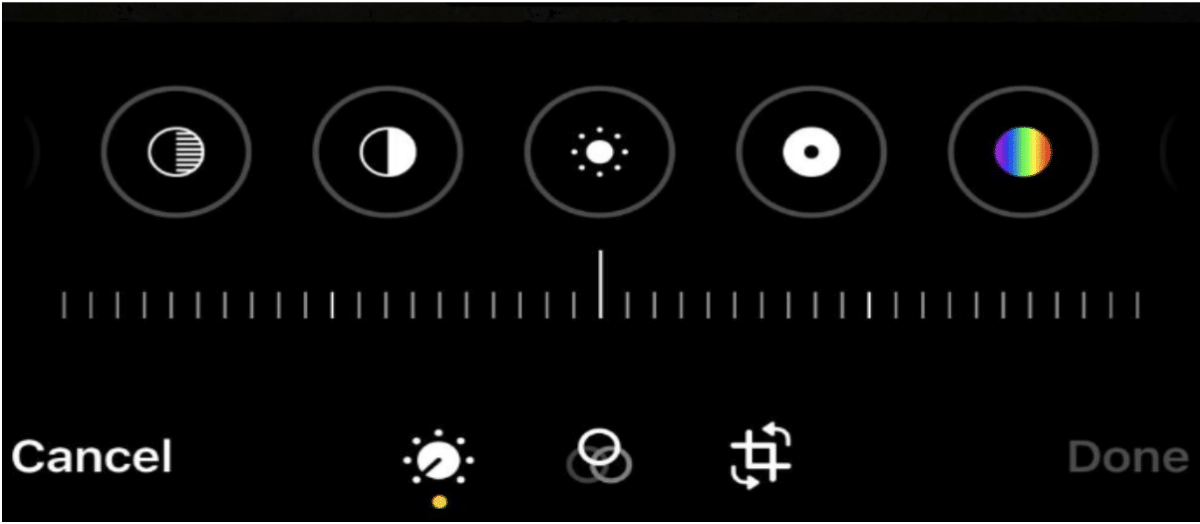
The brightness tool allows you to adjust the overall brightness of your photo. In most photo editing apps, you can do this by sliding the brightness slider to the left or right to decrease or increase the brightness, respectively.
Contrast
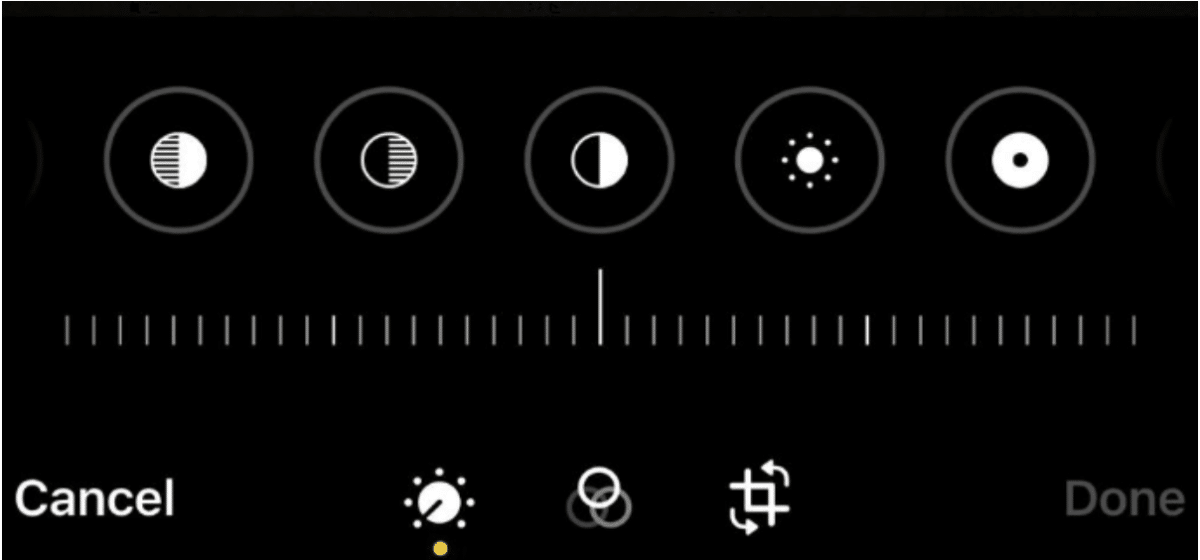
Contrast refers to the range of dark to light tones in an image. The contrast tool is used to make a photo appear more vibrant and dynamic or softer and more subdued. To use this tool, slide the contrast slider to the left or right to decrease or increase the contrast, respectively.
Saturation
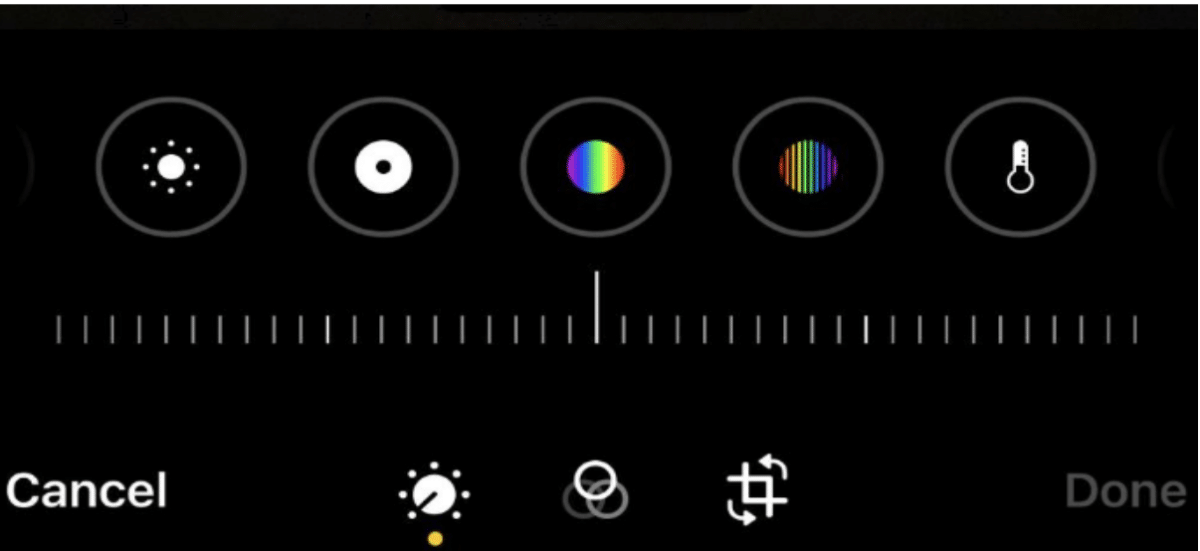
The saturation tool lets you adjust the intensity of the colors in your photo. To use the saturation tool, slide the saturation slider to the left or right to decrease or increase the saturation, respectively. Decreasing the saturation can give your photo a more muted or vintage look while increasing it can make the colors pop or become livelier.
Sharpness
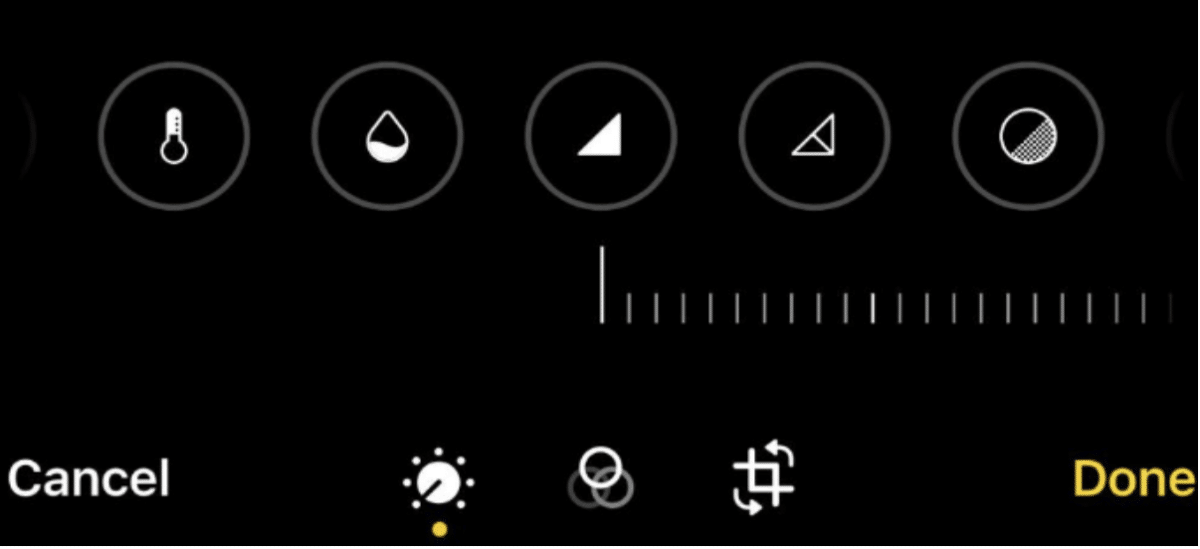
The sharpness tool is used to enhance the details and edges of a photo. To use the sharpness tool, slide the sharpness slider to the left or right to decrease or increase the sharpness, respectively.
When using the basic editing tools, remember that less is often more. Focus on making subtle adjustments to achieve a more natural look.
Advanced Editing Tools
You may want to take your photo editing skills to the next level. This is when you should consider using advanced editing tools for a more professional touch. Some advanced photo editing tools include curves, selective adjustments, and color balance.
Curves
The curves tool allows you to adjust the tonality of an image, giving you more control over the highlights, mid-tones, and shadows. It is a more advanced tool than the basic contrast and brightness. There are different ways to use the curves tool. You can use it to adjust brightness and contrast by creating an “S” curve to increase contrast and a flatter curve to reduce it.
Selective Adjustment
The selective adjustment tool allows you to adjust specific areas of your photo. To use this tool, select it and tap on the area you want to adjust. You can then use the sliders to adjust the brightness, contrast, and saturation of that specific area, instead of the entire image.
Color Balance
The color balance tool allows you to adjust or enhance the overall balance of colors in your photo. To use the tool after selecting it, adjust the sliders to achieve the desired balance of colors in the photo.
With advanced editing tools, it can be easy to overdo things due to the maximum control it provides. As such, it’s important to take your time and make small adjustments to find the perfect balance for your photo.
Filters and Presets
Filters and presets in photo editing are both used to apply specific effects or adjustments to your images. What then is the difference?
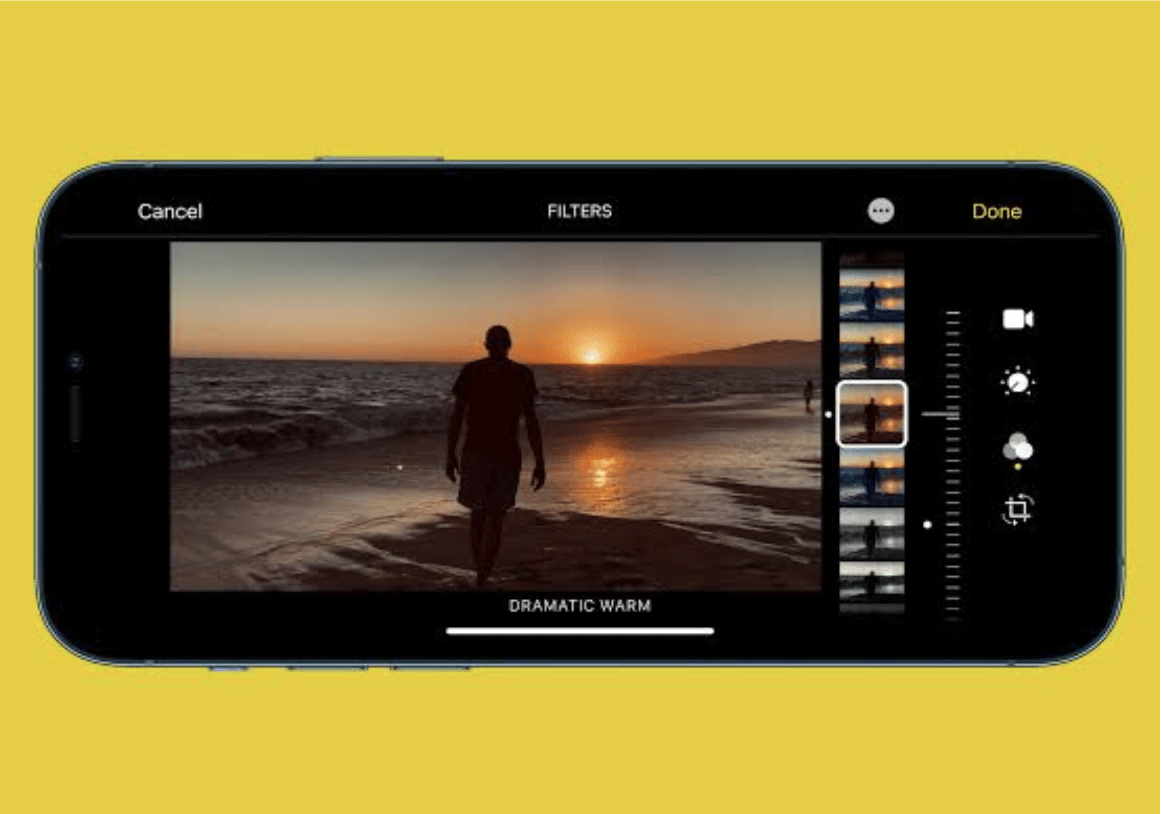
Filters are pre-made effects that are applied to an image to change its appearance. Filters can be found in many photo editing apps and even on some social media apps like Instagram. Filters can be applied with just a click and are often not customizable beyond adjusting their intensity. To use a filter, simply select the filter you want to use and apply it to your photo. Many apps allow you to adjust the strength of the filter, so you can make it as subtle or as strong as you like.
On the other hand, presets are collections of settings used to transform the look of a photo. Presets are created by the user or downloaded. When applied, they achieve a consistent look across multiple images. Presets are fully customizable and can be adjusted to fit the specific needs of the image being edited. To use a preset, simply select the preset you want to use and apply it to your photo.
When choosing a filter or preset, consider the mood or style you wish to create with the photo. Some filters and presets work better for specific photos.
Cropping and Resizing
Cropping and resizing are two different ways you can adjust the size and dimensions of an image.
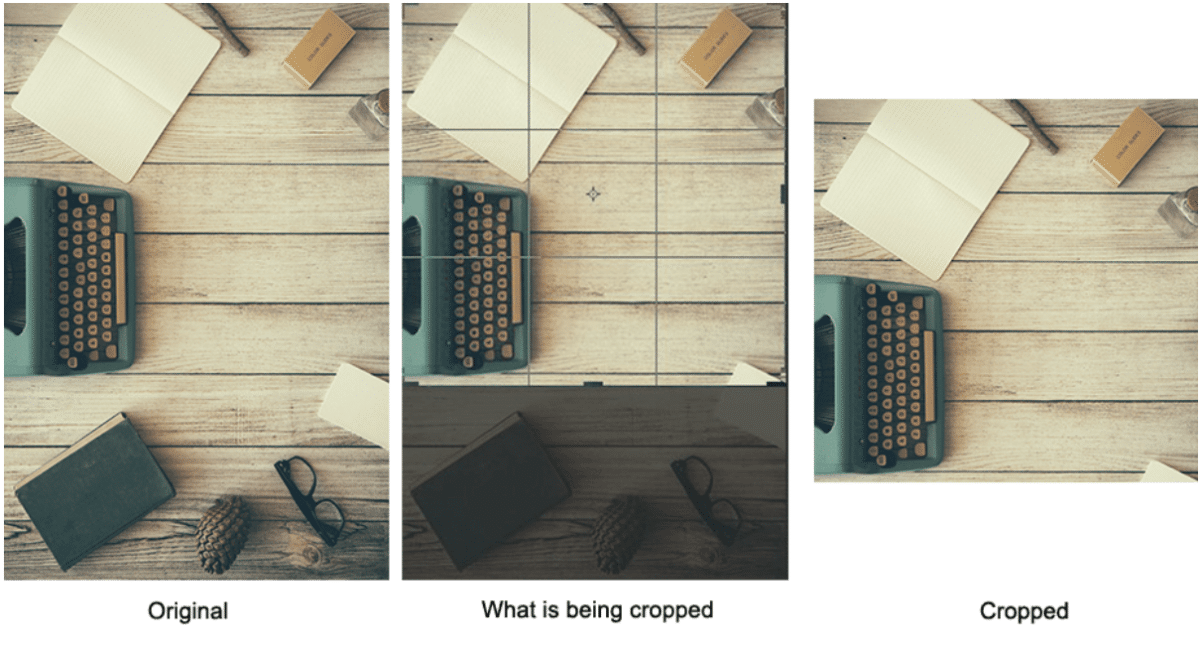
Cropping involves removing parts of an image to focus on a more specific area and changing the aspect ratio. This cuts and discards the unselected portion of the image. The end product will be a smaller size than the original, and the aspect ratio and composition may be different. Once you select the crop tool, a grid overlay will appear on the image which you can resize and adjust the area of the image you want to keep. You can use the aspect ratio feature, if available, to set specific proportions of the crop.
Resizing, unlike cropping, changes the size of the entire image without changing the aspect ratio. This is usually achieved by reducing the resolution (which reduces the number of pixels) or by increasing the resolution (which adds pixels to the image). The end product may be smaller or larger than the original, but the aspect ratio remains the same. To resize an image, select the resize tool and adjust the dimensions to the desired size. Be careful not to resize your photo too much, as this can result in a loss of quality.
When choosing an aspect ratio, consider the purpose of your photo. If you’re posting on social media, choose an aspect ratio that fits the platform’s requirements (most editing apps show you the most suitable aspect ratio for different social media apps). If you’re printing your photo, choose an aspect ratio that fits the size of the print.
Retouching
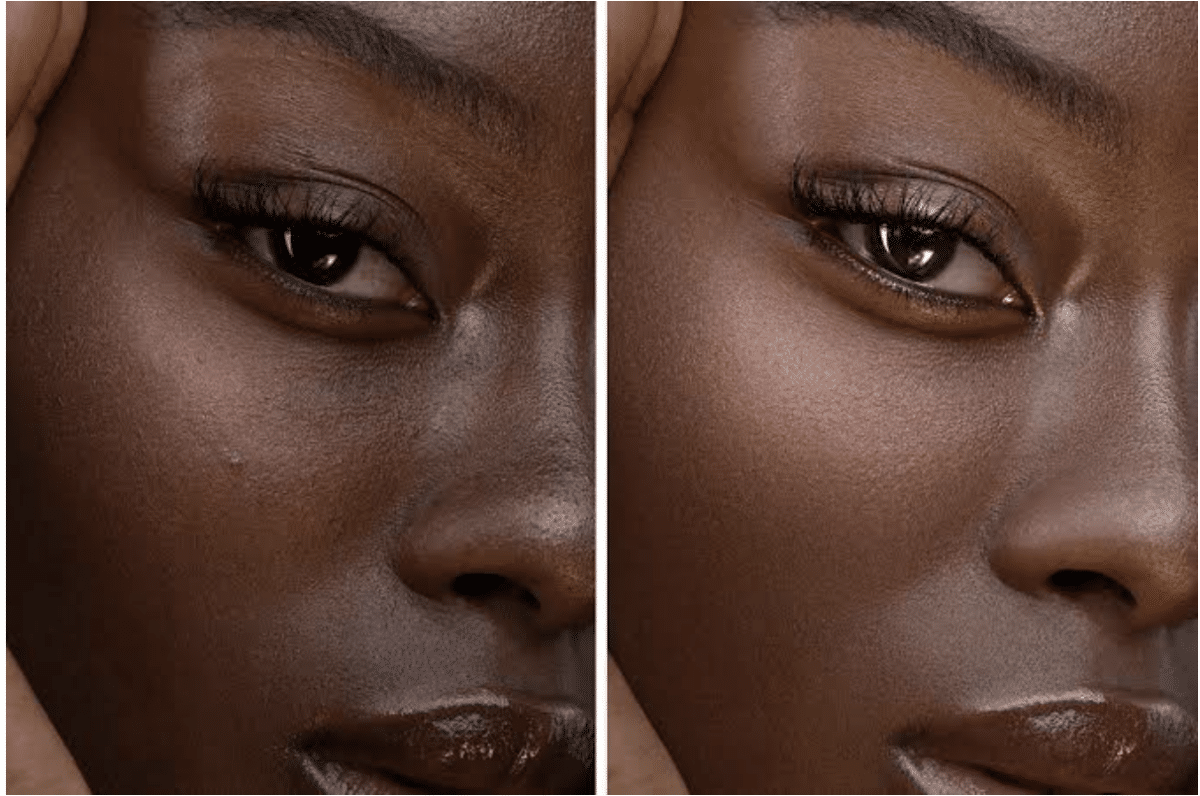
Retouching involves removing or altering elements in an image to enhance its overall appearance. With retouching tools, you can remove blemishes and wrinkles, or even adjust skin tone and texture. Retouching can help you create a more polished and professional look while editing.
There are many retouching tools in photo editing apps. Some common ones include:
Healing Brush
The healing brush tool helps remove blemishes and imperfections in an image. It does this by replacing these blemishes with cloned nearby pixels. To use the healing brush tool, select it and tap on the area of the photo you want to remove. The app will then clone nearby pixels to fill in the area.
Clone Stamp
The clone stamp tool, similar to the healing brush tool, is used to copy pixels from one area of an image to another. However, it is different as it allows you to select a specific area to clone. To use the clone stamp tool, select it and then tap on the area of the photo you want to clone. You can then tap on another area to clone the pixels.
Dodge and Burn
The Dodge and Burn tool allows you to selectively darken (Dodge) or lighten (Burn) specific areas of an image. To use the Dodge and Burn tool, tap it and begin to adjust the settings to your taste. Tap Dodge to (lighten) or tap Burn (to darken). Then you can tap on a specific area of the photo to start editing.
To achieve a natural look when retouching your photo, it’s important to be subtle and avoid making the retouching obvious. When you make use of the healing brush and clone stamp tools to remove imperfections, be careful not to overdo it. You can use the opacity slider to make the retouching more subtle.
Saving and Sharing
After you are done editing your photos to your satisfaction, you would want to save them to your device or even share them with friends, family, or your social media following.
There are different saving and sharing options available in mobile photo editing apps. Here are some of them:
- Save to Camera Roll: This option lets you save the edited photo directly to your device’s camera roll or gallery.
- Share to Social Media: This option allows you to share the edited photo to your social media accounts, such as Facebook, Instagram, or Twitter.
- Email: This option allows you to email the edited photo to yourself or someone else.
- Save to Cloud Storage: This option allows you to upload and save the edited photo to a cloud storage service, such as Dropbox or Google Drive.
Tips for Choosing the Right File Format and Resolution
When saving your edited photos, it’s important to choose the right file format and resolution to ensure the best possible quality is kept. Here are some tips to keep in mind:
File Format
Some photo editing apps will allow you to save your photos in different file formats, such as JPEG or PNG. JPEG is excellent for photos, balancing size and quality. PNG is much better for graphics or further editing.
Resolution
The resolution of your photo determines how many pixels it contains, and how much detail is captured. Using a higher resolution means a larger file size and more detail, but it may also be slower to load or view. A lower resolution may be better if you only plan to view the photo on a screen.
Compression
When saving your photo, you may need to choose a level of compression. Choosing a higher compression level will result in a smaller file size with lower image quality. Always choose a compression level that balances file size and image quality.
Backup
Keeping a backup copy of your edited photos is helpful, in case something happens to the original. You can save a copy to a cloud storage service or local storage for safekeeping.
Conclusion
Editing photos on your phone has never been easier with a wide range of apps and tools available at your fingertips. This guide has covered the basics of choosing the right app, using basic and advanced editing tools, filters and presets, cropping and resizing, retouching, and saving and sharing your edited photos. As you explore the world of mobile photo editing, don’t be afraid to experiment and find your unique style. With practice and creativity, you can transform your pictures from ordinary to extraordinary, all from the convenience of your smartphone.