In these digital times, social media has become an inseparable part of our daily lives. According to a 2023 report from Datareportal, over 59% of the world uses social media. That is about 4.76 billion people with an average time of 2h 31m spent on social media daily.
Whether as an individual or a business, social media is necessary for making important connections and advertising your brand. Having an active and impressive social media presence can greatly benefit your online reputation and credibility.
Despite the importance of being on social media, there is a need to be aware of the possibility of fake accounts and impersonation. Many instances of phishing and fraud occur only through such means of impersonation. This is where the relevance of verification comes in.

Being verified on social media signifies that the platform has confirmed your identity, ensuring that other people know they are interacting with the real you. On most social media platforms, verified accounts are identified through verification badges which appear as a symbol of credibility. These badges are often displayed on the accounts of public figures, celebrities, and businesses.
Having a verified account comes with its perks such as more visibility and security. However, getting verified on these social media platforms is not as easy as changing your profile picture. The process varies across platforms and may have specific requirements. But don’t worry.
In this article, we will discuss how to get verified on four of the most popular social media platforms — Twitter, TikTok, Facebook, and Instagram in 2023. Keep reading as we go through the process.
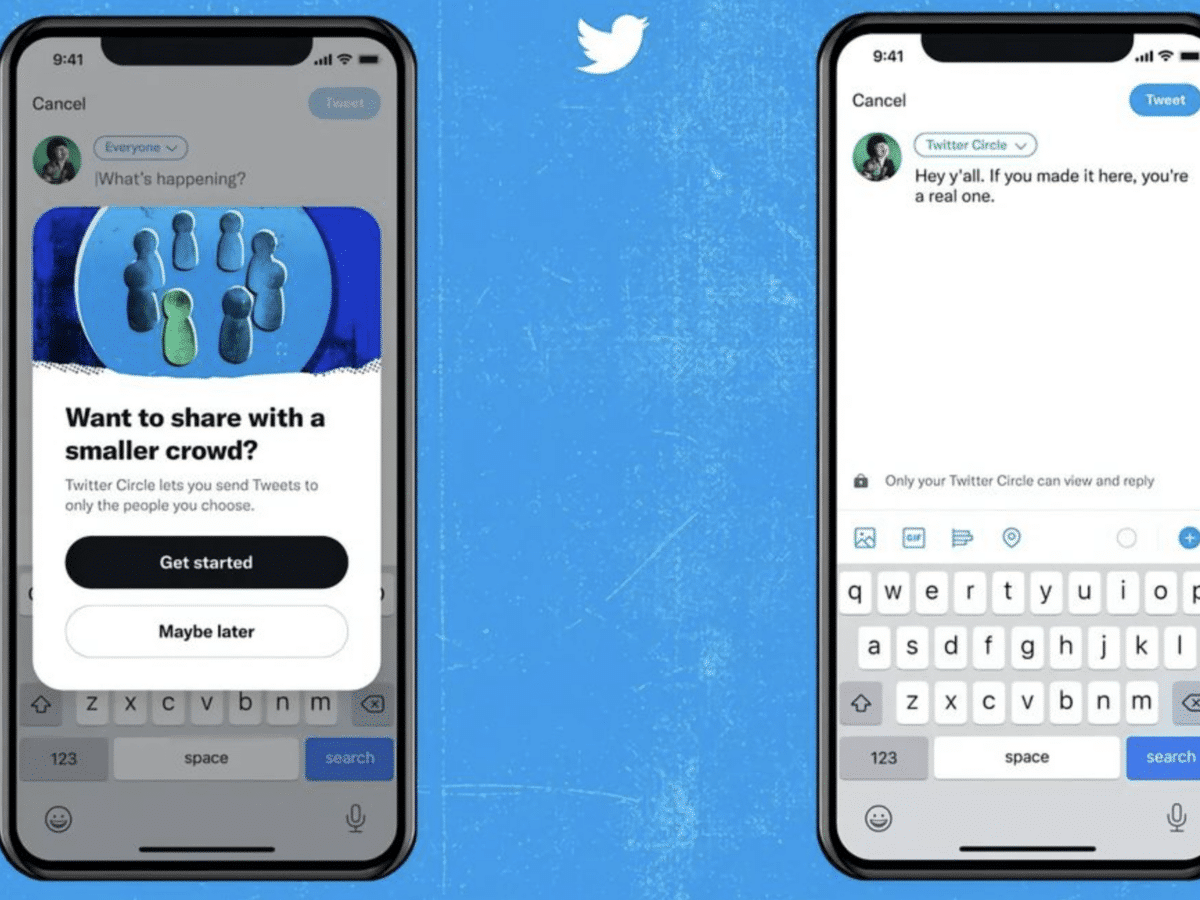
How to get verified on Twitter

Unlike before, to get verified on Twitter, you will have to purchase a Twitter Blue subscription. This premium subscription costs from $8 (on mobile) to $11 (on a web browser) per month.
It is more expensive to subscribe to Twitter Blue through the Twitter app than the web because of taxes placed on in-app purchases by Apple and Google. You might want to save money by subscribing through the web version, which also offers an annual subscription option.
Before we list the steps to getting verified on Twitter, below are the eligibility criteria your account needs to meet. Simply saying, your account must:
- Have a display name and profile photo.
- Be active in the past 30 days to subscribe to Twitter Blue
- Be older than 30 days upon subscription and have a confirmed phone number.
- Have no recent changes to your profile photo, display name, or username (@handle).
- Have no signs of being misleading or deceptive.
- Have no signs of engaging in platform manipulation and spam.
How to apply for Twitter verification from your phone
To apply for Twitter verification using your phone:
- Open the Twitter app on your phone.
- Tap on your profile picture in the top left corner to access the side menu.
- Scroll down and tap on Twitter Blue.
- When the subscription screen appears, review the benefits of Twitter Blue and tap on Subscribe.
- Follow the prompts to enter your payment information and complete the subscription process.
How to apply for Twitter verification on desktop
To apply for Twitter verification using your web browser:
- Go to the Twitter website and log in to your account.
- Click Twitter Blue from the left panel.
- When the Blue subscription screen appears, choose a monthly or yearly package of your choice.
- Review the benefits of Twitter Blue and click on Subscribe.
- Follow the prompts to enter your payment information and complete the subscription process.
How to get verified on TikTok
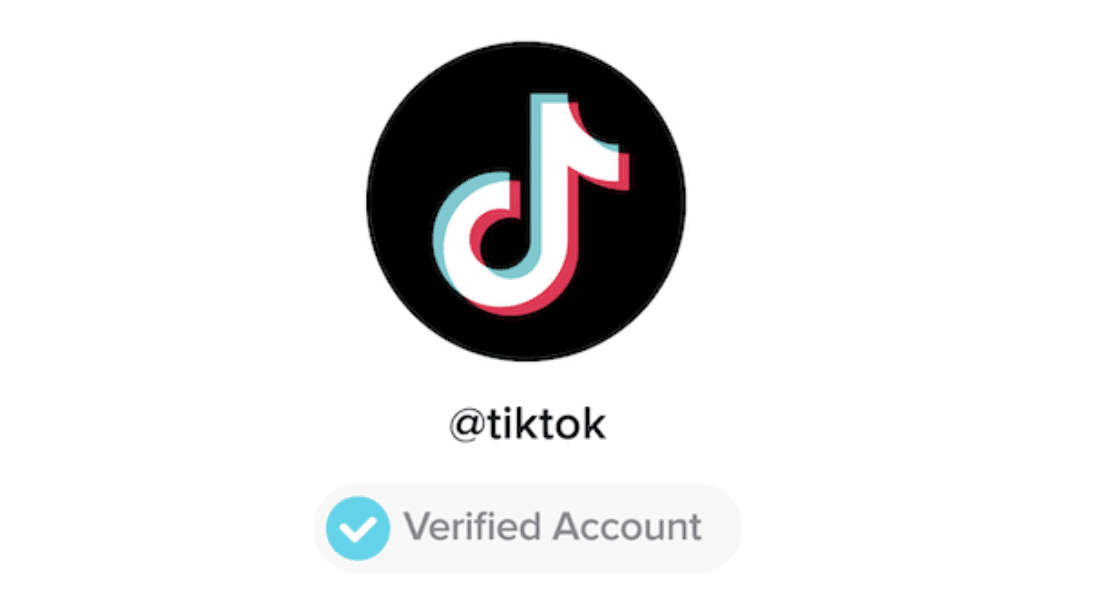
A verified TikTok account displays a blue check mark symbol that appears next to a TikTok user’s account name and on the profile. TikTok considers some factors before granting a verified badge. To meet requirements, your account must:
- Have logged in within the past 6 months.
- Represent a real person, business, or entity. Only one verification per business or person except for language-specific accounts. If you are a business, institution, or entity, your email domain must represent your business during the verification approval process (ex. @tiktok.com).
- Currently be public and have a completed profile with a bio, name, profile photo, and at least one video.
- Have been featured in multiple news sources, not considering press releases and sponsored or paid media.
- Have multi-factor authentication with a verified email.
How to Apply for Verification on TikTok
To apply for verification of your TikTok account:
- In the TikTok app, tap Profile at the bottom right corner.
- Tap the Menu button at the top right.
- Tap Settings and privacy.
- Tap Manage account.
- Tap Verification. If you’re registered as a Business Account, then you can only apply for Business Verification. If you’re registered as a Personal Account, then you can apply for Personal and Institutional Verifications.
- Follow the steps in the app to submit a verification request.
How to Get Verified on Facebook

You can get verified on Facebook by either applying for the verified badge, or subscribing to Meta Verified. To be considered for a blue verified badge, your Facebook pages and profiles must adhere to Facebook’s terms of service and community standards. Your account must:
- Represent a real person, registered business or entity.
- Be public and have a bio, profile picture and at least one post. Your profile can’t contain “add me” links to other social media services.
- Be the unique presence of the entity it represents. Generally, one account per entity may be verified, with exceptions for language-specific accounts.
- Represent a well-known, highly searched-for individual, brand or entity.
Applying for the Verified Badge
To apply for the verification badge on Facebook, follow these steps:
- Go to the verification request page
- Choose your Verification Type (Page or Profile). If you are already logged in when you verify your Facebook account, the form will automatically display the pages you can apply for.
- To apply for profile verification, you may need to enter the profile’s URL if requested.
- Choose the page or profile you want to get verified.
- Attach the necessary identification material for authentication. To confirm authenticity using proof of identification, first select from the following document types you wish to provide:
- Driver’s license
- Passport
- National identification card
- Tax filing
- Recent utility bill
- Articles of incorporation
- Click on add document to choose and add the file from your device. Whatever document you add, you will need a digitized version of your proof of identity to attach to the form, e.g. a scan.
- Choose the category for the page or profile.
- Type your country name in the field and a list will appear to choose from.
- You may decide to fill or skip the other parts of the form which are optional. Note that being as complete as possible will help your chances of getting verified.
- Submit the form by tapping send.
Subscribing to Meta Verified
You may choose to get a verification badge on your Facebook account by subscribing to Meta Verified instead of going through the traditional Facebook application process.
Meta Verified is a subscription bundle for Instagram and Facebook creators which comes with account verification and other exclusive features. Subscribing to Meta Verified for Facebook will cost you $11.99 a month, and is only available on the web version of Facebook.
Asides from compliance with Facebook’s Terms of Service and Community Standard, other requirements for Meta Verification on Facebook include the following:
- A complete and fully optimized profile: Your profile must have a profile picture, bio, and other relevant information.
- A significant following: You must have a significant following on Facebook with a large number of followers, likes, and engagements.
- A government-issued ID: You must provide a government-issued ID, such as a passport or driver’s license, to verify your identity.
- Additional information: You may be asked to provide additional information, such as links to your other social media profiles, to verify your authenticity.
You can easily get your Facebook account verified by subscribing to Meta Verified, following these steps:
- Open Facebook.
- From your profile, open Settings.
- Tap Accounts Center.
- Tap Meta Verified.
- If your account is eligible for Meta Verified, it will say Meta Verified available. Tap the relevant account name, and review the list of benefits.
- Tap Continue.
- Set up or confirm your payment method and tap Pay now.
- Complete the verification process and upload a photo of your ID. Your ID must match the profile name and photo on the Facebook account.
(Note that Meta Verified is currently only available in Australia, New Zealand, and the United States.)
How to Get Verified on Instagram

Like Facebook, there are two ways you can apply for verification on Instagram. These include Applying for the verified badge or Subscribing to Meta Verified.
Applying for the Verified Badge
For accounts not subscribed to Meta Verified, Instagram looks at some factors when evaluating Instagram accounts to determine if they meet their verification criteria. In addition to following Instagram’s Terms of Use and Community Guidelines, your account also needs to be:
- Authentic: Your account must represent a real person, registered business or entity.
- Complete: Your account must be public and have a bio, and profile photo and be active when you apply.
- Unique: Your account must represent your unique presence or business.
- Notable: Your account must represent a well-known, highly searched-for person, brand or entity.
- How To Get Verified on Instagram by Applying for the Verified Badge
To request a verified badge if you are a public figure, celebrity or brand and meet certain account and eligibility requirements:
- Open the Instagram mobile app.
- Tap the profile icon or your profile picture in the bottom right to go to your profile.
- Tap the More icon (with three short lines) in the top right.
- Tap Settings and privacy.
- Tap Account.
- Tap Request verification.
- Enter your full name and provide the required form of identification (for example government-issued photo ID or official business documents).
- Follow the on-screen instructions, then tap Submit.
Subscribing to Meta Verified
Meta Verified for Instagram costs $14.99 a month on mobile (iOS and Android). To be eligible, you must meet Instagram’s Terms of Use and Community Guidelines as well as the following criteria:
- You must be at least 18 years old.
- You must be a public or private profile, associated with your full name, align with naming standards, and have a profile picture that includes your face.
- You must have two-factor authentication enabled which may be completed after payment.
- You must meet minimum activity requirements, such as prior posting history.
- You must have a government-issued ID that matches the name on your profile and profile photo.
Here”s how to get verified on Instagram by subscribing to Meta Verified:
- Open the Instagram mobile app.
- Tap the profile icon or your profile picture in the bottom right to go to your profile.
- Tap the More icon (with three short lines) in the top right.
- Tap Settings.
- Select See more in Accounts Center.
- Scroll down to the bottom and select Meta Verified.
- If Meta Verified is available for your account, you will see “Meta Verified available” under your name and profile photo. Select the profile you want to begin a subscription for.
- You will see a list of available benefits. Tap Subscribe.
- Tap Pay Now.
- Select your payment method and then tap Subscribe.
Conclusion
Getting verified on social media has many benefits. Besides all of them, you get to keep a badge next to your profile which, to be fair, is quite the statement and aesthetic. Either way, the verification process may be alien to you, and this is why we have put together a step-by-step guide on how you can go about it on Twitter, TikTok, Facebook, and Instagram.