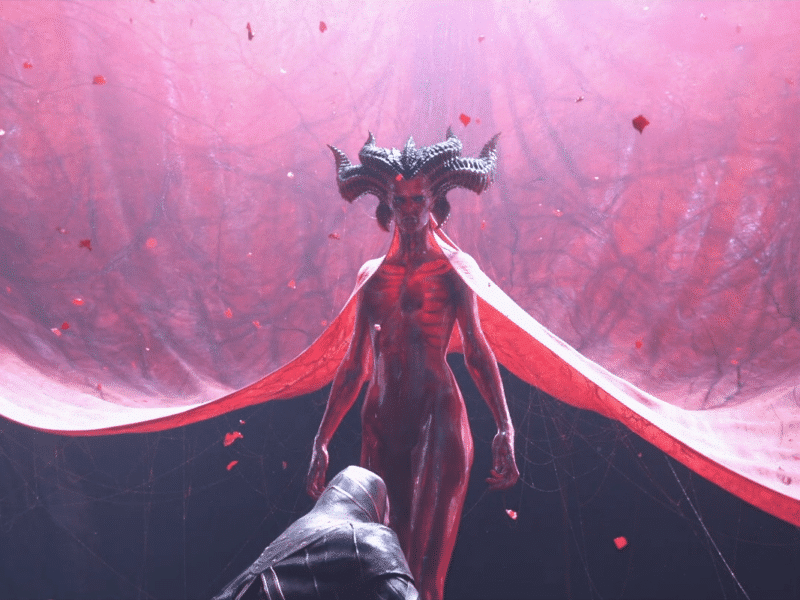
The world bosses in Diablo IV are powerful enemies, which you’ll come across whilst exploring Sanctuary, that you need to defeat with some help from other players.

This article will act as a guide for the World Bosses of Diablo IV and cover their spawn times, how you’ll be able to find them and defeat them and finally the loot that you can receive after defeating them.
The World Bosses in Diablo IV
When you are exploring the Sanctuary landscapes, you’ll be able to come across three different World Bosses and they are: Ashava the Pestilent, Wanderin Death and Avarice the Gold Cursed.
Each battle that you will have with these various World Bosses will have multiple stages, where you will have a time limit of 15 minutes to try and defeat the boss. Since there is a time limit and the boss battles are quite challenging, up to 12 players will be allowed to join each World Boss fight and of course the larger your team is, the better your chances will be at defeating the boss.
Wandering Death
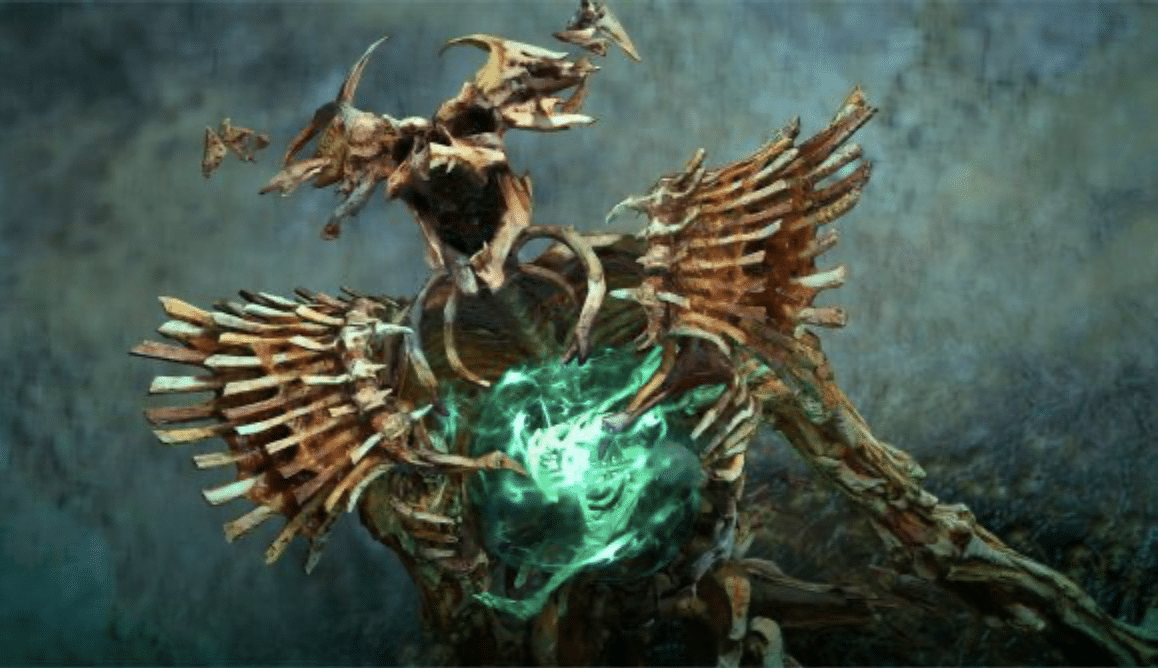
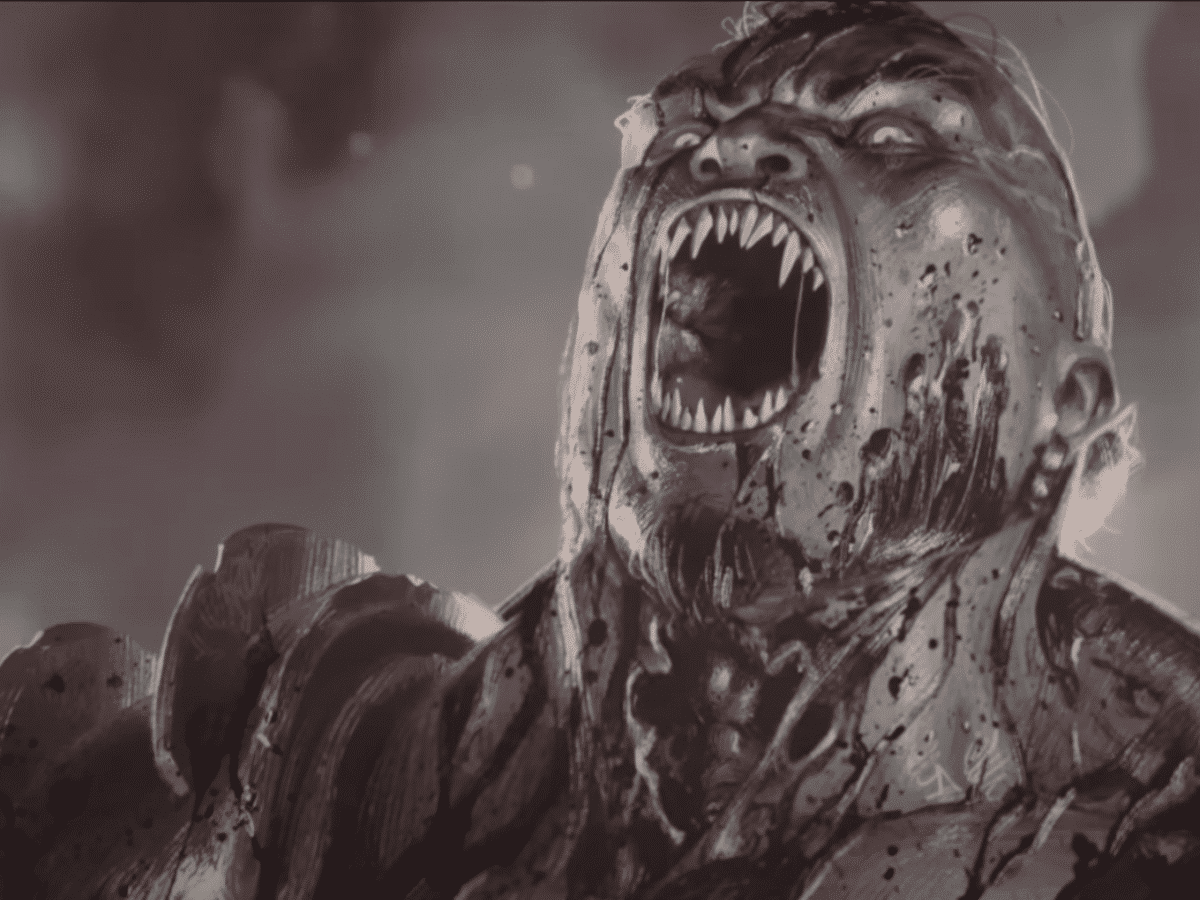
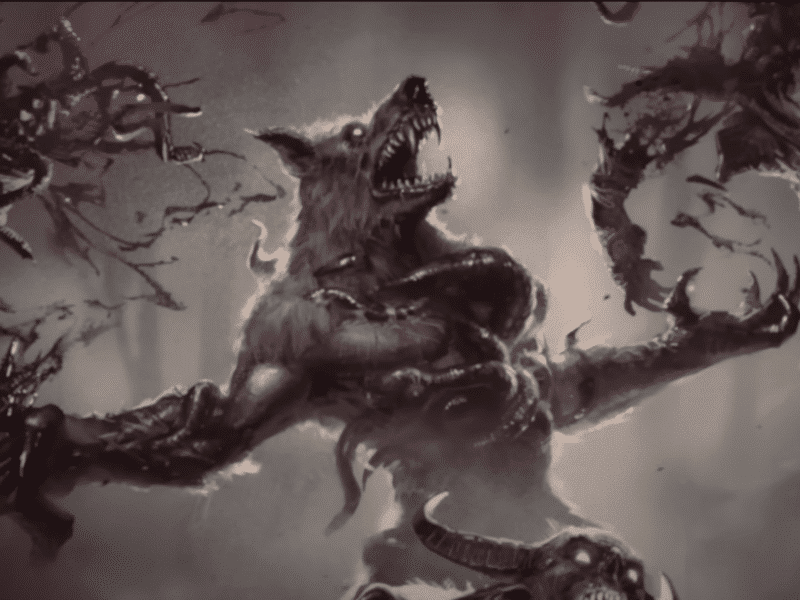
The Wandering Death is a skeletal-like enemy that you will get to encounter, and he’ll regularly be slamming down on the ground to try and catch you out. During this battle you can expect to get caught in a bone circle quite often but these structures don’t just trap you, they will also explode after a charged attack. You should also watch out for the Wandering Death’s beams of death that will be able to take you as soon as it touches you.
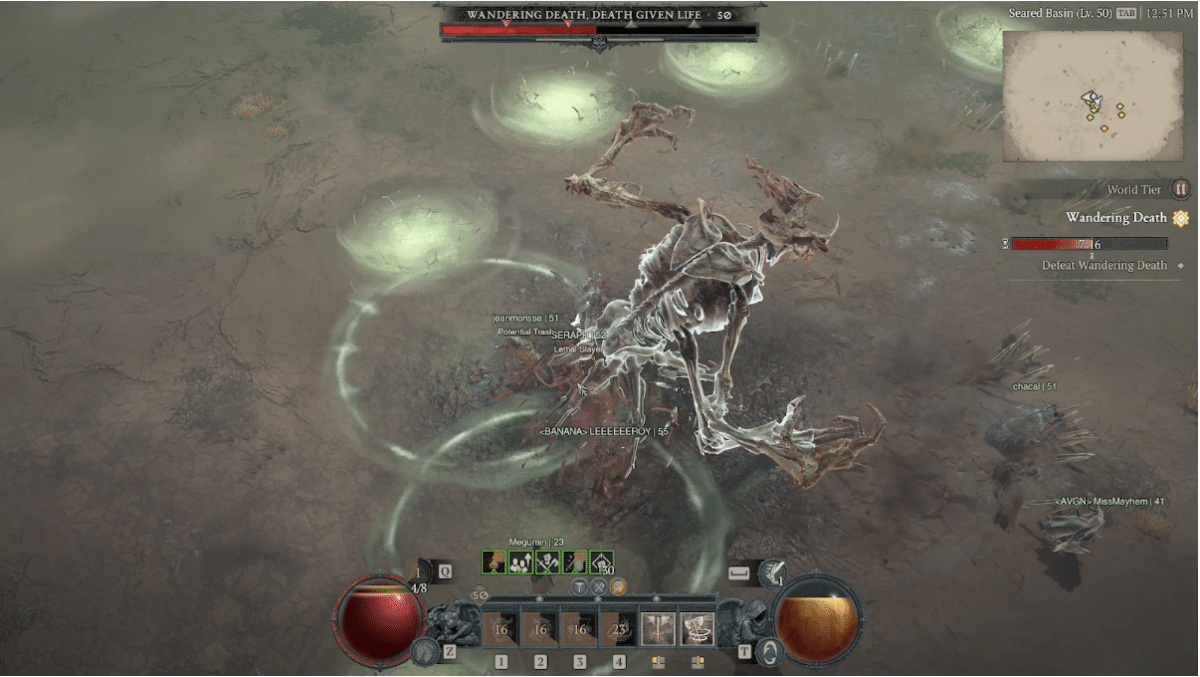
How to Defeat Wandering Death
As the battle against Wandering Death starts he’ll emerge from the ghostly cloud on the floor, from here you’ll witness Wandering Death pull in loads of bone fragments to complete his full skeletal form. Then just as Ashava, Wandering Death will be able to deal damage to you immediately as he starts to slam on the ground to form pools of destruction below it.
To know when Wandering Death is going to perform a ground pound attack, just look out for light green circles that will appear on the floor to indicate where he’ll attack. These circles will be getting larger and larger to indicate that Wandering Death is getting closer and closer to actually attacking. So, if you couldn’t have figured it out, you should definitely try to avoid these circles. Avoiding them will just get more challenging throughout the battles as they become more frequent and larger.
Movement and evasion will be key during this battle against Wandering Death, as you can hide behind him since the circles don’t appear here. When you deplete the Wandering Deaths health bar to around the halfway mark, he’ll still continue to perform these ground attacks but now circles will also be emerging a lot quicker behind him, where he will then perform a backbend to then punch down once again. This means that the tactic of evading and hiding behind Wandering Death will no longer be as effective, now you’ll also need to dash from the back to the front to dodge these attacks as well.
Now next, when you get his health bar down to about a third, it’ll become a whole lot more challenging to avoid these attacks. This is because there will be an increasing number of circles appearing. From here you can either move away from all of the circles entirely or you could take note of where the first set of circles are landing and then quickly make your way to the safe areas once these initial attacks are performed.
Wandering Death won’t just be performing ground slam attacks though, he’ll also be trying to trap players in his bone circles. If you do get trapped inside of one of these, you’ll have limited time to try and escape as if you don’t do so in time, Wandering Death will blow you up.
You’ll be able to know when Wandering Death is going to charge these circles to blow as you’ll see him lift his arms to the sky and then shaking as he builds up for this attack. Then he’ll finally blow these circles as he leans forward and thrusts his arms behind him, and as a result will create a large area of damage.
As you progress through the fight, you may have quite a few bone circles on the battlefield. To deal with this you should either try and break them down if you are trapped inside of one, or just try and dash away from them if you can.
Then yet another attack that Wandering Death will be performing during this battle is the spiked attack. To know when Wandering Death is performing this attack just look for a strip in the ground that he’ll create, where a light green hue will shine from the cracks in it. Then you’ll see a huge log of spikes emerge from the end of this strip, to then attack players that are standing on these cracked parts of Earth.
The most powerful attack that you’ll have to watch out for when fighting Wandering Death is the rotating beam. As soon as you notice the beam begin, you’ll want to try and get as close to Wandering Death as you can and move with the beam, by doing this you’ll still be able to continue dealing damage to him whilst he’s focused on emitting this beam. This attack will only increase to having a maximum of three beams at once, however it will get even more challenging because Wandering Death will begin to move more erratically towards the end of your battle. At this point it’s still quite important to try and stick quite close to him so that you are able to move with him when the beams arrive.
Whilst you’re fighting, there is yet another thing that you need to keep your eye out for, and that is light green tornados that cover the arena. If you get stuck in one of these then it will start to slow you down, so it is most important to try and avoid these during the beam attacks because if you aren’t fast enough, you may instantly get killed.
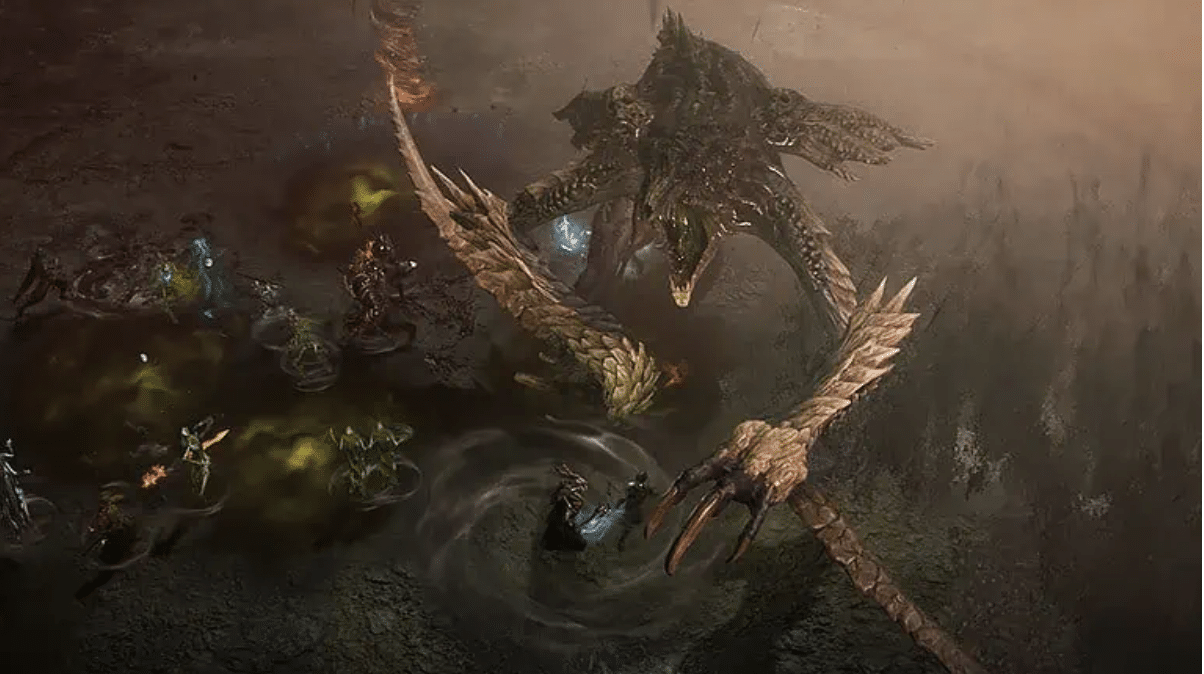
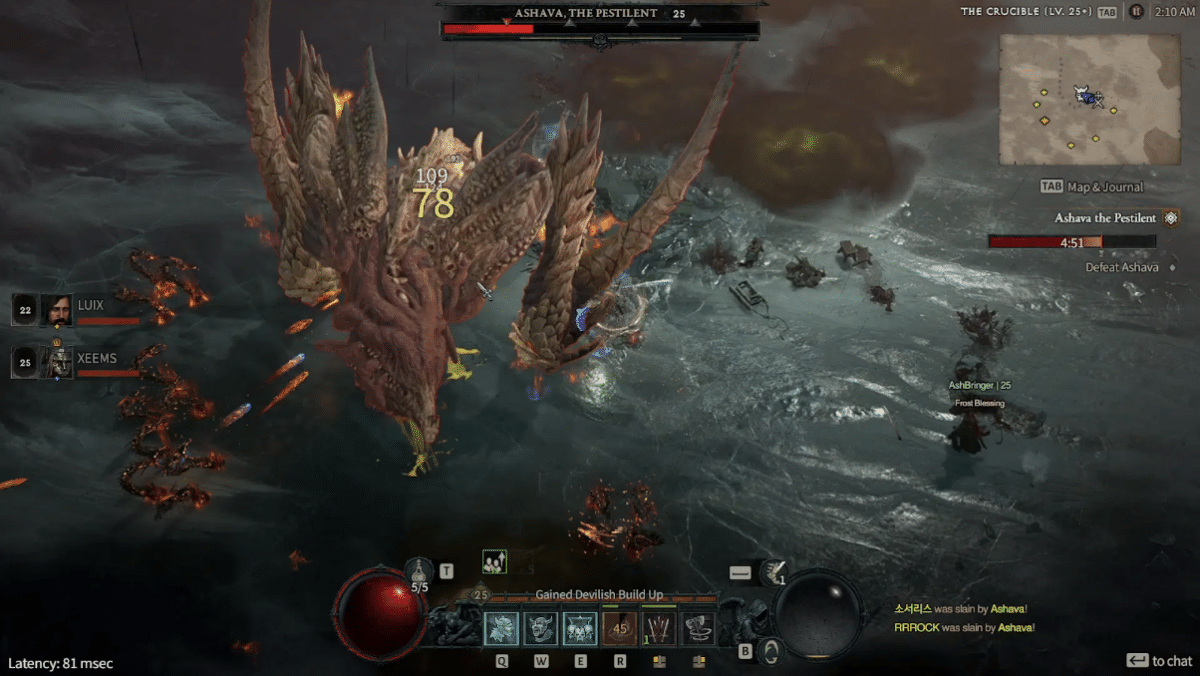
Ashava the Pestilent

Ashava the Pestilent is a World Boss who uses two slicing blades, located on her forearms, to try and slice away at players with. When you go up against Ashava, you’ll also notice her strong jaw with sharp teeth that will be able to take a player down in a single bite. When Ashava isn’t slicing away or trying to bite players, she’ll be coating the ground in poison and as a result create quite a chaotic battlefield where you will have to be on the move constantly in order to try and keep up with all of her attacks and moves.
How to Defeat Ashava
As soon as Ashava spawns, and emerges from her pool of goo in the middle of the Crucible, the battle will begin immediately and you could actually take damage from this first event. One thing to remember when fighting Ashava is that she will not have any phases of immunity, meaning she will always be damageable, you should also remember to bring poison elixirs because Ashava is known for using a lot of poison during her battles.
The first type of attack that she will be doing is a huge circular sweep around the area where she is standing, which could definitely be a challenge for the ranged users in Diablo IV. If you happen to find yourself within this radius of her attack, then chances are you are going to die. If you survive this attack, you’ll still want to be on your toes as she performs a follow up attack. If you are a character that depends mostly on melees to deal damage then try and evade inward, to avoid damage but still get closer to Ashava, as her talons get close to you.
The second major attack that Ashava has is a swipe, however this time she will be starting the swipe attack in front of her with both of her talons and then ending behind her. If your character gets struck by this attack, you’ll be poisoned very close to the point of death.
Now, if you are standing in close proximity to Ashava, she’ll be able to jolt forward with her head and eat you. This attack will do a lot of damage and will probably kill you, so it is best to try and avoid her mouth at all costs.
There are two other forms of attacks that she does as well but these are less devastating than the other, but you should still try and avoid them if you can. Ashava has the ability to fire poison out of her mouth, which then pools all over the battlefield and essentially leaves obstacles for you to be mindful of and avoid during your epic battle. The last she also has a slam attack, where you will be able to see the impact area via a telegraphed circle.
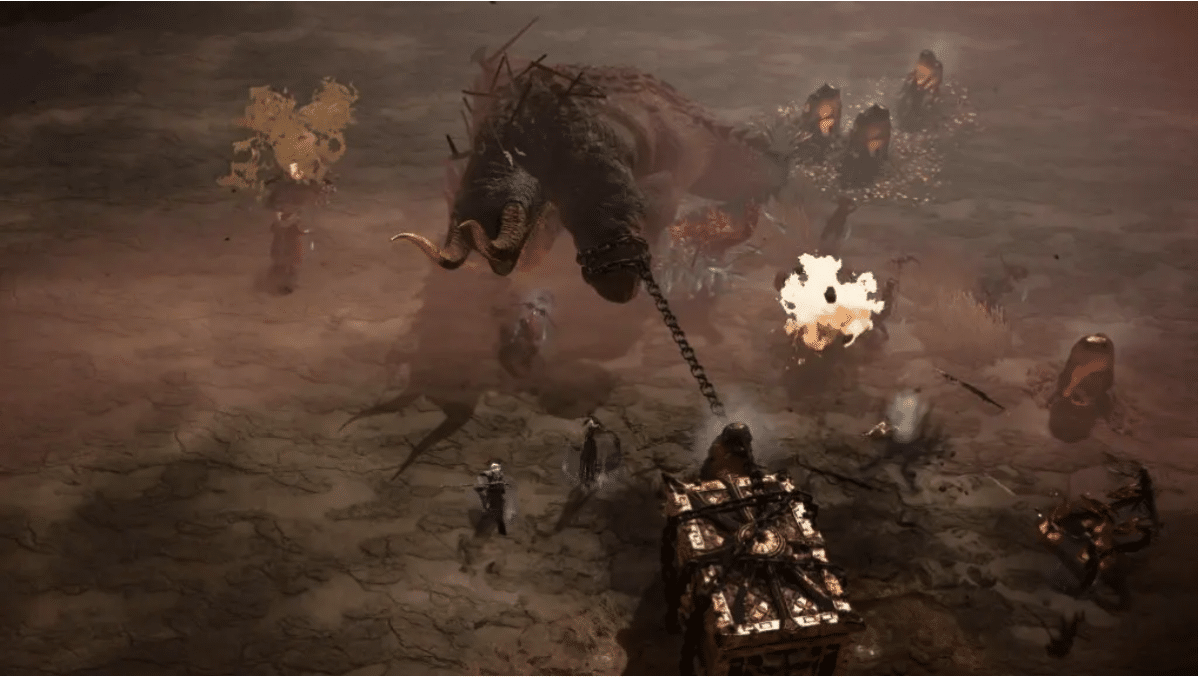
Avarice the Gold Cursed
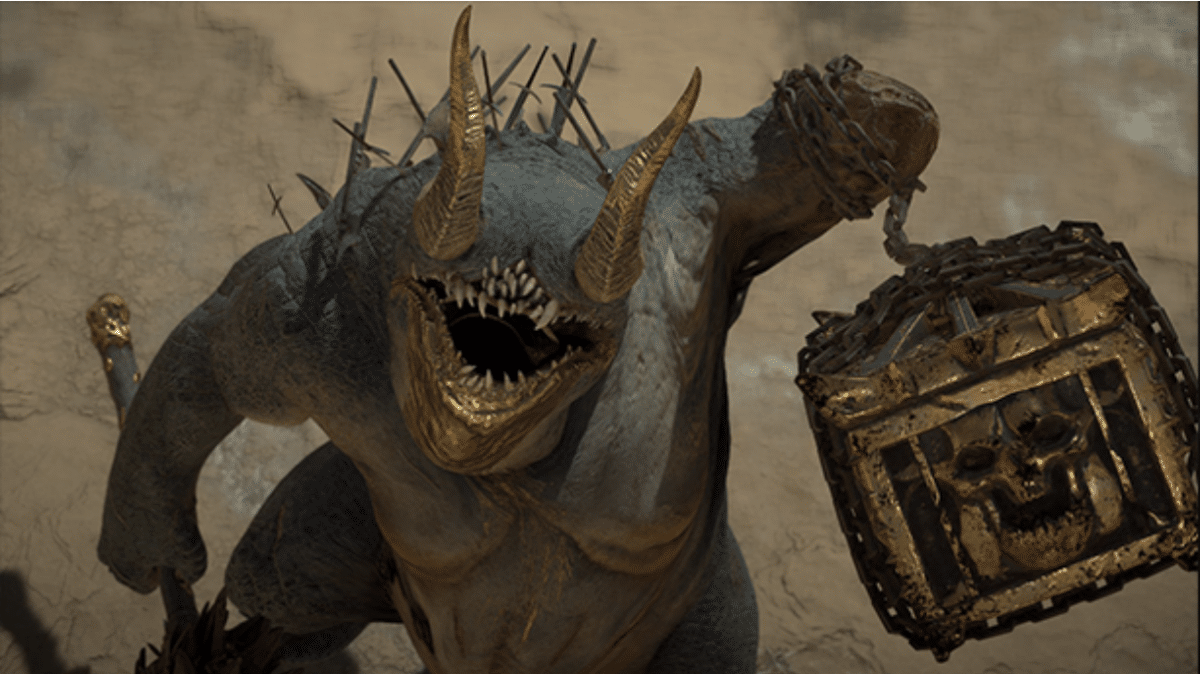
Avarice is someone who has been cursed by gold but has also been blessed with teleportation, allowing Avarice to teleport around the arena by using portals. During this battle Avarice will be using a huge hammer and a locked treasure chest tightly in its grip, which it will use to swing at players from every single direction. You’ll also want to steer clear of pools of gold that Avarice may vomit, as well as gold nodes, which actually explode when Avarices hammer ignites them.
How to defeat Avarice
Facing Avarice the Gold Cursed is quite challenging as you will not only have to be ready for its varied moveset but also its ability to teleport around the arena quite frequently. During this battle you’ll need to be quick and dash over to where you think Avarice will appear to make the most of the 15 minutes that you are given to defeat this beast.
To begin this battle, Avarice will rise from the cracking gold and the first thing that you should make sure to watch out for is of course the huge locked chest and imposing hammer that it has in either one of its hands. As soon as Avarice makes its entrance, it’ll start swinging both of his hands to try and attack players with his weapons.
As soon as you notice him start his attacks, the safest place for you to be is underneath him, and if you are a ranged attacker then you’ll instead want to stand a lot further back in order to avoid getting hit by Avarice’s swipes. This swiping attack is the most frequently used attack by Avarice, as well as the teleportation with portal sequence.
Some of its other attacks that you should keep an eye out for is his thrusting hammer, which is basically when Avarice quickly pulls its arm back and then launches it forward, with its hammer. A lot of the time when Avarice uses this attack, he’ll usually follow it up with a slam of the hammer as well. As soon as you notice Avarice start this attack sequence, try to move over to the hand in which Avarice is holding the treasure chest instead.
The treasure chest is also quite dangerous as when Avarice isn’t using his hammer he’ll be throwing out this treasure chest for an attack that has a much longer range and also slams it down onto the ground. Another way in which Avarice will use this treasure chest is he’ll spin it to swipe at players, basically in the same way that he uses his hammer in his other hand.
This can usually be easily avoided by either going over to the side of Avarice where he is holding his hammer instead, or alternatively just by sticking as close to Avarice as you can. The moment that you want to stop staying in close proximity to Avarice is when you’ve managed to knock his health bar down by a third as it will start to spew gold that will deal damage to you. If a player gets stuck in these puddles of gold, it won’t just slow you down but will also cause damage to you, so try your best to avoid them as soon as you see them appear. With these gold puddles in the mix, it makes it a lot more challenging for players, who focus on melee attacks, to actually reach Avarice. So in this situation, the ranged attacks will gain quite an advantage over other forms of attacking.
Moving on from the hammer and the treasure chest that we know that Avarice loves to use, you’ll find that this monster is also quite fond of a ground slam or two. The first type of ground slam that you may experience with him is one that will just simply knock you back and then another type is actually where Avarice will create a shockwave and then further ignite the gold deposits that form around him.
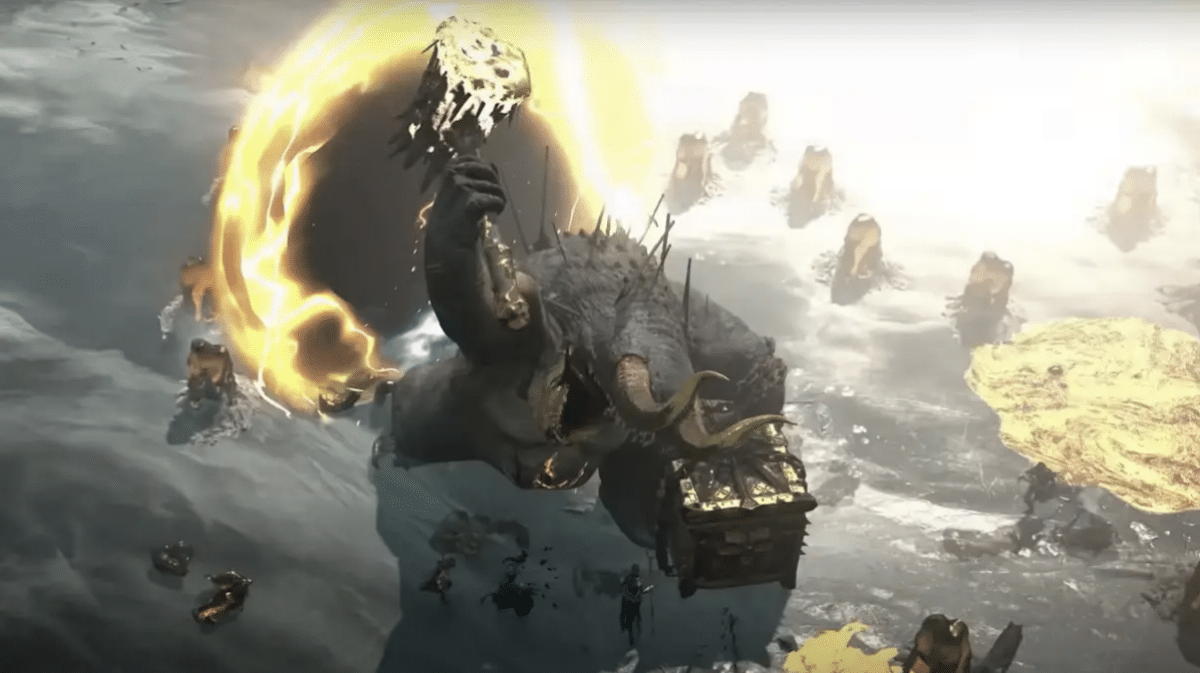
You’ll be able to tell when he is going to use this attack as you’ll see these gold deposits have orange rings appear around them, before they explode. Then once Avarice makes these explode, they’ll then turn into golden pools that as you know will damage you and also slow you down when you get into them.
As you progress through this battle and keep dealing damage to Avarice, around when you reach the last third of the fight, the arena will transform and become smothered in these gold deposits, and leave players with very minimal room to allow for safe movement. These gold deposits will also explode a lot more quickly, so you’ll have to be even more aware of the situation around you as you’ll have to dodge them even more quickly.
Lastly, as you know already, Avarice will be using portals to teleport from place to place in the arena quite often. The most important thing that you have to make sure you keep an eye out when it comes to this teleportation is when the portal in which Avarice is going to emerge from appears. You’ll have to be ready to move out of the way because Avarice can leap out of these portals with a quick hammer blow immediately.
When And Where Do These Bosses Appear
On a normal day, you could be able to take on up to 4 World Bosses per day as one spawns roughly every 6-8 hours. The World Bosses will begin to spawn everyday between the times 3:30am and 5:30am PDT and 12:30am and 2:30am EDT, and then just continue to spawn in their 6-8 hour intervals.
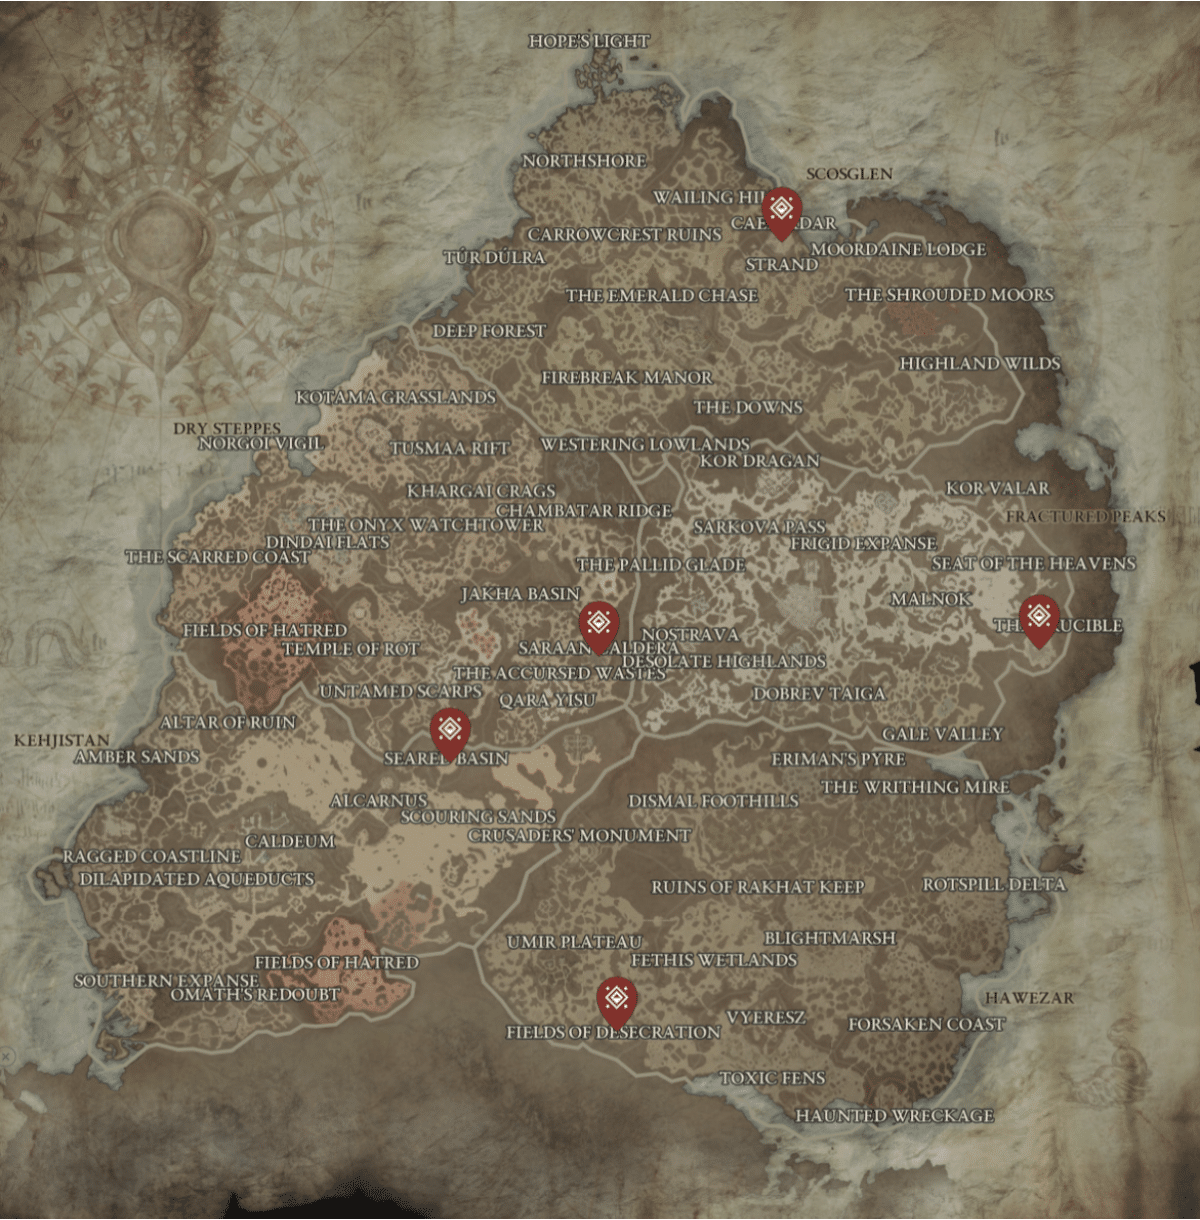
You’ll be able to find the World Bosses spawn across Sanctuary in any one of these five locations:
- Caen Adar in Scosglen
- The Crucible in Fractured Peaks
- Saraan Caldera in Dry Steppes
- Seared Basin in Kehjistan
- Field of Desecration in Hawezar
In order to unlock the best and easiest way to tell if a World Boss is going to appear in the world, you’ll need to first finish the whole of the main campaign on Diablo IV, which is extremely recommended that you do before you consider taking on these monsters. This is because after the rolling credits on the main story, you’ll receive a timer which will show an icon on your map of Sanctuary, which lets you know not just where the World Boss will be but also which one will be appearing, about 30 minutes before these World Boss events start.
The Rewards for Defeating a World Boss
If you manage to beat these events and successfully defeat one of the World Bosses, you can expect to receive quite a lot of loot as a reward for this tough battle you endured. This loot also includes a rare crafting material, known as Scattered Prisms, which can later be used at Jewellers to add sockets to your weapons.
Then when it comes to the Gold and XP that you’ll earn, these will both be scaled to your level and some of the drops will be dependent on the World Tier that you have selected to play in. regardless of your level or World Tier, you can also expect these World Bosses to drop Legendary and Unique items as well as a Grand Cache as part of the Weekly Bonus Spoils.
Final Words
So, there you have an in depth guide on everything that you could need to know about the World Bosses in Diablo IV, from where and when to find them to how to defeat them and some of the rewards that you gain from doing so. Hopefully this helps you in your next encounter with one of these monsters so that you are successful in slaying it.