The Diablo IV game has been filled to the brim with demons, and expansive regions , which can be dangerous and confusing to explore as well.
So in this article you’ll get a few tips and tricks for whether you’re a gamer who wants to tweak the difficulty, get help in combat or just better understand its various mechanics, materials and currencies.
1. When do you get a mount?
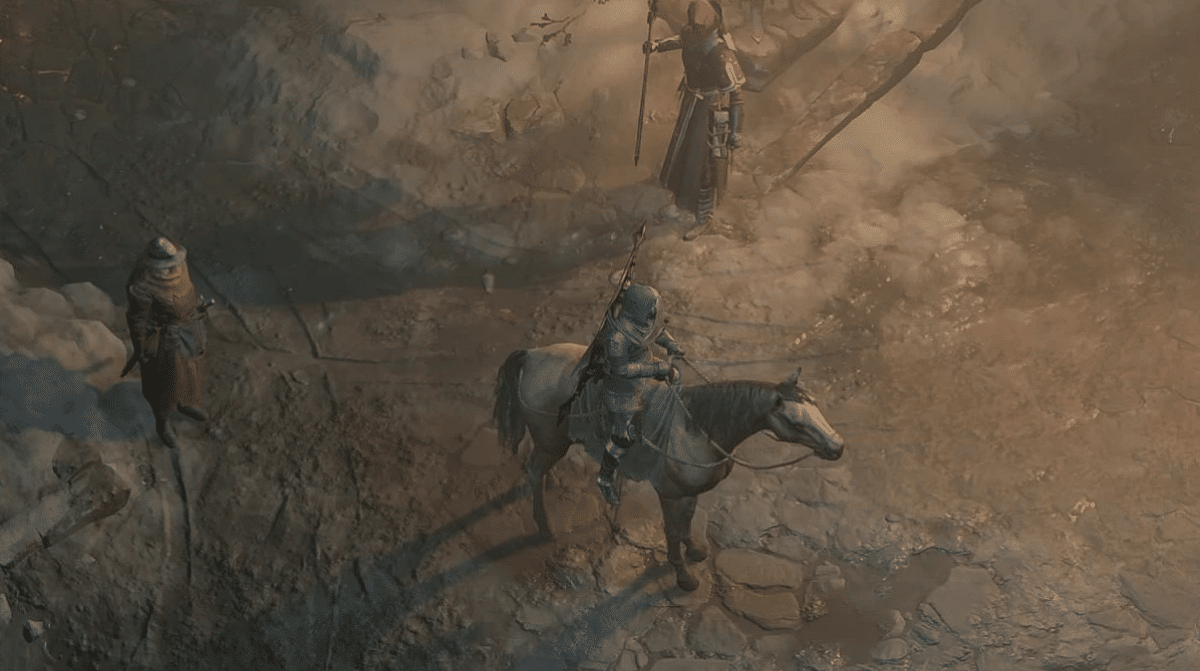
Once you’ve completed the Prologue tutorial part of the main story of the game, you’ll find yourself in the main city of Kyovashad. When you get here you can try to interact with the stables, where Lorath got a horse, but when you try you’ll find that you aren’t actually able to purchase one. Even if you may have purchased a special edition of the game or cosmetics in the in-game store, you still won’t be able to have a mount of your own yet.
Basically what you’ll have to do first is progress through the Main Story’s multiple Acts for quite some time. You’ll be able to complete Acts 1 to 3 in any order you like, you’ll just need to complete them before you can start Act 4, where after you complete the second main mission, A Master’s Touch, will you be able to finally unlock a Priority Quest, which is where you’ll need to visit the stable to get a horse of your own.
2. Getting more clothing options
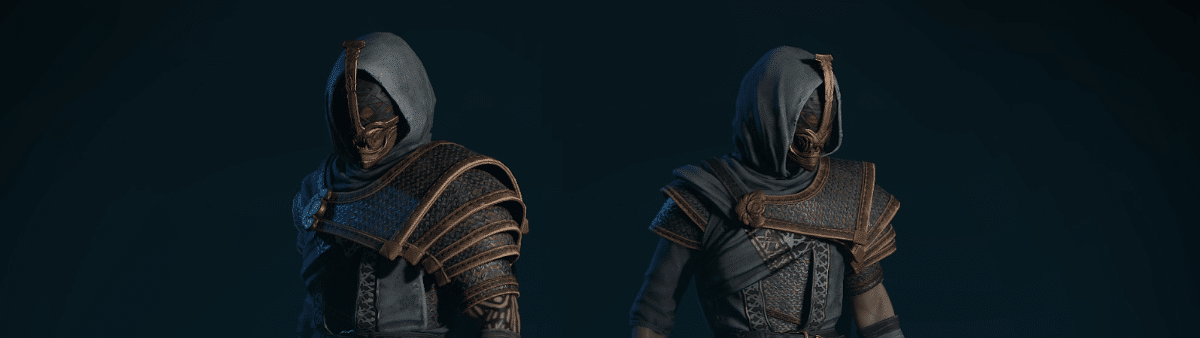
When you start getting more and more gear, you’ll quickly realise that some outfits may look a whole lot better than others, and luckily there is actually a way for you to customise your look, you’ll just need to know what to do with your old gear.
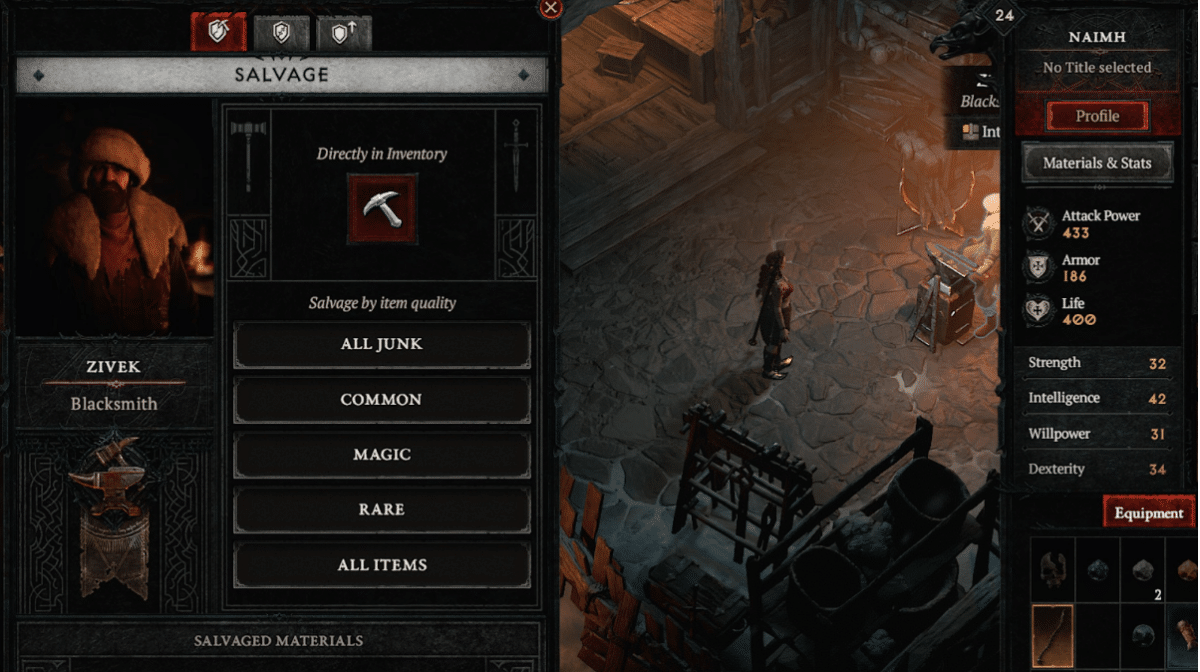
First you’ll want to head to the Blacksmith in any town of your choice, make sure that it is the Blacksmith and not the Armorer who sells gear, and here you should find that quite a few pieces of gear in your inventory have a pickaxe symbol next to them. When you click on the larger pickaxe symbol in the Blacksmith’s menu, and next click on the gear that you want to Salvage, you’ll get materials for it, but you’ll also unlock this salvaged gear’s look. This means that now you’ll be able to change the look and colour of the gear that you have equipped to that of the piece of gear you salvaged by just heading to the Wardrobe in the large tavern, above the main town square. This method works for both armour as well as weapons.
3. Salvage rare items instead of selling them
Selling your rare items can definitely be quite tempting whilst you’re speaking to merchants as it offers you some quick and easy Gold, but don’t be too quick to just sell your rare items. Instead you’ll want to try and salvage these items at the Blacksmith because you have quite a good chance at earning Veiled Crystals when you do so.
Then with this material you’ll be able to upgrade your current equipped Rare gear into Legendary armour and weapons at the Occultist, by imprinting Aspects. Aspects are basically gear modifiers that you can earn from completing dungeons all over the open world.
When you finally start to reach some of the higher levels in Diablo IV, imbuing Aspects will cost more than just Veiled Crystals and you’ll actually need to salvage spare Legendary Gear of each type to even be able to make more Legendaries.
4. Spend your Murmuring Obols
Usually, whilst you’re exploring some of the different regions in Diablo IV, you’ll come across a lot of various World Events, which are basically just quick challenges that any nearby player will be able to take part in. When you complete these events, you’ll earn a chest with loot, and if you complete an optional objective you’ll get even better quality loot, as well as some Murmuring Obols. The amount of Obols that you can earn during each event you complete depends on where the event takes place, whether it be outdoors, in cellars or dungeons or Legion Events that require quite a few players, and if you complete the Mastery objects as well.
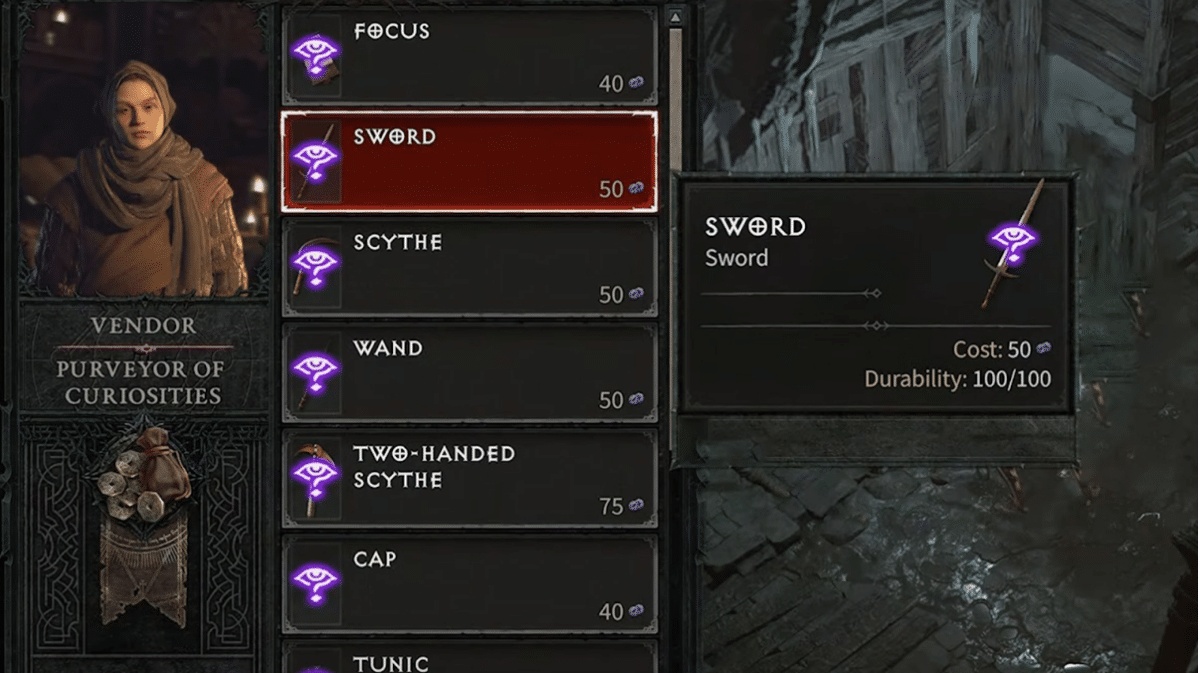
You’ll only be able to spend this type of currency at a Curiosities Vendor in town, where you will be able to purchase unidentified items that could turn out to be Rare or Legendary gear, but beware because it could also turn out to be useless common vendor trash. Another thing that you’ll be able to purchase are Whispering Keys, which you need in order to unlock strange locked Silent Chests. These Silent Chests can be found randomly all throughout the world, so it is definitely a good idea to have a few keys on you at all times just in case. There is a cap for the amount of Obols that you can carry with you at a time, and that amount is 500, so it is smart to try and spend them on something before you hit the cap and stop you from earning more Obols from events.
5. Emotes are important
A lot of people just don’t realise how important emotes are in Diablo IV because it allows you to convey, thanks, greetings and essentially call out to other players. However, emotes aren’t just used for this, they actually have even more functions in Diablo IV, as they are actually sometimes needed to solve various puzzles and side quests.
If, at some point during this game, you happen to stumble across any strange weathered statues with barely visible writing that may hint at certain actions, you can try to perform the indicated emote. By performing the right emote, you can actually earn temporary buffs to help you out a little bit during your adventure. Then you also have some Side Quests that will quite often have riddles in them that are tied to emotes, such as the Secret of the Springs. So next time you may encounter an instruction saying you need to be “patient”, you should try using the “wait” emote.
6. Tweaking the world tier difficulty
World tiers is something that gets mentioned pretty quickly and early on in Diablo IV, so many gamers tend to forget that you can actually tweak the risks and rewards associated with difficulty if you want to. You’re able to change the World Tier Difficulty by interacting with a large statue that each of the major cities in each readion has, near the town square.
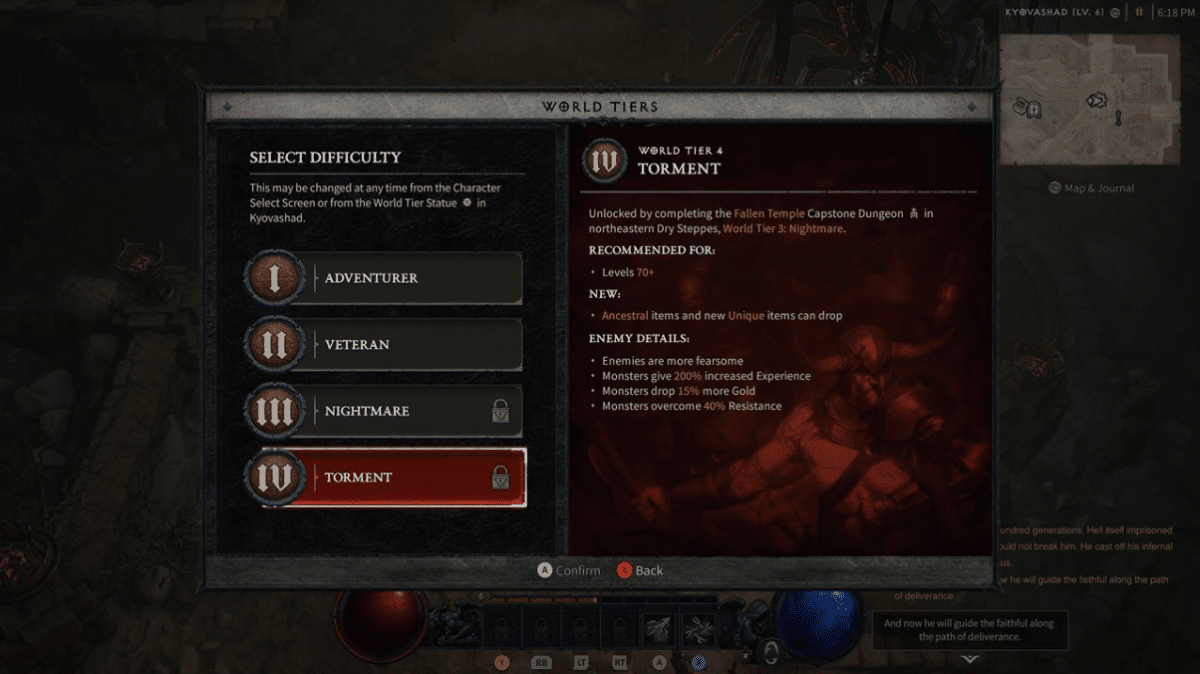
As the default setting you should start at Tier 1, which provides you with a great and balanced decently challenging experience for the players that are new to the game. On the other hand, if you are a player who wants a chance to get some slightly better loot and experience then you can move the difficulty up by 20% to Tier 2. Then in order to get to Tier 3 and beyond, which will then provide even more challenging encounters but also better chances at earning the rarest of gear, you will need to beat the main story and all of its Acts first.
It is also important to realise that if you are a player that wants to level up as fast as possible and think that Tier 2 will be the best Tier to do so, then you may want to rethink, because although you may be getting more experience against the harder monsters, the time it takes to defeat them will be longer so at the end of the day Tier 1 may be the faster way to level up as a new player.
7. Getting out of dungeons faster
Although completing lengthy Dungeons can be super rewarding and enjoyable, either by stumbling on one by exploring the world or by delving into story-related ruins and caves, getting back out of them can be quite annoying and wastes a lot of time. Thankfully, there are actually two options that you can take in order to get back home a lot easier.
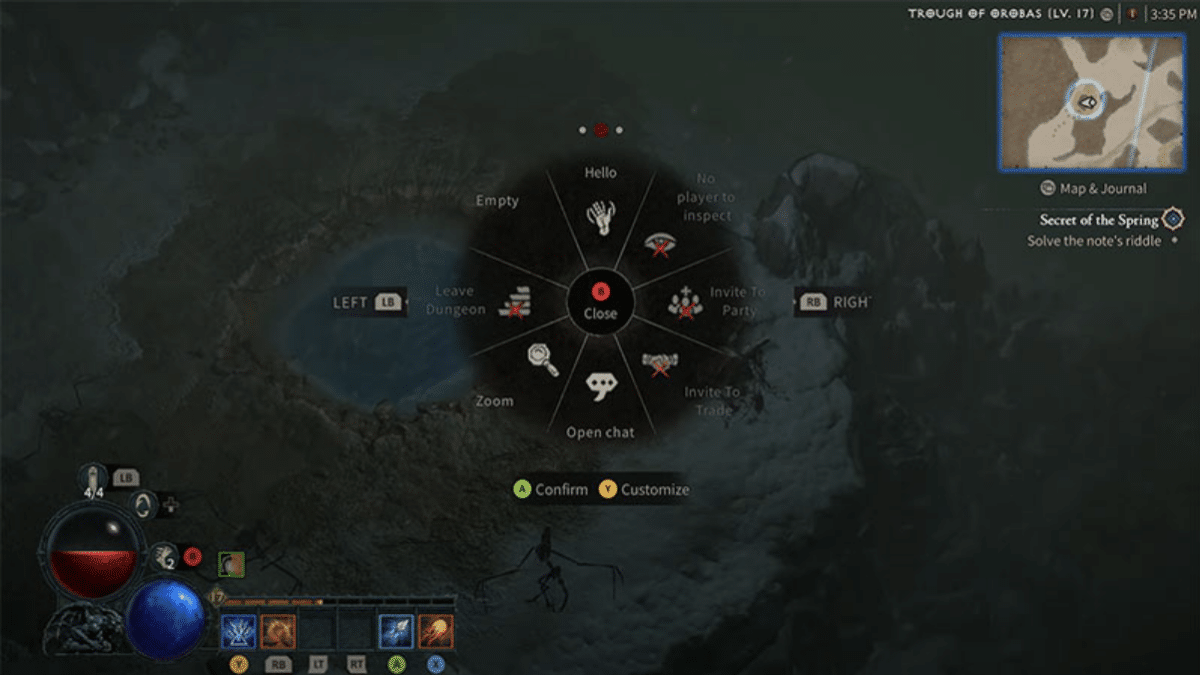
The first option that you can consider taking would be to just simply open up your radial menu, which you can do by holding E if you’re on PC or by holding Up on the D-Pad for console players. Then from here, amongst the emotes, you can simply select the option “Leave Dungeon”, and you’ll automatically be transported directly to the entrance in the open world region. So, this is definitely an option that you should use if you still want to explore places or meet someone nearby.
Then if you don’t have a lot of inventory space left and instead want to get back to a town in order to sell, you’ll instead want to activate a Town Portal and warp directly back to the last major town that you visited. What’s more is the Town Portal will actually remain there, in the town, if it so happens that you want to return, but if you end up leaving the town another way then the portal will disappear.
Final Words
So, there you have some awesome tips and tricks that Diablo IV doesn’t really mention to you, which can actually make your gaming experience not only a lot more efficient but also a little more enjoyable.