The ability to be able to set up your own Minecraft server is quite a useful skill to have, especially for those who are interested in having a more personal Minecraft experience with their friends online.

There are loads of various Minecraft servers online already that you will be able to connect to if you want, but by using your own server you’ll get full control of the in-game world as well as the backend so that you are able to use admin commands to do things such as spawn items, change the time, and basically anything that you could think of to alter your world.
The skill of being able to make your own Minecraft server is more challenging than simply being able to install Minecraft mods or shaders. In order to get to the point where you can comfortably make your own server, you’ll need to already be pretty comfortable with using the command line prompt on Windows, and also be ready to troubleshoot some issues if they may pop up along the way.
Setting Up Your Own Minecraft Server
Before you even start to create your Minecraft server, you’ll need to be sure that you have the latest version of Java installed on your PC already. If you are unsure of which version that you are currently running, then you’ll be able to check the version by opening a command prompt and then entering ‘java -version’ and then the version number will be displayed. You can also just simply go to the official Java site and then install the latest version there to be 100% sure.
Now that you have made sure that you have the latest version of Java installed, you’ll want to download the Minecraft server software as well, which you can find on their official website. Now that you have everything downloaded, it’s a good idea to have the Minecraft server software file in a folder that you will have solely dedicated to the Minecraft server setup. Although you’ll be able to do this regardless of if it’s in its own folder or not, it’ll just be neater and a lot more convenient if you have a specific place setup for it and its files.
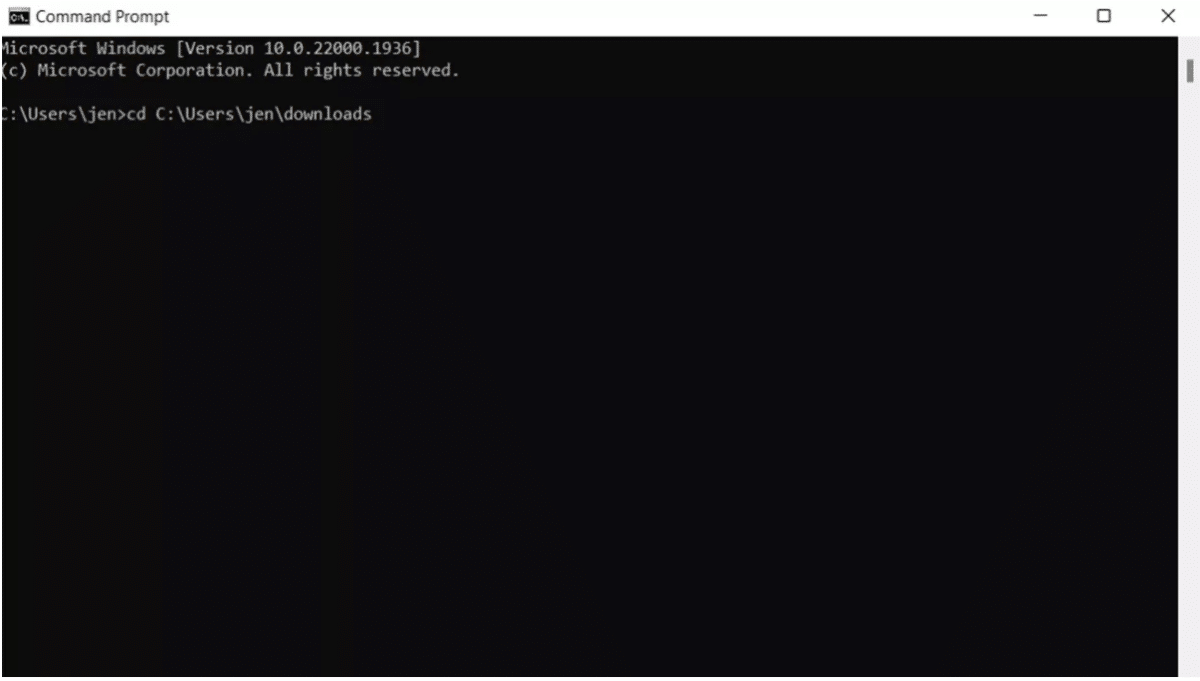
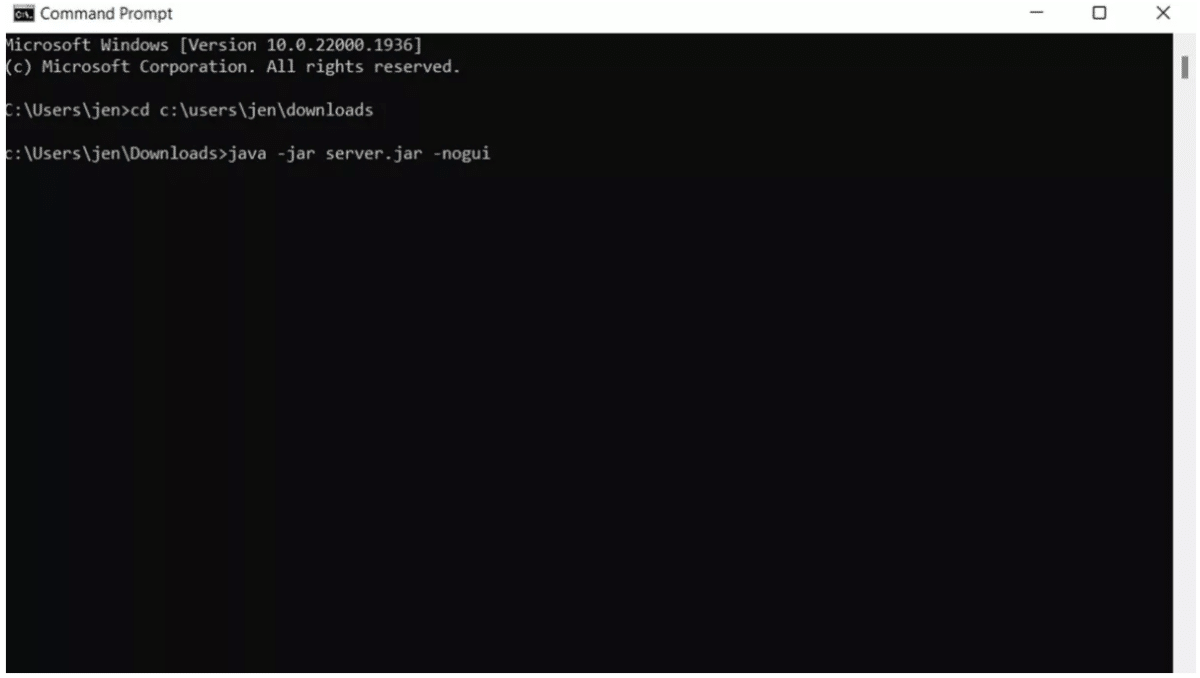
In most cases, you’ll be able to just double-click on the server.jar file to open up, but a better method would be to instead open it via the command prompt. To do this, you’ll have to open a command prompt window and then look for the folder that the Minecraft server files are in by typing cd C:\Users\username\ and then the folders name. Once you’ve managed to find its location, type java -jar server.jar -nogui in order to open that file.
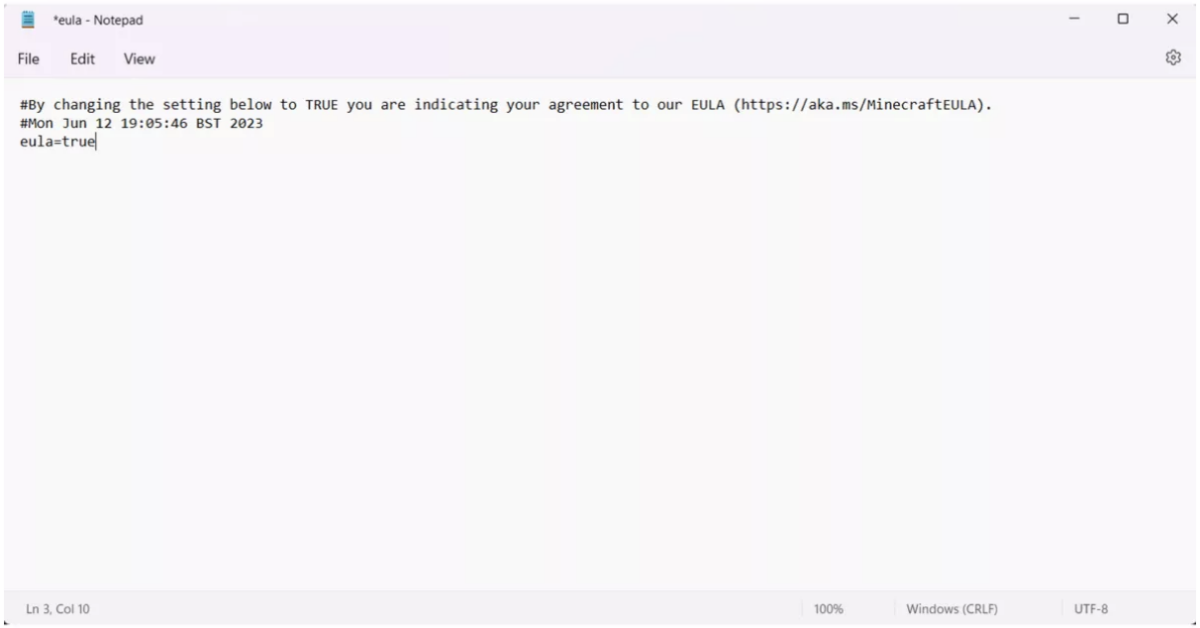
If you try to just load your Minecraft server for the first time, it won’t work completely and just expand to include all of the server files that you have in your chosen folder. So, in order to make it work you’ll need to open the eula.txt file that you’ll find is available in the folder and then change ‘eula=false’ to ‘eula=true’. No you can just close this and save the file before you then relaunch the server by typing ‘java -jar server.jar’.
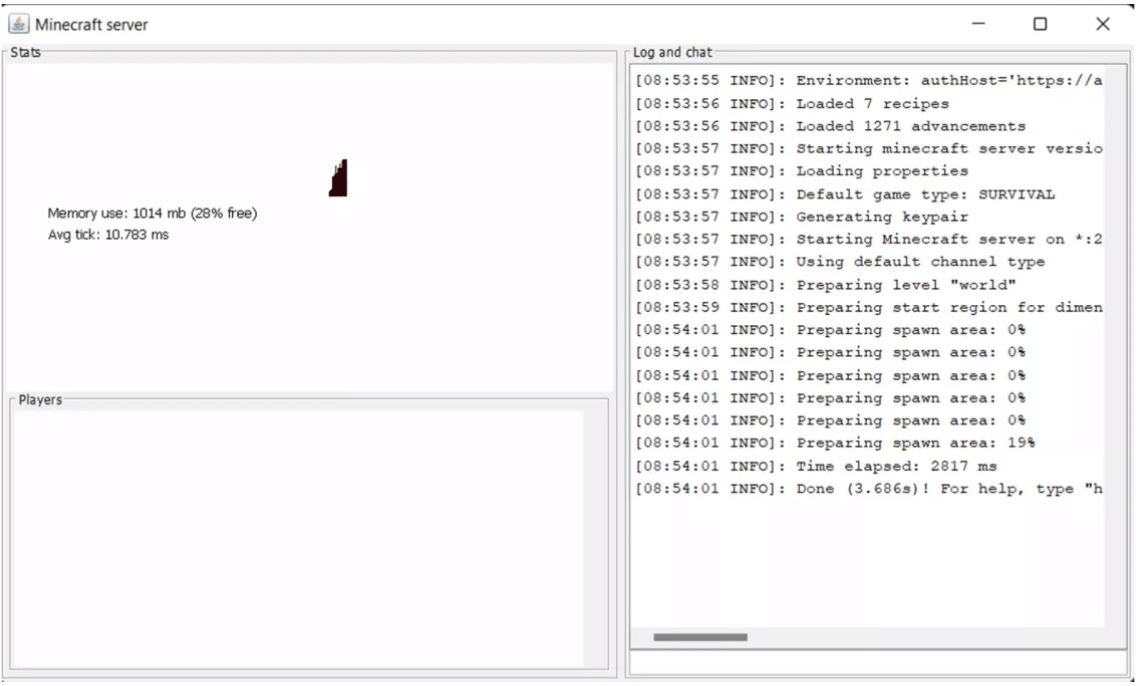
Once you do this, you’ll be able to successfully launch the server with a basic graphical user interface that allows you to see exactly how much memory is being used, how many players are logged on that moment and other details as well.
Some Tips For Starting Your Own Minecraft Server
You’ll always be able to launch the Minecraft server using the steps above, however it may not be such a nice solution to be using in the long run, so a better way to do it would be to create a batch file in order to have everything launch in a much more efficient way.
So in order to create the batch file you’ll need to follow these three steps:
- The first thing that you’ll need to do is right-click on the inside of your Minecraft server folder and then just hover your house over New and then click Text Document. Now you can choose anything to name this file, just be sure it is something you’ll be able to remember, such as Startup or Start. From here just right click the file and then click edit in order to open up a Notepad window.
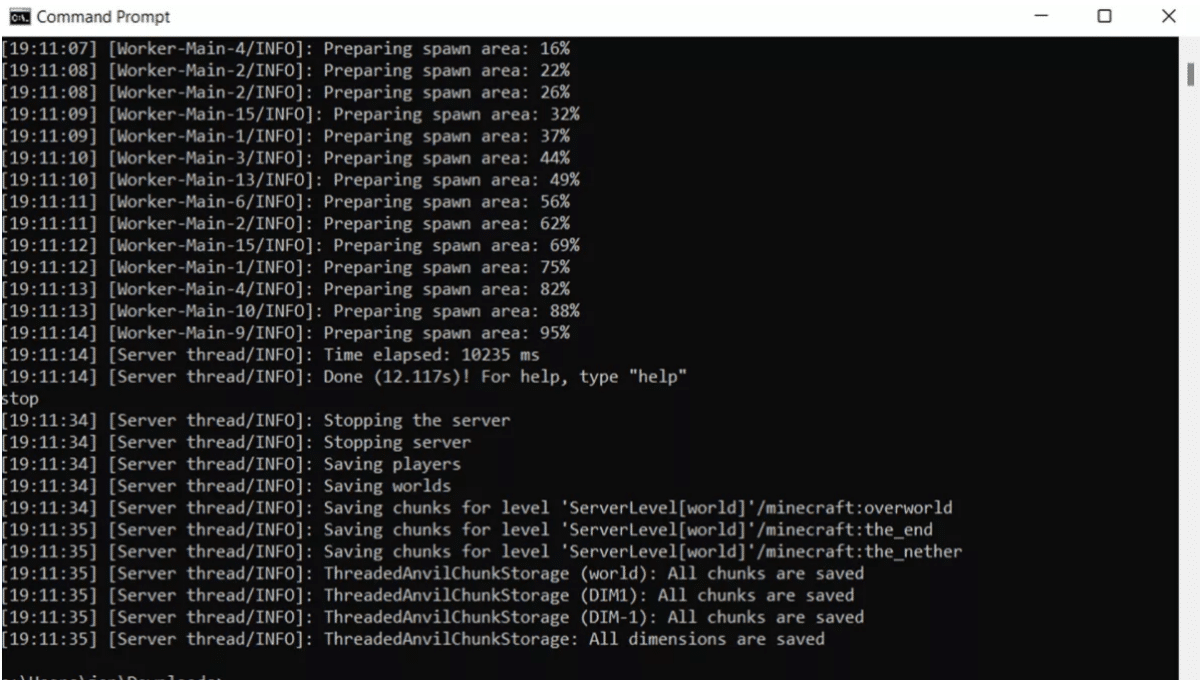
- Now that you’re on the document, the next step that you’ll want to take is to type ‘java -Xmx1024M -Xms1024M -jar’ Minecraft server name nogui, which is basically where the Minecraft server name is the name of the file. What you are doing, by doing this, is setting the minimum/maximum amount of memory for that file and then using nogui to stop the graphical user interface from opening up, which will save a lot of resources. Here you’ll want to add pause on a line so that the command window is kept open so that you’ll be able to spot any errors, if any were to occur.
- Now you can just save the file and close it, but remember to rename the extension to .bat instead of .txt. You’ll then get a warning flashed to you from Windows, but all you need to do is click ‘yes’ and then you’ll finally be able to run your server by double-clicking the bat file.
Configuring Your Minecraft Server
Now that you have figured out all the basics of creating a Minecraft server and also opening it up, it’s time to look at configuring it. To do this, you just need to check the server.properties file for the various options that you have. Most of the components are pretty self-explanatory but it is definitely pretty useful to know how to make quick differences easily, so here are some of the key components you should try and get familiar with.
| Key Components | |
| Gamemode | Allows you to change between survival and creative modes |
| Spawn-protection | The radius of blocks in the server spawn that can’t be broken |
| Allow-nether | Allows or disallows the use of the Nether |
| Difficulty | Options are either peaceful, easy, normal or hard |
| PVP | Whether or not players are able to attack each other |
| Max-players | Sets how many people are able to join your server at one time |
| Level-seed | Allows you to insert a Minecraft seed for a world to generate |
| Motd | Sets a message that all players will see on their Minecraft server browser before they connect. |
| Query-port | Where you enter a port that has been forwarded on your local router to allow access. |
Setting Up Port Forwarding
The port forwarding setting that you have on your router will vary to others, depending on what your router brand is. The usual port number for your Minecraft server will be 25565, unless you have changed it under the server.properties.
If you are trying to set up your own Minecraft server to play with others, who are on the same local network as you, then you won’t have to set up port forwarding. It is for those who are looking to lay online, who will need to forward TCP port 25565 on your router in order to even allow other players to join your server. This is not all that you will need to do though, you’ll also need to enter your server’s local IP address as the server IP for the forwarded port. If you are unsure of what your local IP address is, then you can find it by opening a Command Prompt and typing ‘ipconfig’.
Once you’ve successfully managed to set up your public IP and port forwarding, it’s recommended that you don’t share it publicly with anyone. You should only share this information with the people that you both know and trust, since it can potentially be a security risk for your home network.
Joining The Minecraft Server
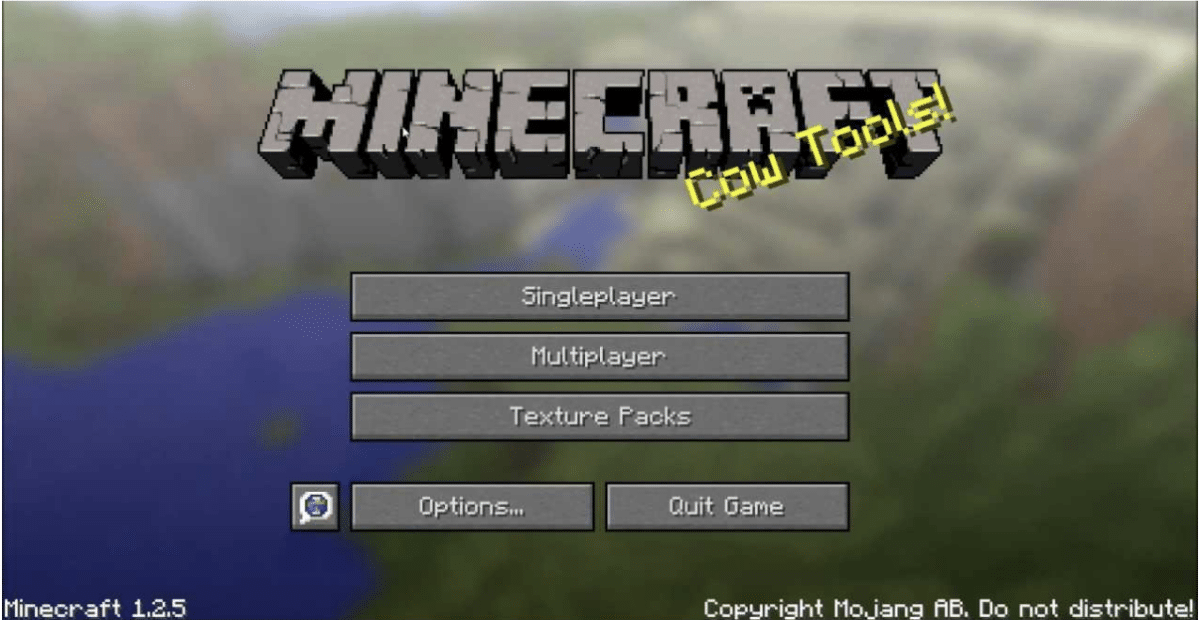
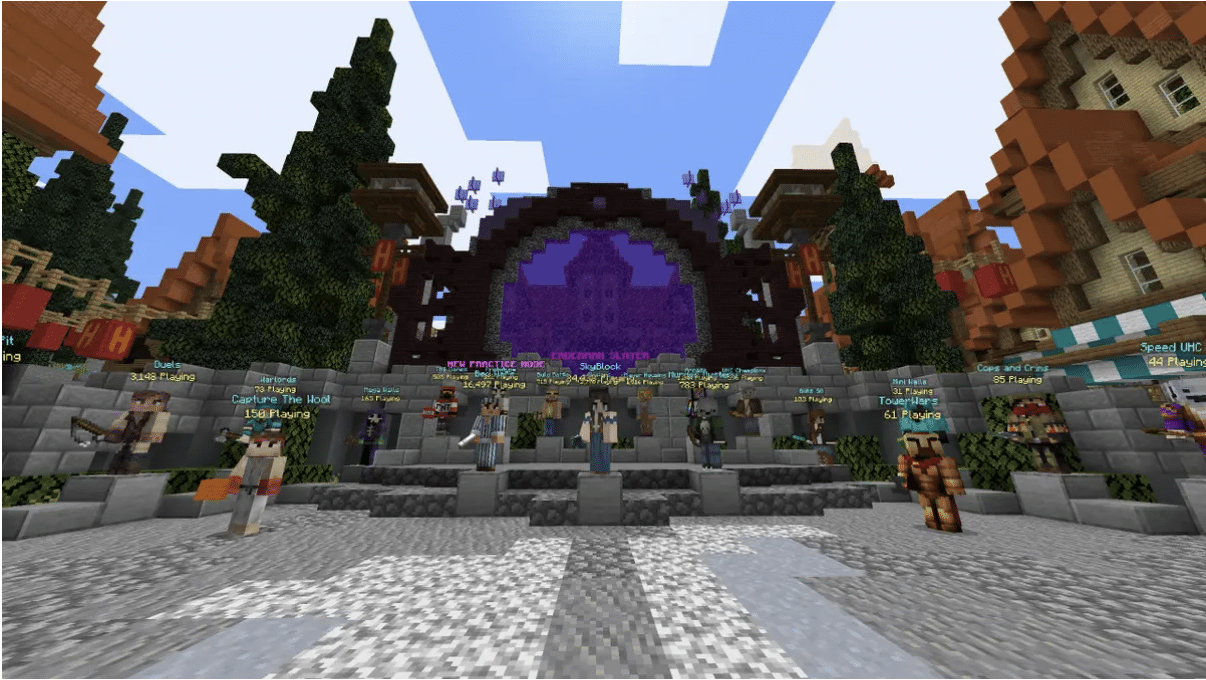
Now that everything is done and your Minecraft server is successfully set up, the actual joining process is just as simple as joining any of the best Minecraft servers.
When you are in the Minecraft menu, you’ll want to choose the multiplayer option and then click on add server and then just enter the server name. From here you’ll then need to enter the public IP address that your server has and then click on done. After these easy steps, you’ll be connected to the server as a player. If you’re someone who is using the graphical user interface on the server configuration, you’ll be able to check who’s connected by just looking at the players list.
Final Words
So, there you have a full guide to setting up your own Minecraft Server in 2023, now you’ll be able to go out and enjoy Minecraft on a whole new level with friends and even more people if you so please.