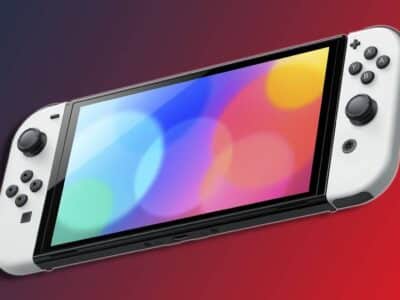
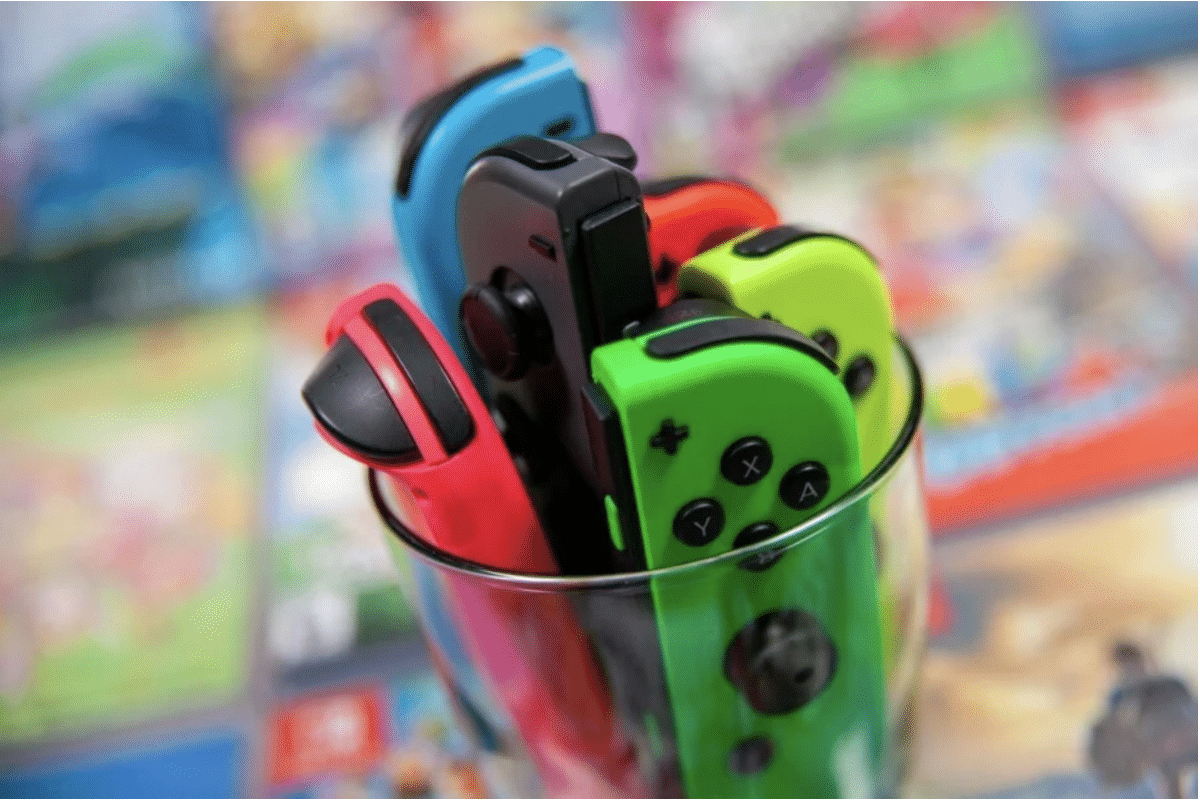
A lot of Nintendo Switch gamers have faced the issue of the Joy-Con drift ever since the launch of this console and even though the Nintendo Switch is extremely popular and loads of people still buy this console, this issue still persists.
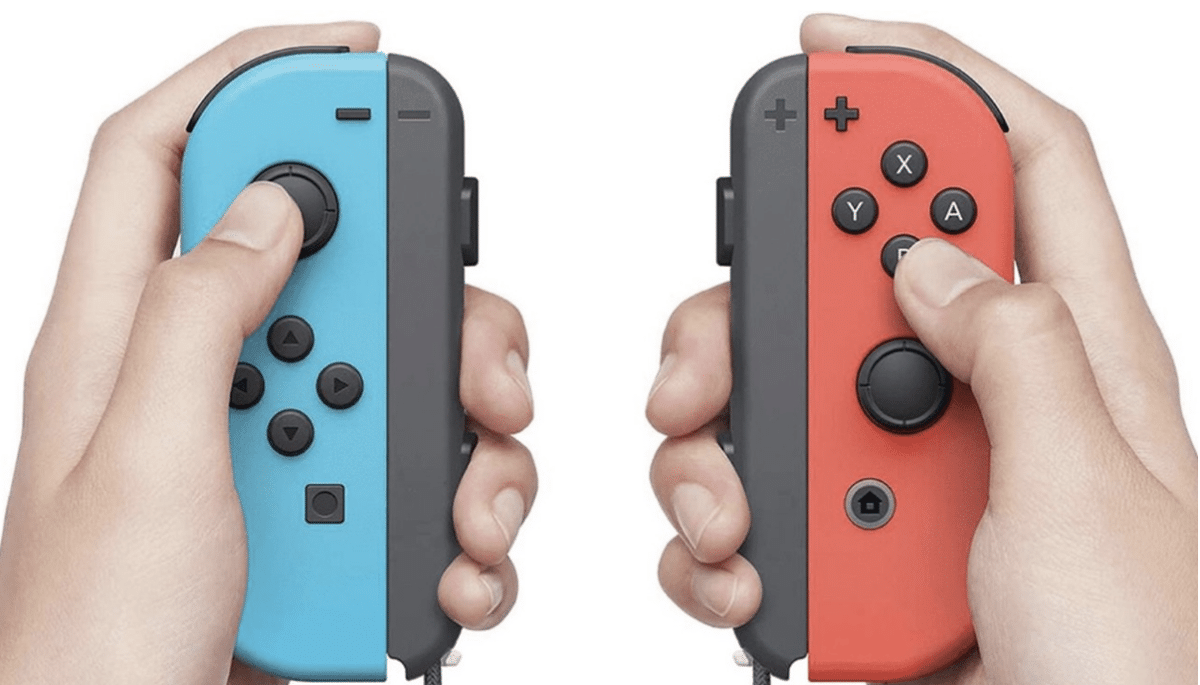
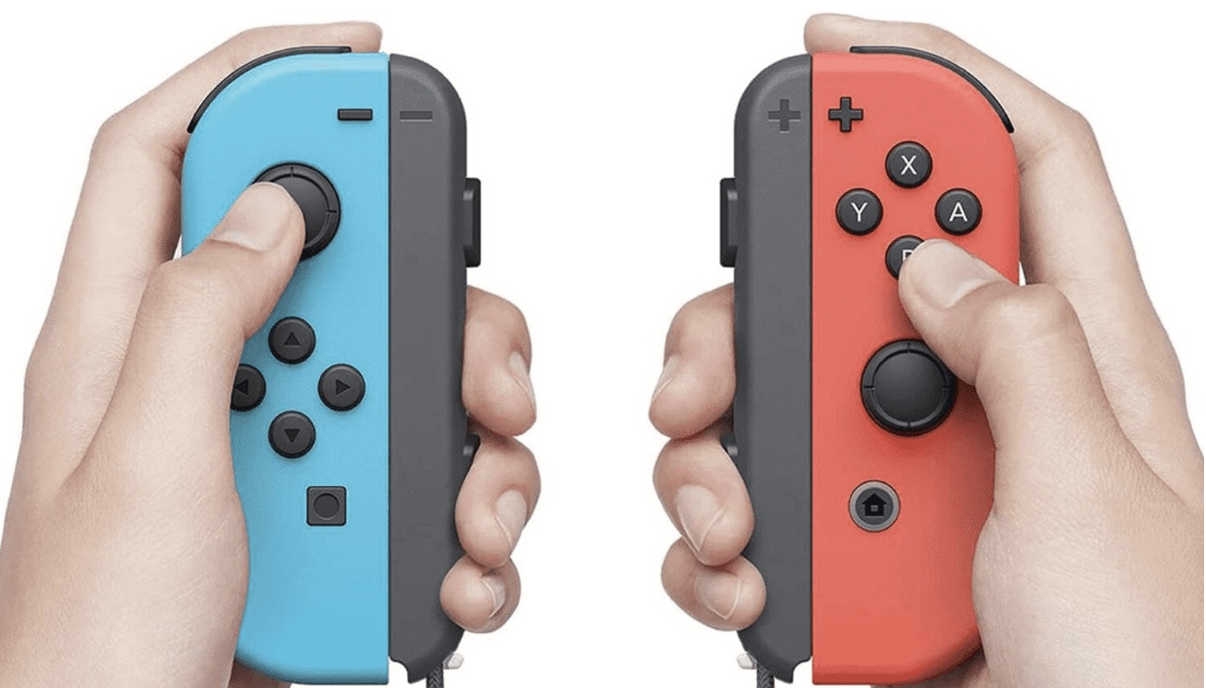
When someone refers to the Joy-Con drift then they mean that the Joy-Con’s thumbsticks are detecting movement, even when you aren’t even touching them. This means that during your gameplay, you could experience cases of your character wandering off and just you struggling to make precise moves.
Although a guaranteed solution to your problem would be to purchase new Joy-Cons, that is definitely a pretty pricey one. Sadly if you have the Nintendo Switch Lite you won’t be able to do this because you don’t have detachable Joy-Cons.
Hopefully this problem doesn’t carry onto the next generation of the Nintendo Switch, but until then, here are a few different ways you can try to fix Joy-Con drift at home and stop ruining your gaming experience with the Nintendo Switch. It is also important that you remember that if you start messing with the internal parts of your Switch it could be risky and even void your warranty.
Why Does Joy-Con Drift Happen
A lot of the time, when a Nintendo Switch users experiences Joy-Con drift it’s in the left Joy-Con and although there is no clear explanation as to why this happens, some do think that it’s because the left Joy-Con has it’s antenna situated in the main board, which could experience interference from other metal parts. The more simple reason as to why you may be experiencing Joy-Con drift is because of wear and tear, or the fact that dust and dirt has made its way through the Joy-Cons external casing.
1st Method – Update your Joy-Cons
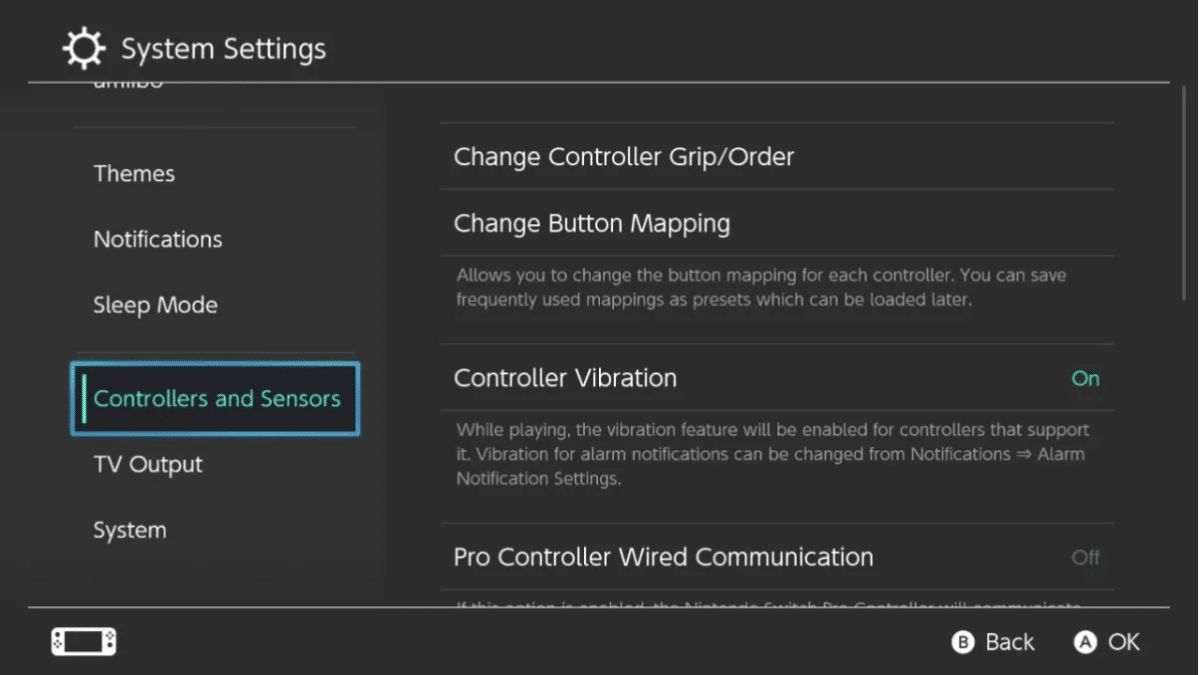
The first thing that you should definitely try out in order to fix your Joy-Con drift issue would be to update your Joy-Cons. In order to do this you’ll need to have both of the Joy-Cons attached onto the main console, then head to ‘System Settings’. Once you’ve made it into the settings you’ll want to select ‘Controllers and Sensors’ and then ‘Update Controllers, and finally press the A button. Once you’ve done this you’ll have the latest Joy-Con firmware installed.
2nd Method – Recalibrate Your Joy-Cons
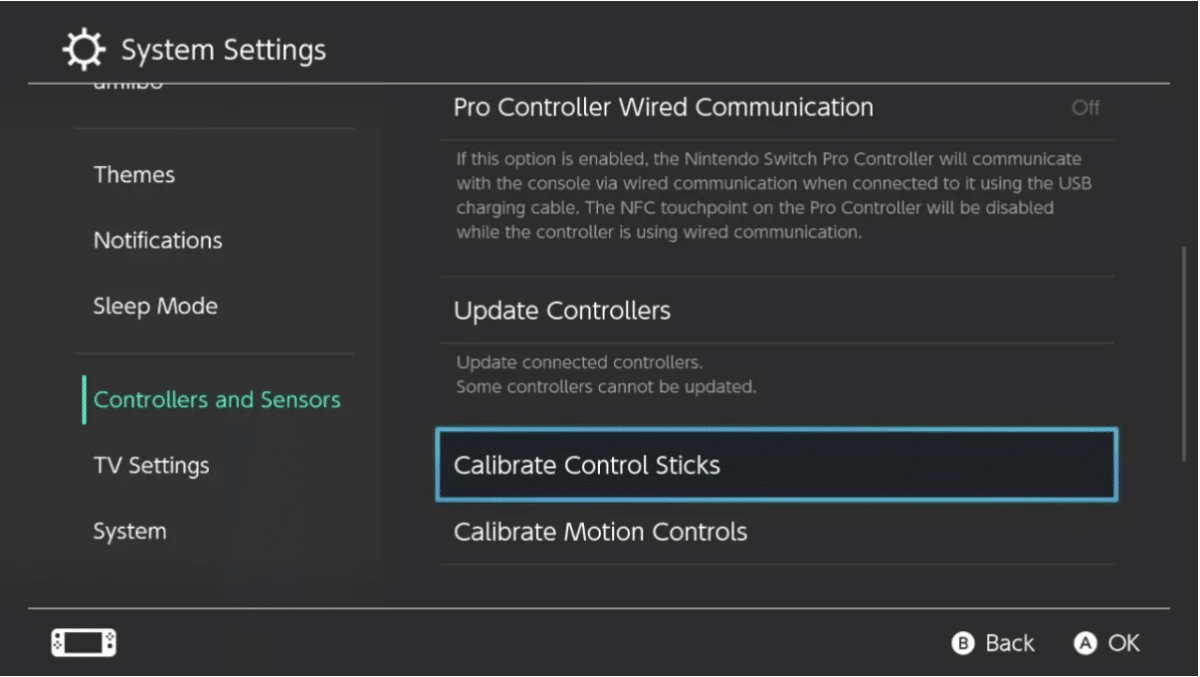
For this method, you’ll want to first detach your Joy-Cons from the main console and then recalibrate them one at a time. To do this you need to first go to ‘System Settings’, select ‘Controllers and Sensors’, and then ‘Calibrate Control Sticks’. Once you make it through these steps you’ll be taken to a series of some simple tests, which can definitely be a little bit challenging if your Joy-Con isn’t cooperating.
In the first test, you’ll be required to check the responsiveness of a floating point inside of a reticle. During this test, the point should be shown as a ‘+’ when you aren’t touching the thumbstick. Then you’ll see the side of the reticle’s circle turn green when you turn the thumbstick. If you notice that it isn’t working and the thumbsticks aren’t performing correctly then you’ll want to press the X button in order to recalibrate your Joy-Con.
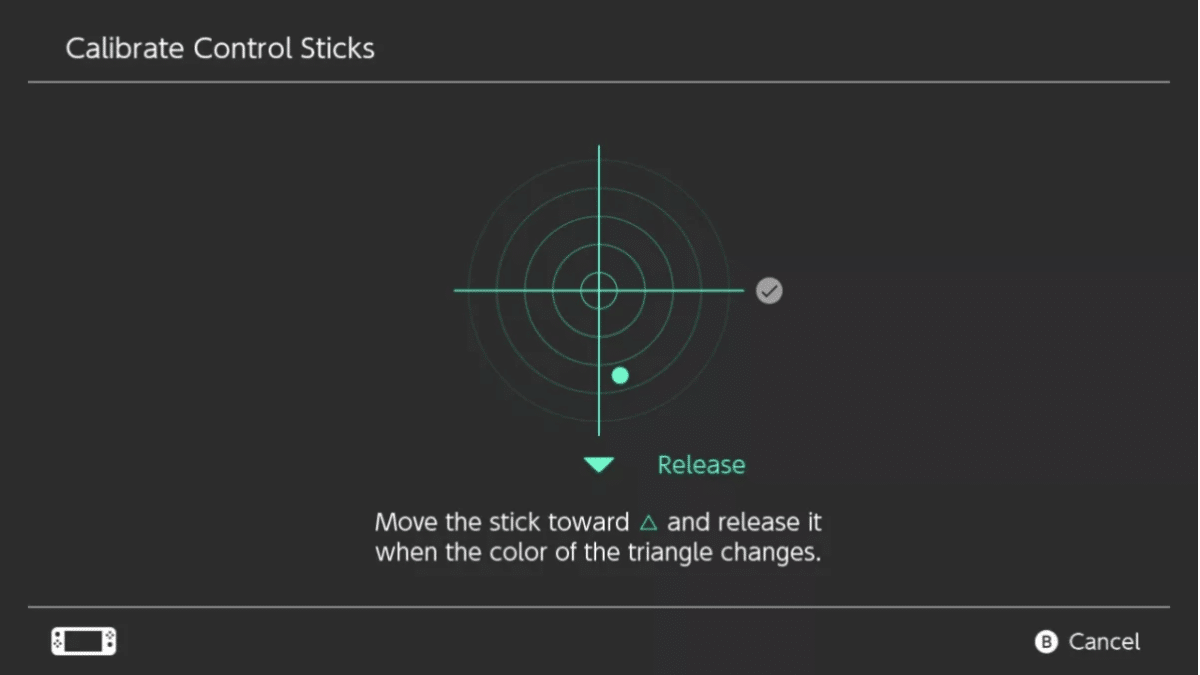
In the next test you’ll be greeted with a more detailed point and reticle. As the test begins you’ll need to push the stick towards the triangular arrow and then release it when the triangle changes its colour. You will have to do this a few more times as you have to perform it at all four cardinal points of the reticle, in order to complete this test.
After this test you’ll need to move the thumbstick in a relatively large circle about two or three times. The aim of this test is to try and keep the floating point as close to the outermost edge of the circle as you can. You’ll be able to know if you are doing it correctly if you see a green line appear, this green line will also disappear if your point gets too close to the centre of the circle.
3rd Method – Cleaning your Joy-Con Thumbstick
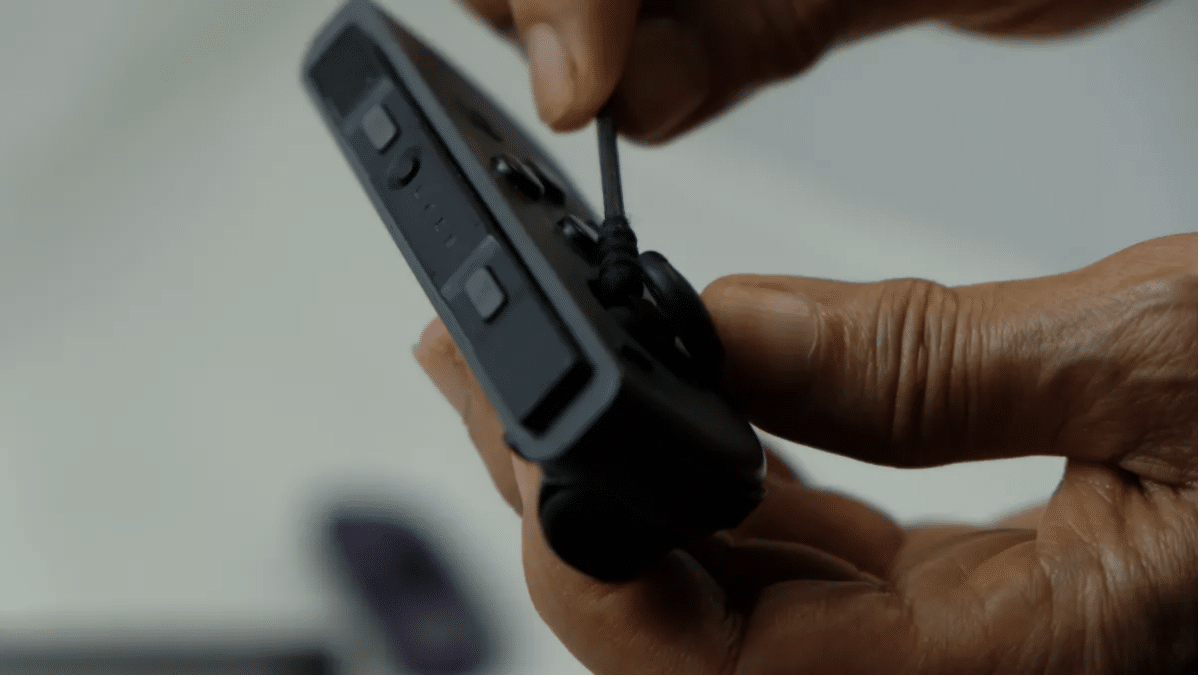
If you want the most simple and least invasive method for fixing your Joy-Con drift, then this 3rd method is definitely one that you should try out. Before you even begin you’ll want to make sure that you have contact cleaner for electronics, or even isopropyl alcohol, some Q-tips and also a small set of tweezers if you have one, but they aren’t a necessity.
Now that you have everything that you may need for this method, you’ll want to then examine the small rubber cover that’s underneath the ‘head’ of your Joy-Con thumbstick. If you did manage to find a pair of small tweezers then they’ll come in handy here as you’ll want to find the tiny rubber ‘skirt’, which is just designed to keep dust and other particles that you may not want entering the mechanism.
From here you’ll want to spray some contact cleaner, or apply some isopropyl alcohol, onto the tip of a Q-tip, and then try to push it beneath the rubber layer. Once you manage to get the Q-tip underneath this layer safely, you’ll then proceed to move it around at different angles to try and clean out as much unwanted debris as you can. Even though the contact cleaner has been specifically designed to be used on electronic, you should still try not to use too much and instead use small amounts of cleaner just to be safe. Once you’re happy with the state of the thumbstick, you’ll want to just rotate it a few times so that the residual cleaner is spread around as evenly as possible and then you just need to let it sit and dry for a few minutes.
Once everything is completed, you can then reattach your Joy-Con onto the main console and do the recalibration test, in the above method. When doing these tests, you should be able to see quite an improvement in the controllers performance. If you still have some drifting, then you could try to do the whole cleaning process again, however cleaning can’t guarantee you a 100% fix, but it can definitely make it a lot better.
Final Words
There is also the fact that you could try and take apart the whole Joy-Con and then insert a replacement joystick, however this is not recommended because by doing so you immediately invalidate the Nintendo warranty and you should only even think of trying this method if you have had experience with electronics. This does lead to the final method to fixing the Joy-Con drift and that is just simply contacting Nintendo and checking if you’re eligible for their free repair or replacement. You can do so on their support website.
So, there you have it, some of the best ways to try and fix your Joy-Con drift on your Nintendo Switch. Hopefully one of the DIY methods works so that you are able to get right back to gaming as soon as possible.