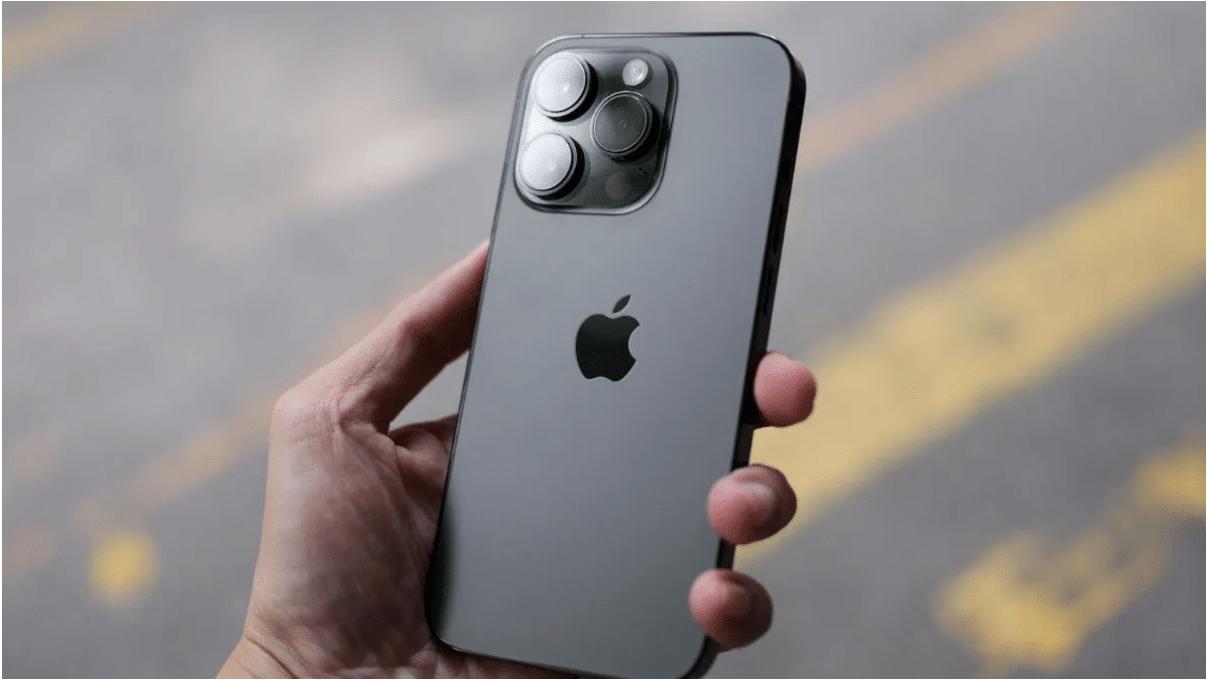
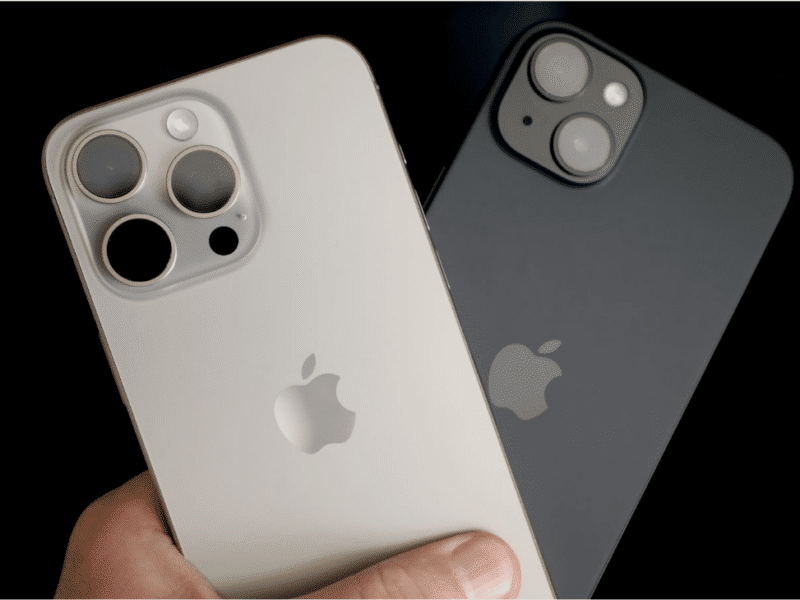
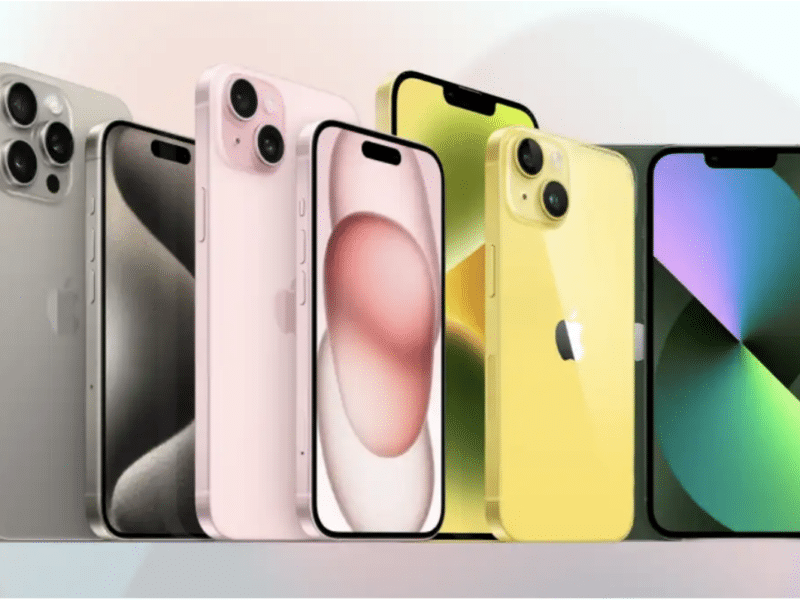
Probably the main reason as to why a lot of people are looking to purchase the new iPhone 15 Pro from Apple is for their camera system, so here are some of the upgrades that you’ll experience if you hop on over from the old iPhone 14 Pro to this one.
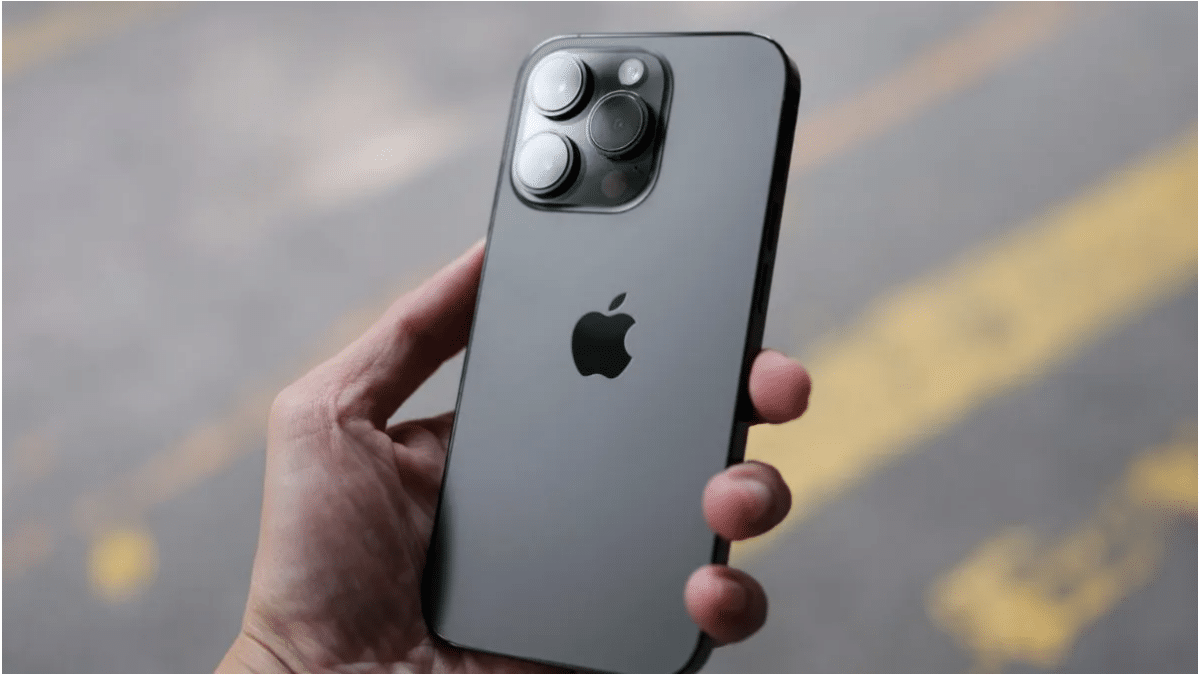
This doesn’t mean that the iPhone 14 Pro doesn’t necessarily have a good camera, in fact the iPhone 15 Pro actually uses the same sensor. However, as Apple has done with essentially every new model they have released, there are a few new camera features that definitely attract a lot of people, and the iPhone 15 Pro is definitely one of them.
Although there are just a few new features that really stand out with this latest iPhone model, there are genuinely some features that are really useful and make using this camera a lot better compared to its predecessor. So, without further adieu, here are the top five features that iPhone 15 Pro users love.
Top Five Features
5. Zoom Context Panel
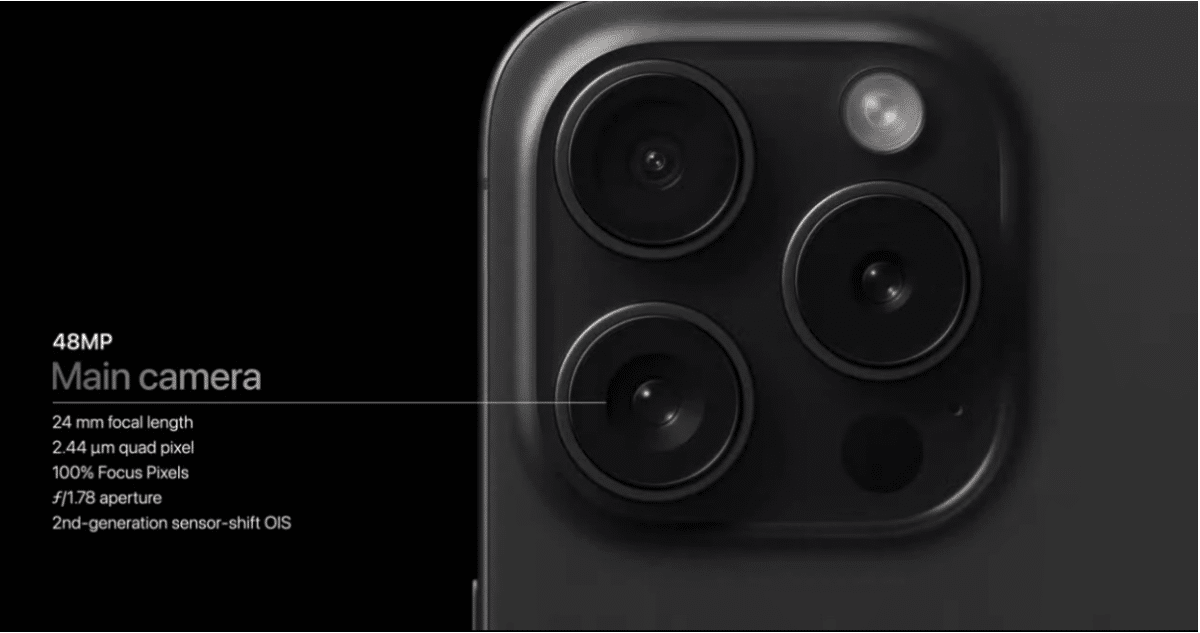
Although this feature isn’t necessarily huge, it is still one that is extremely enjoyable and you’ll definitely appreciate having it in the bank because it shows a high level of attention to detail. You’ll notice that the iPhone 15 Pro has a pretty good telephoto camera and with this you get quite a long digital zoom length, being able to zoom in 15x to be exact.
When you’ve zoomed into something this far it’s pretty easy to get confused as to where exactly you’ve now zoomed into in comparison to the original framing you had. Furthermore it gets pretty frustrating and makes you very disorientated if you zoom into the wrong bit, or if you’ve moved the camera around, even just slightly, to try and figure out where in the frame you’ve managed to end up.
Now what’s great about the iPhone 15 Pro is that you now get a zoom context panel when you’re shooting. What this zoom context panel essentially is is a small window that actually shows the whole image, but then with a yellow box that shows you where you’re zoomed in in the frame.
If you want to enable this feature on your iPhone 15 Pro then all you’ll have to do is zoom into a photo by pinching out on the screen and then once you make it past the 8x zoom mark you’ll see the context panel pop up automatically in the top right, easy right.
4. Action Button as Camera Shutter
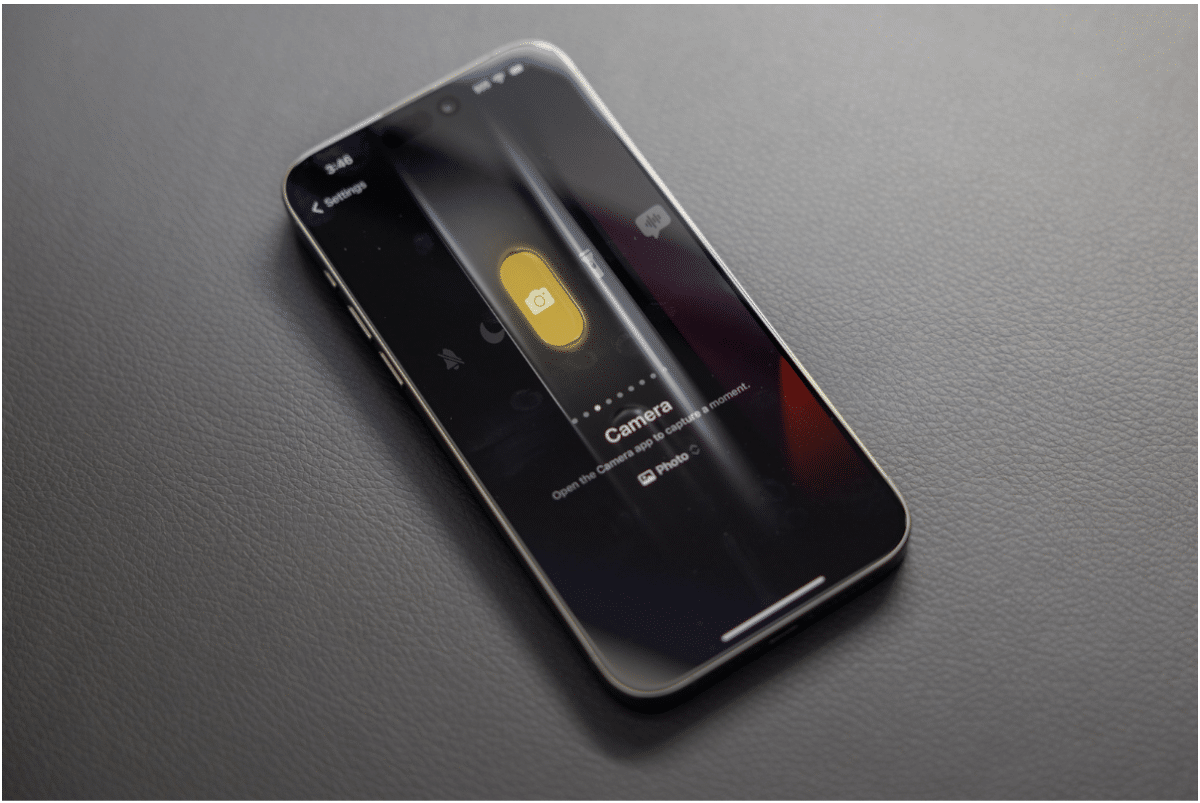
One of the biggest new features that comes with the new iPhone 15 Pro is its new Action Button, which can have loads of different functions assigned to it. One of these functions that you can assign to the Action Button is the Camera, which you can set up in such a way that when you long press the Action Button it’ll open the camera.
A lot of people may think that this use of the Action Button may be useless. As many of you know, you can open the camera from the lockscreen with a button on the screen. However, just clicking the Action Button is a little bit faster and more convenient than using the button on the screen, furthermore it is also a lot easier when you want to open up your camera when you have already unlocked your phone.
This feature doesn’t just work as a button to open up your camera app though, because once the camera is opened, the button will then act as a shutter/record button. This means that you’ll be able to open up your camera app with this button and then continue to just keep your finger there and start shooting immediately. With all of these small time saving features put together you may just be able to capture the shot that you might have missed otherwise if you didn’t have this feature set up.
How to set it up:
In order to set up this feature all you need to do is open up the Settings App, select the Action Button setting and then swipe to the Camera. Now what you’ll want to do from here is long press the Action Button to then open the camera and then you can short press the Action Button if you want to take photos or instead long press it to start video recording.
3. 48MP HEIF Photos
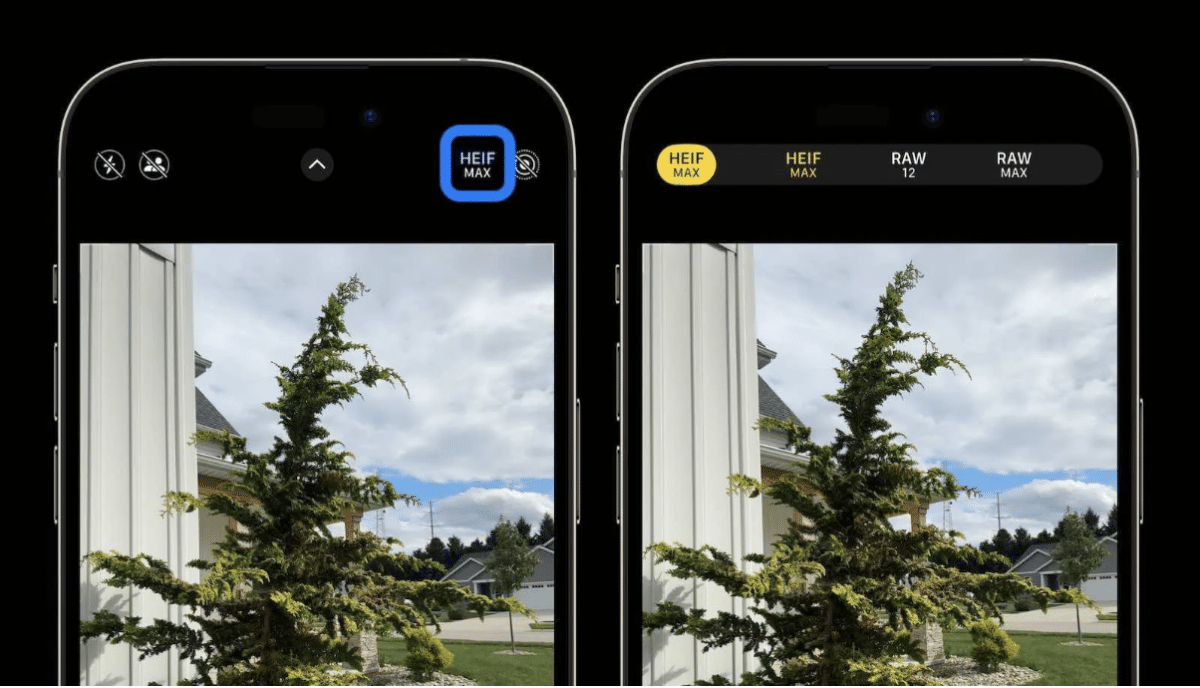
So, although you are technically able to take 48MP photos with your iPhone 14 Pro, these photos weren’t very usable, this is because you were only able to take 48MP photos in ProRes RAW file format. Now although there are loads of photographers out there that love to shoot in RAW photo mode with their ‘proper’ camera setup, people don’t really shoot in RAW on iPhones that often because people use their phones for more quick snaps and therefore probably won’t bother editing them in Lightroom later. Furthermore, even handling these ProRes files was quite a pain and just getting them off of your phone in their raw state was a challenge.
Now when it comes to the iPhone 15 Pro, this iPhone features 48MP HEIF files instead. What HEIF files are, are essentially compressed files, which means that they don’t offer the exact same benefits as RAW files when it comes to the exposure adjustments in post. This does mean that the HEIF images that you take are smaller in file size and Apple also hasn’t made them really challenging to get off of your phone like the ProRes files. So with these benefits you then have access to more usable high resolution images, which is great for those that aren’t going to be editing their iPhone images.
How to enable it:
In order to enable this mode of shooting you’ll need to first open up the Settings app and then tap on ‘Camera’. When you get into the camera settings you want to select ‘Formats’ and then tap on ‘High Efficiency’, which is found right at the top. Then scroll down and toggle on the ProRAW & Resolution Control and tap Pro Default. Once you’ve managed to do all of these things you can then tap HEIF Max and then open the Camera app, in which you’ll then want to click on the HEIF MAX button at the top.
2. Swap Default Primary Focal Length
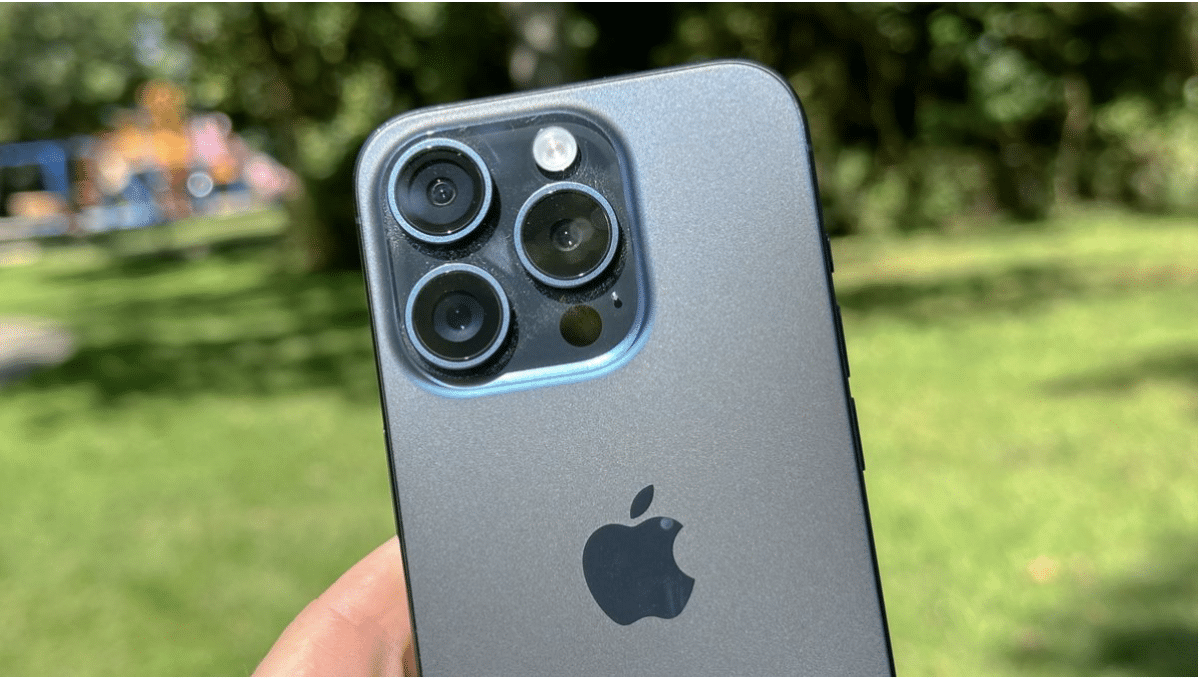
If you are someone that has the iPhone 15 Pro, you’ll definitely appreciate this new feature, which is the fact that this new iPhone has three various default “lenses”. Essentially what this means is that you will have the ability to switch the zoom that the main lens defaults to. Technically you aren’t switching the lenses that you are using but it is a really cool and useful new feature, despite its inaccurate wording.
This will definitely be a feature that those photographers who don’t like to use the wide angles will appreciate, as now you have the choice to use a more standard angle like 35mm. Thanks to this feature you’ll be able to set your preferred focal length accordingly so that you won’t need to zoom every time you want to take a photo, which can definitely help you get some shots a lot more quickly, that you may have missed previously.
How to change default focal length:
When you want to change the default focal length of your camera all you’ll have to do is go into your Settings app and then click on the Camera setting. From here you’ll want to scroll down until you reach the ‘Main Camera’ setting and click on it. Now that you’ve made it here you’ll want to make sure that both of the top two toggles are green and then choose the focal length at the bottom.
1. Change Focus Point After You Shoot
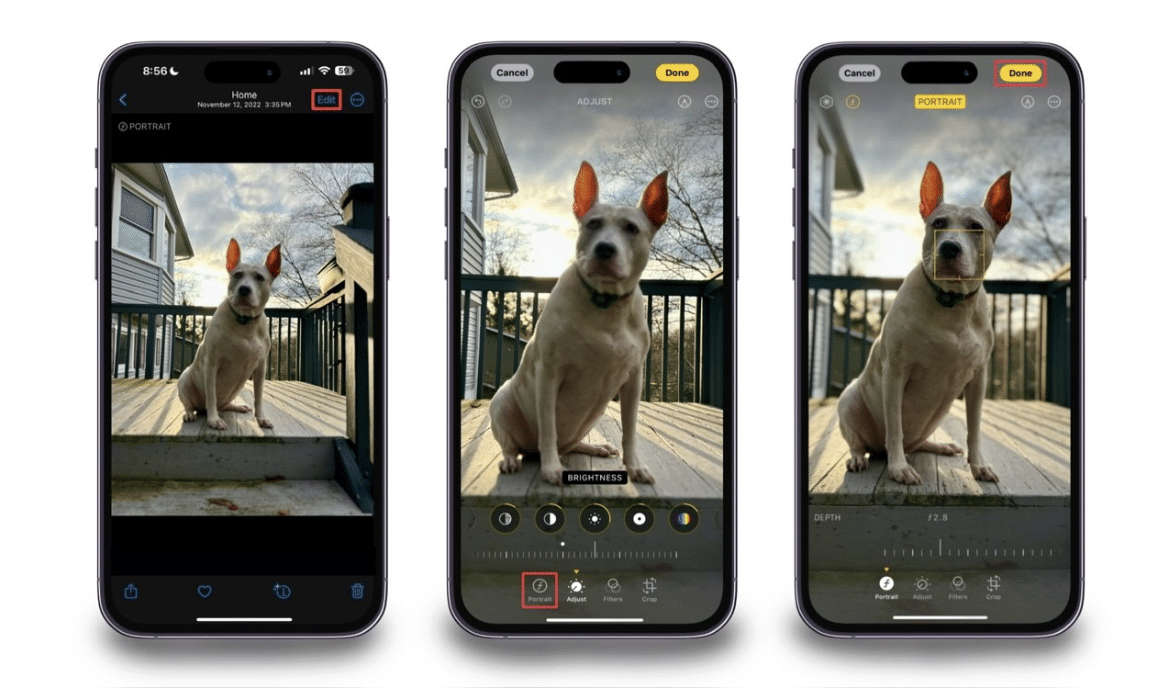
One of the best new features that you will get with the new iPhone 15 Pro is that you’re now able to actually take a photo and then afterwards you can choose the focal point. This essentially means that if you missed focus or if you change your mind and want to focus on another point in a picture you’ll now be able to simply change it. Furthermore, you’ll also be able to change the depth of field, which means that you’ll be able to bring either more things into focus or less things, compared to when you took the original photo.
Usually, with a full-sized camera and lens, you wouldn’t be able to do any of this as the focal point is usually set as soon as you take the photo, and the depth of field of a shot is instead controlled by the physical aperture of the lens, which as you may know is always fixed once you’ve taken your picture.
Thanks to Apple’s software produced blur, which has been around for quite a while now within the Portrait mode, you’ll be able to use this artificial depth of field controls not just in the Portrait mode anymore but in the standard Photo mode as well. In previous iPhones the Portrait modes where the background gets blurred hasn’t been so appealing for those with a photographic eye, as the blur just never quite looked right and would sometimes seep into areas where it didn’t belong. Now, with the introduction of the iPhone 15 Pro, this artificial blur has definitely gotten a lot better and even though the quality of the blur may not be perfect it is still an awesome feature to use.
How to use this feature:
If you want to change the focus point after you’ve shot an image then you’ll first need to tap the ‘f’ button within the Camera app itself and then just take your photo as usual. Now once you’ve captured the image you wanted to capture, you can then open the image editor and tap the screen where you’d want to change the focus to. From here just scroll the ‘f’ dial in order to change the depth of field till you feel happy with it.
Final Words
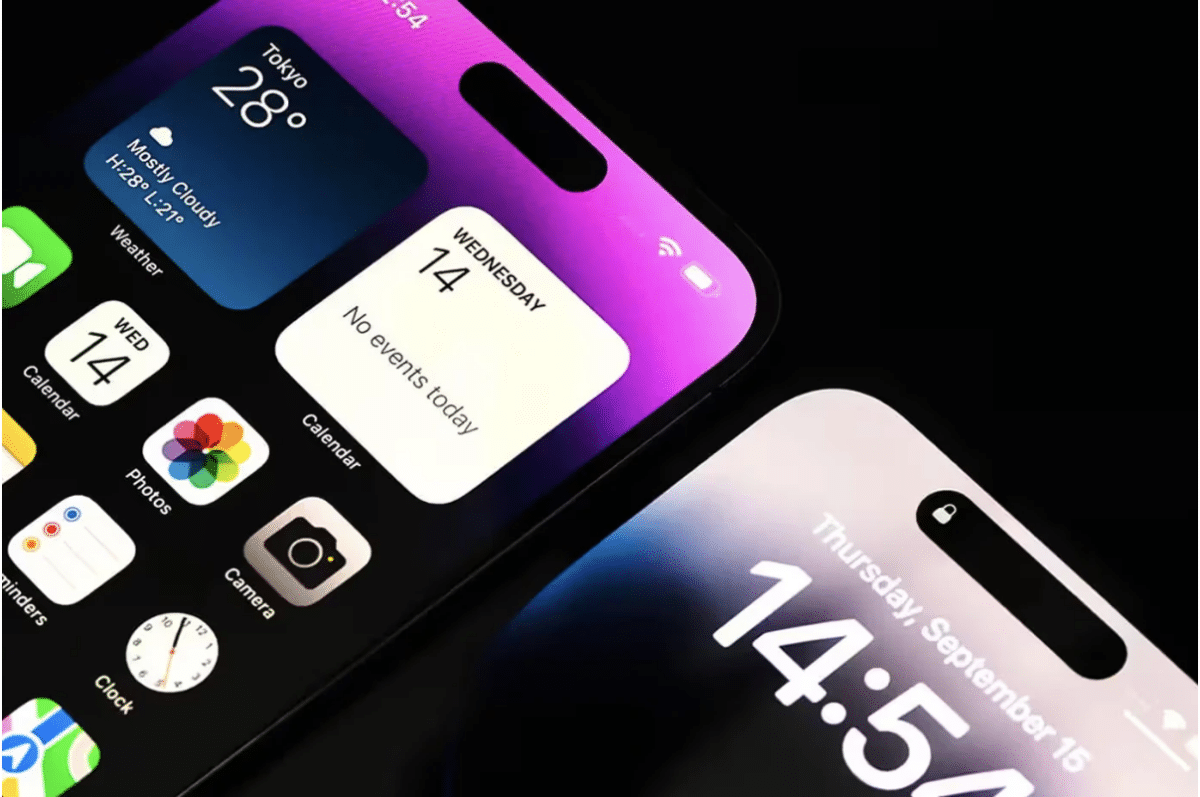
In conclusion, the iPhone 15 Pro introduces a range of camera features that enhance the photography experience for users. While the iPhone 14 Pro already boasted a commendable camera, the iPhone 15 Pro takes it a step further with innovative upgrades.
The top five features, including the Zoom Context Panel, Action Button as Camera Shutter, 49MP HEIF Photos, Swap Default Primary Focal Length, and Change Focus Point After You Shoot, showcase Apple’s commitment to refining user interaction and expanding creative possibilities.
These enhancements, though seemingly small, collectively contribute to a more enjoyable and efficient photography experience, making the iPhone 15 Pro a standout choice for those who value the art of capturing moments.

