Before even starting to set up your tubeless tyres on your bike, it is really important to first make sure that you have all of the components needed to do the job so that you don’t get halfway and then realise that you can’t finish it.
Now that you have made sure that you have all of the components needed to do the job, below you’ll find a full step-by-step guide on how to set up your tubeless tyres for the first time all by yourself, no help needed.
Setting Up Tubeless Tyres
1. Prepare and Tape the Rim
Before you start applying the tape to your rim it’s important to make sure that your rim bed is completely clean, dry and also doesn’t have any sort of residue from the old tape or old sealant.
You should try your best to not use mechanical removal of the rim tape, except for maybe the most stubborn of any residue. A different method that you could try to use instead is to use isopropyl alcohol as well as a clean rag to try and soften up the old glue that you’re struggling with.
Now that you’ve got the whole rim completely clean you can finally start getting your new time tape down. At the beginning you’ll want to apply around 6 to 8 inches onto the rim, starting a couple of spokes past the valve hole. When you’ve got this fastened down the tape should be pretty stable and hold itself in place so that you’ll be able to just golf the wheel around the hub and rotate it away from yourself to apply the rest of the tape. Whilst doing this it’s still important to keep the tension high and also ensure that the tape continues to stay straight the whole way around.
Once you manage to make it all the way around the wheel and get to the start of the tape, just continue for about 4 inches, overlapping the beginning of the tape. Once done with this you can then cut the tape and firmly press the tape down with your fingers and work out any bubbles that you may have left, making sure that everything is airtight.
Now that you have everything down, you can go over everything and inspect it closely, making sure that there is no damage. If you do find out that there is a part that has been damaged then it’s best to just start again and make sure that you get everything down perfectly.
2. Fitting the Tubeless Valve
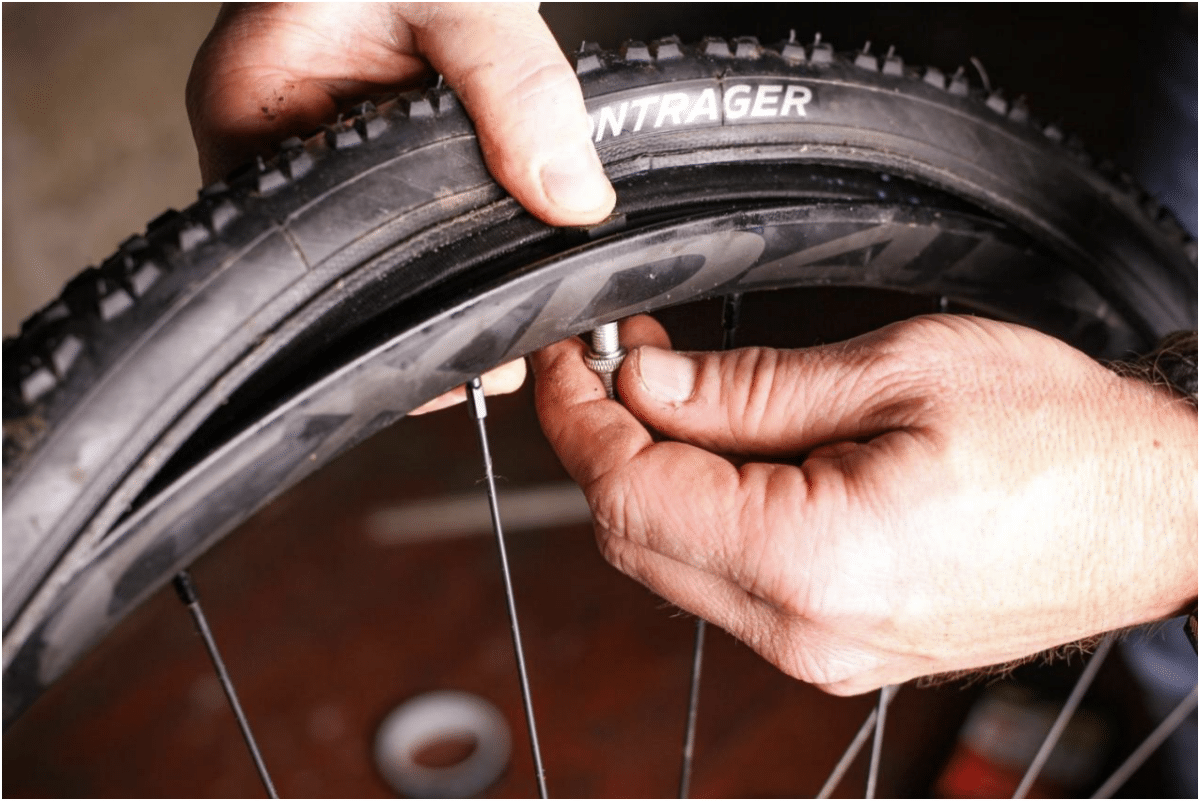
Now when you want to fit the tubeless valve you’ll want to find the valve hole first on the rim and then push on it with a small prick, from the inside outward. Now that you can see where the valve hole is from the outside you’ll want to then make a small hole in it, this time from the outside inwards.
Now that you have your hole you can now push the valve through it and let it essentially ‘cut’ the hole to its perfect size of the thickness of the valve. There are some people that you may notice, that use a Standley knife to cut the tape, however this method just tears the rape and doesn’t cut a nice circular hole for the valve.
Now that you have the valve positioned in the hole, you’ll want to push down on the valve so that it deforms to the bung and screw on the lockring. When you’re securing the valve it may be tempting to use tools to secure it tighter, but unless the manufacturer says otherwise you shouldn’t do it as it can often deform any O-rings.
3. Fitting the Tubeless Tyre
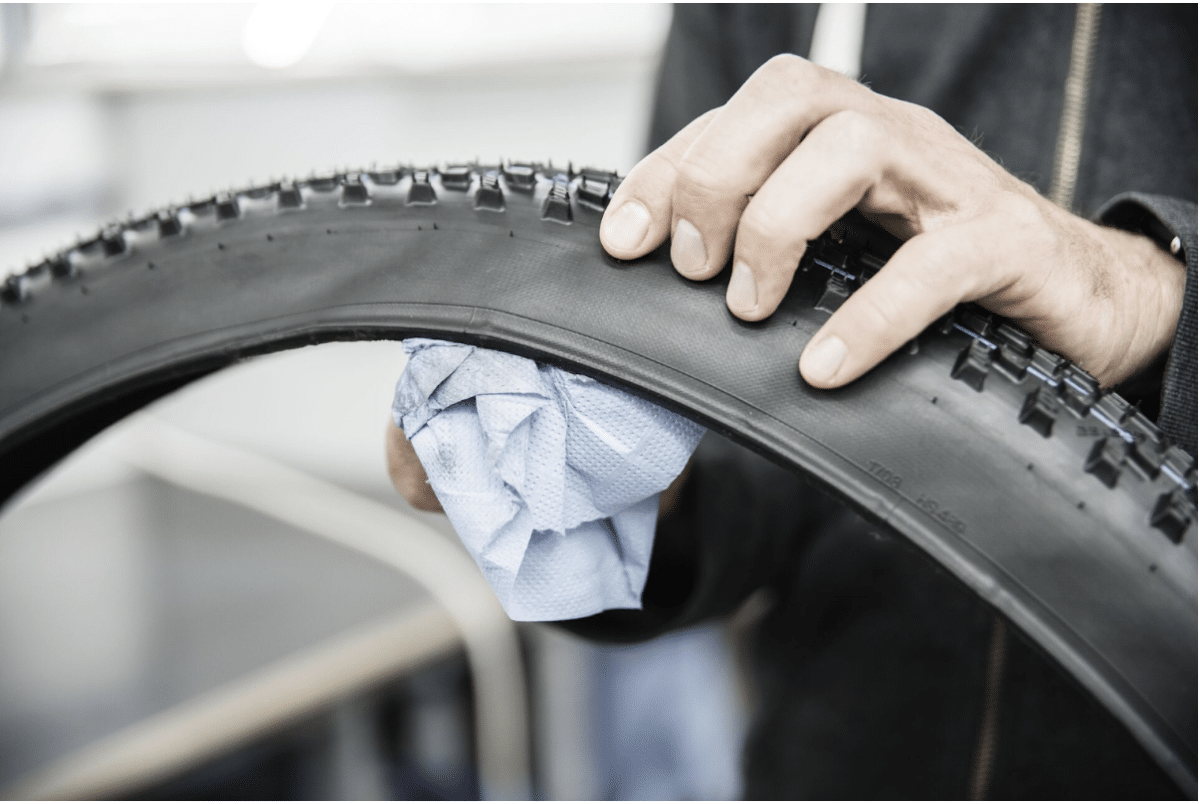
When you’re putting a tubeless tyre onto the rim, it’s exactly the same as how you would with a regular tyre, however it can be a little more challenging because of the tighter bead.
The nice thing about fitting tubeless tyres is that you can be quite aggressive with your tyre levers since you don’t have any tube inside to worry about. This still doesn’t mean that you can be completely careless and just go crazy because it is still pretty easy to nick or damage your tubeless tape, which as a result could force you to start everything again.
Now that you have both sides of your tyre on the rim you can proceed to massaging the tyre to make sure that it is sitting all the way in the well and sits on either side of the valve. If you are struggling with installing the final part of the tyre’s bead then it could help to just go around the rest of the tyre and then push the tyre inwards.
4. Adding the Tubeless Sealant
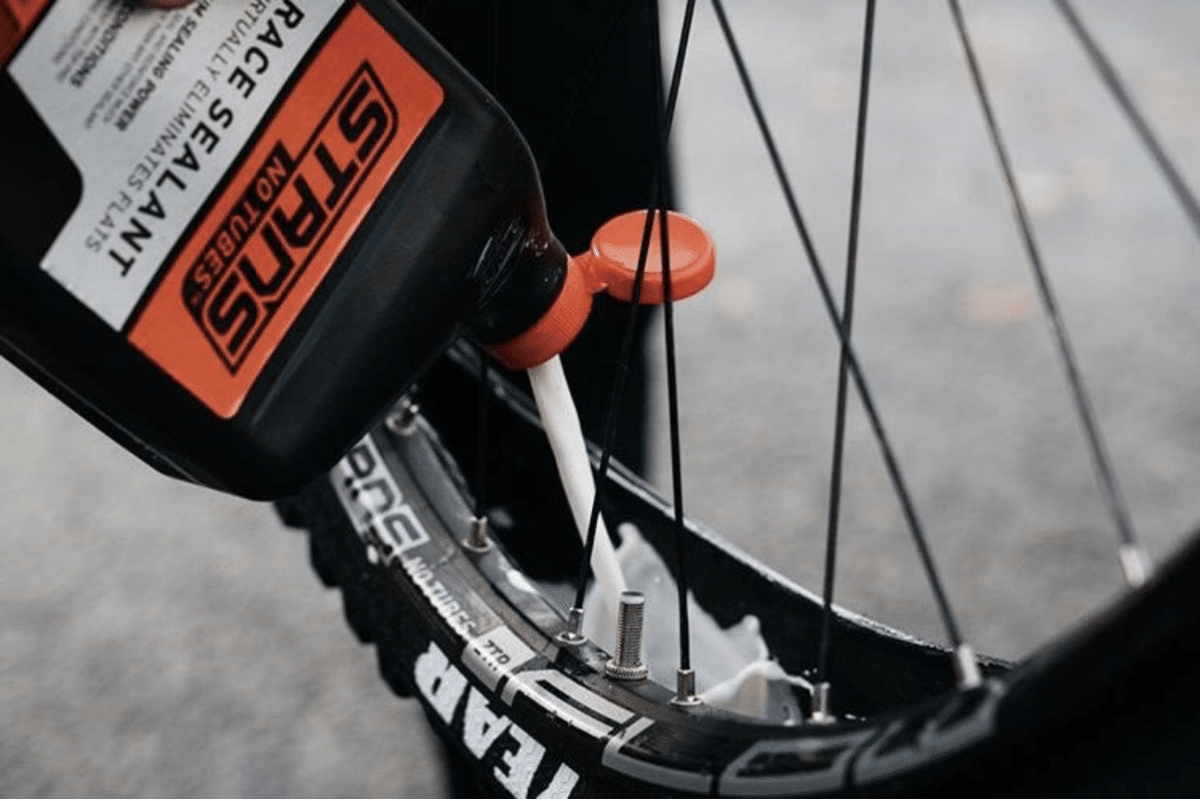
If you have done this before and feel confident in your abilities to get your tyre onto your rim with little to no fuss then you could already add your sealant before you start fully fitting your tyre. Once you have managed to add the tubeless sealant you’ll want to rotate the wheel slightly so that you have the sealant flow away from the final part of the bead you need to install to make sure that the sealant doesn’t overflow everywhere.
On the other hand, if you are new to this whole conversion then you may find it a lot easier to add sealant via the valve itself. This can either be done with a syringe or a small applicator bottle. Once you’ve added the sealant you’ll want to rotate the wheel to make sure that the sealant coats the entire inside of your tyre.
5. Seat the Tyre
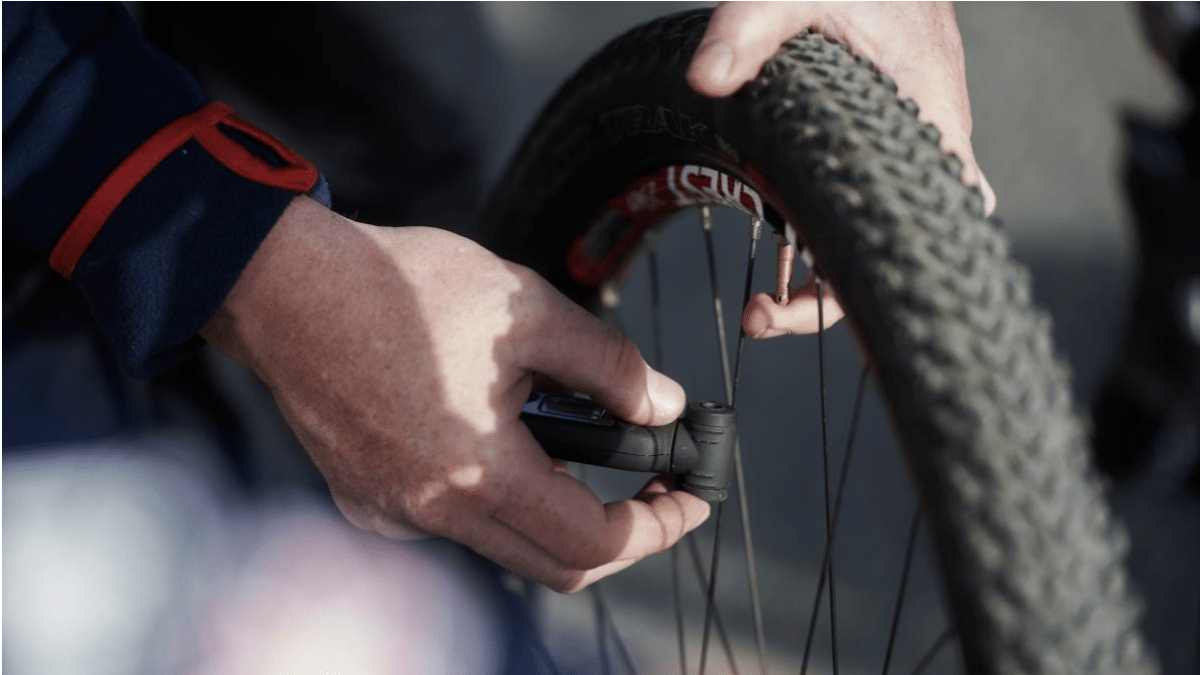
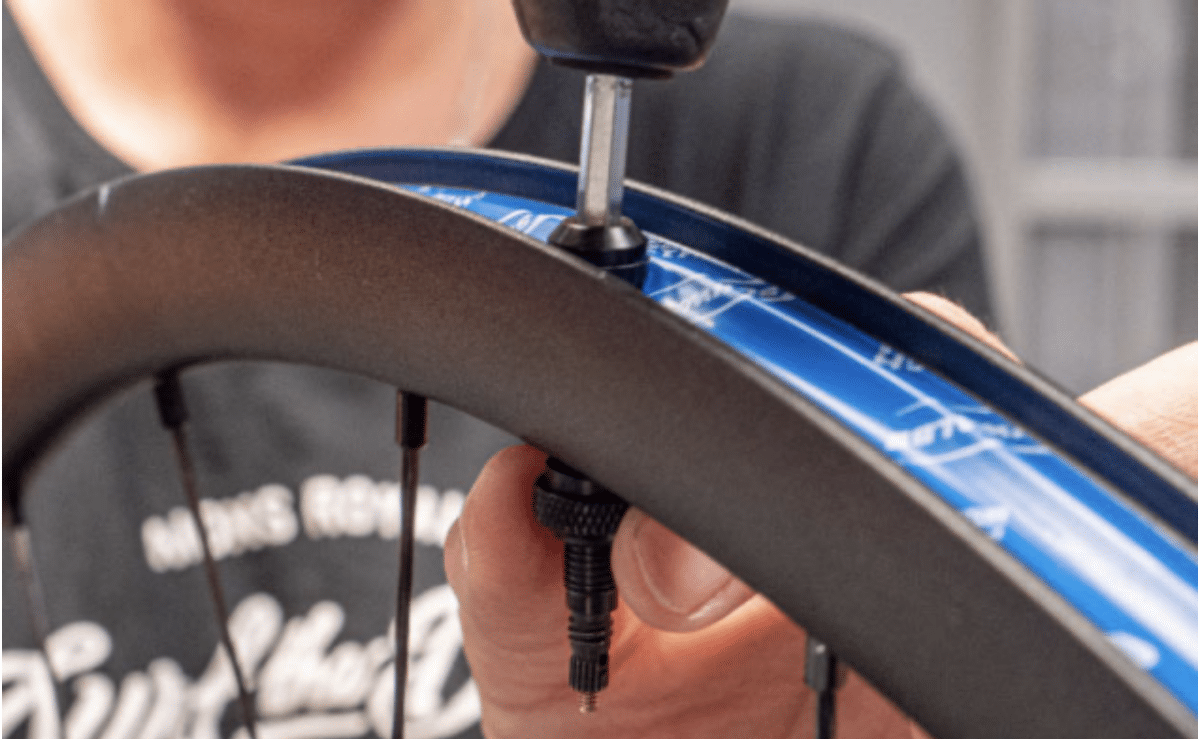
When you’re about to seat the tyre, it may actually be a better idea to do so with the valve core removed, as by doing this you allow for the most direct path of air to head into the tyre.
Now after just a couple of blasts of air from your track pump you should notice your tyre just pop into place within your rim. If you are pumping your tyre and notice that only one of the sections of the tyre seats, don’t worry, just continue pumping until you hear the rest of the tyre seat and continue to do this until it seats around the full circumference of the wheel. If you are struggling a lot with seating your tyres with a track pump then you may need a tubeless pump or air compressor.
Now once you believe that the whole tyre has seated you can then remove the head of the pump and then replace it with the valve core again. Now that the valve core is back in you can give the tyre a little more air and then shake it vigorously and spin it to make sure that you fully coat the whole inside of the tyre. Going out on a quick ride could also be a good idea just to make double sure that the sealant fully coats the inside of the tyre.
Maintaining Your Tubeless Tyres
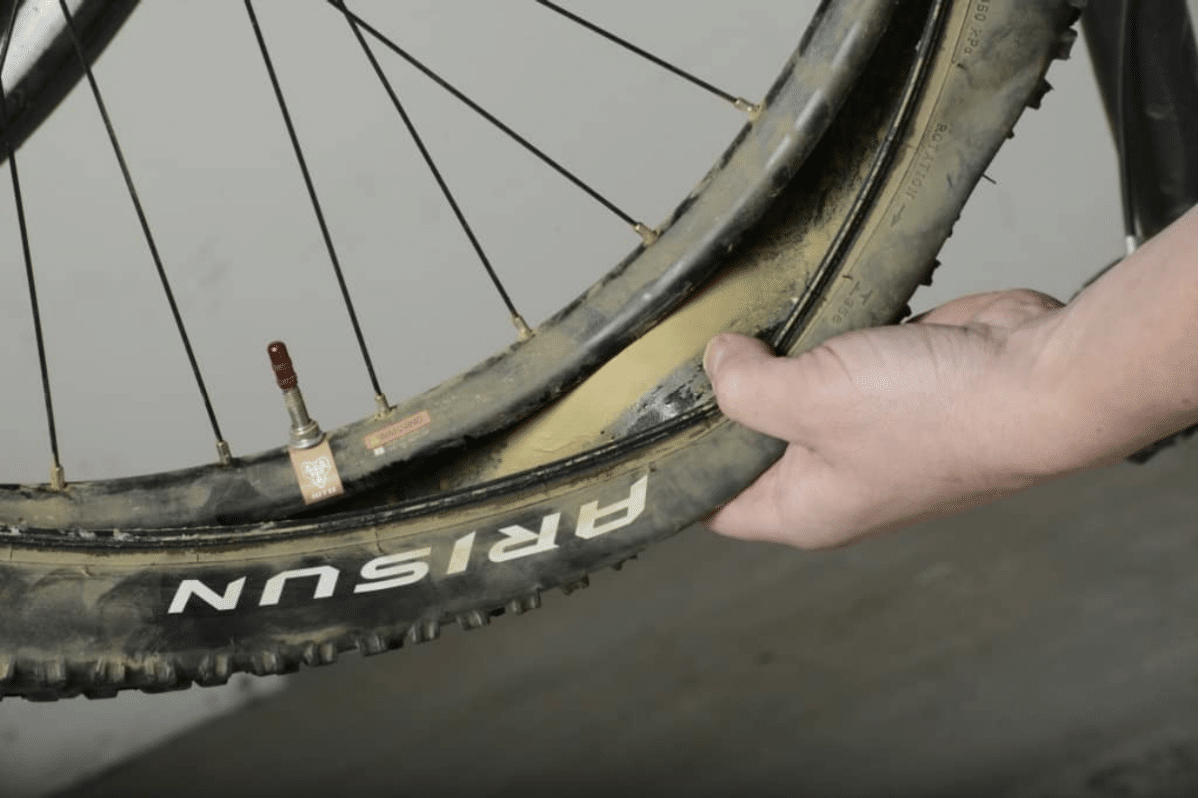
More often than not you can kind of fit your tubeless tyres and then just forget about them but you will sometimes need to top up on the sealant as overtime it does start to dry out and then result in it being less effective. Not all sealant liquids will dry at the same pace but it is definitely a good idea to try and make it a habit to check your sealant levels around every two to three months.
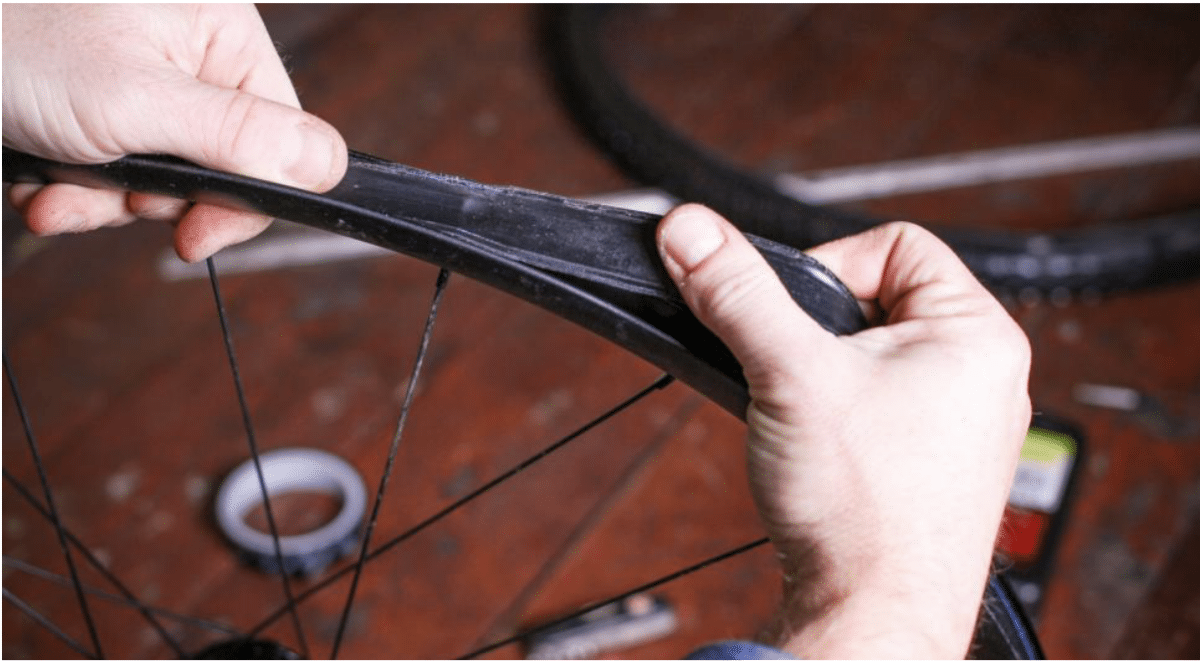
The first way in which you can check this is to either remove a small section of the tyres bead and then inspect it visually to make sure that the sealant levels are good. Another way you could check this is to insert a cable tie through the valve core, which essentially works the same way as a dipstick for your car.
Now if you do realise that it is time to add more sealant then you can easily do so by either pouring some fresh sealant into the exposed section of the tyre or injecting it through the valve core. Now you can just keep refilling it but after a year or 18 months it would be worth it to actually fully remove your whole tyre and clean everything thoroughly in order to remove any sealant that may have clogged up inside the tyre.
Final Words
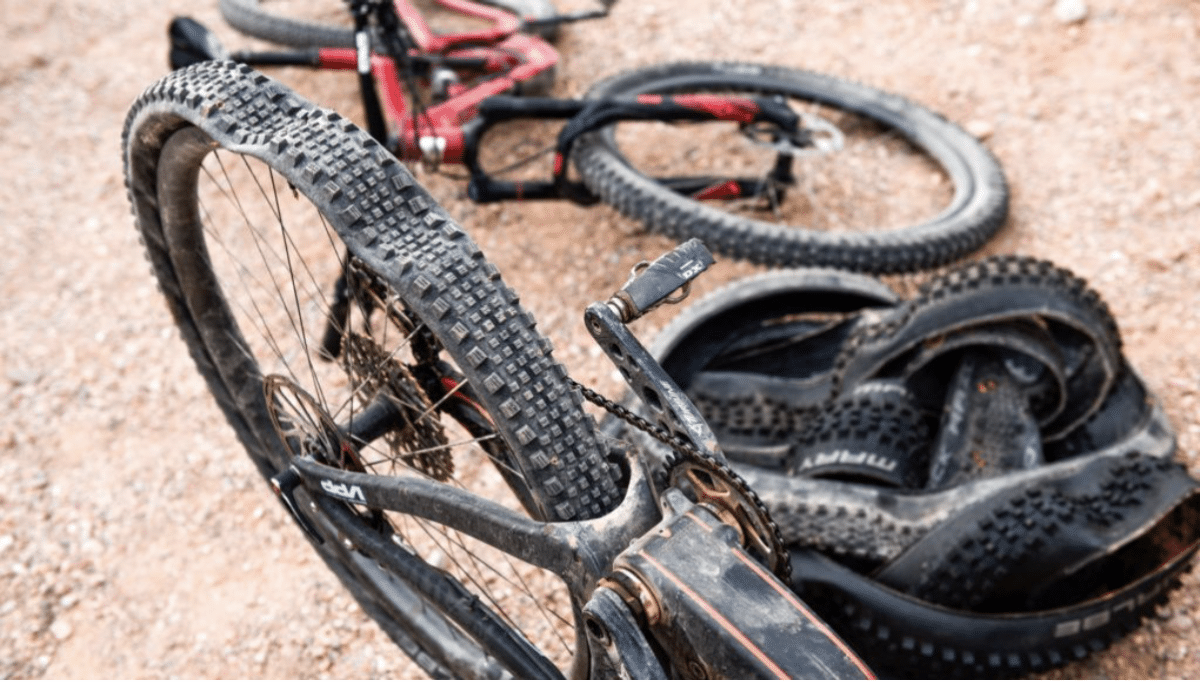
So, there you have a full step by step guide to how you can set up a tubeless tyre on your bike as well as the steps that you can take afterwards in order to maintain it. As you can see, switching to a tubeless setup isn’t that challenging and it is definitely a good idea if you have the extra time on your hands as it can save you from a lot of headaches when you’re out riding on the trails.