Tubeless tyres are just getting more and more popular over the years and for some really great reasons as well. One of the most important benefits that you get from running a tubeless tyre on your bike is that you will be able to run at lower tyre pressures, which as a result will lead to a more comfortable riding experience as well. Now that you remove the inner tube from your wheel, you’ll now rely completely on a type of sealant that you put inside of your tyre, which will clog up any small holes that may penetrate your tyres.

If you are someone that may not have had a tubeless tyre setup on your bike in the past then it may seem like quite a daunting task and journey to embark on to set it up. So, in this guide, you’ll get a full list of every component that you need to even begin the tubeless tyre conversion as well as an explanation on each one.
The 6 Things You’ll Need
Before even beginning the process of setting up your tubeless tyres, it’ll be important to make sure that you have everything so that you don’t waste your time. It may also be useful to some people to know why you need these things so that you’ll be able to understand what makes up a tubeless setup and also what the function of each component is exactly.
Tubeless Tape
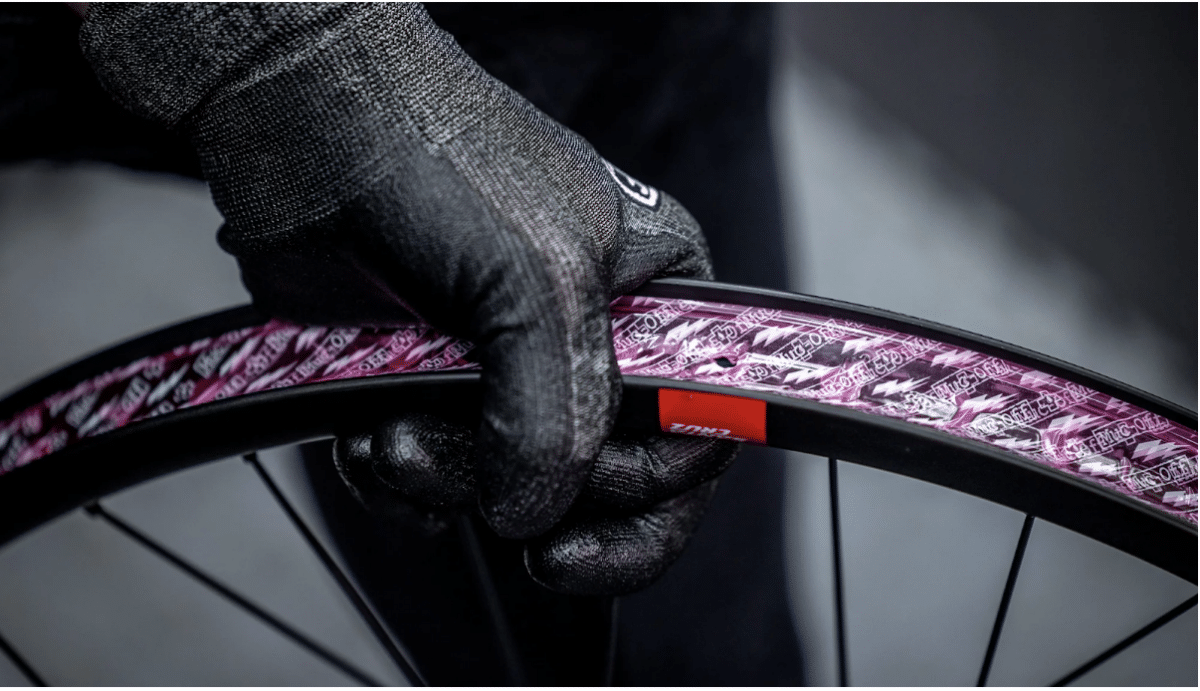
The tubeless tape is a component that is applied to the bed of the rim and its job is to provide an airtight barrier so that no air is able to escape through your wheel’s spoke holes.
The type of tubeless tape that you need will usually be specific to the discipline that you are riding, such as road, gravel or mountain biking and it will have to suit your rim width.
There are actually quite a few bikes and wheels, which you can purchase at this time, that will come completely pre-taped so you don’t have to do anything at all. There are even some brands that take it a step further, such as Campagnolo, who don’t require you to have rim tape as these wheels don’t even have spoke holes.
Tubeless Valves
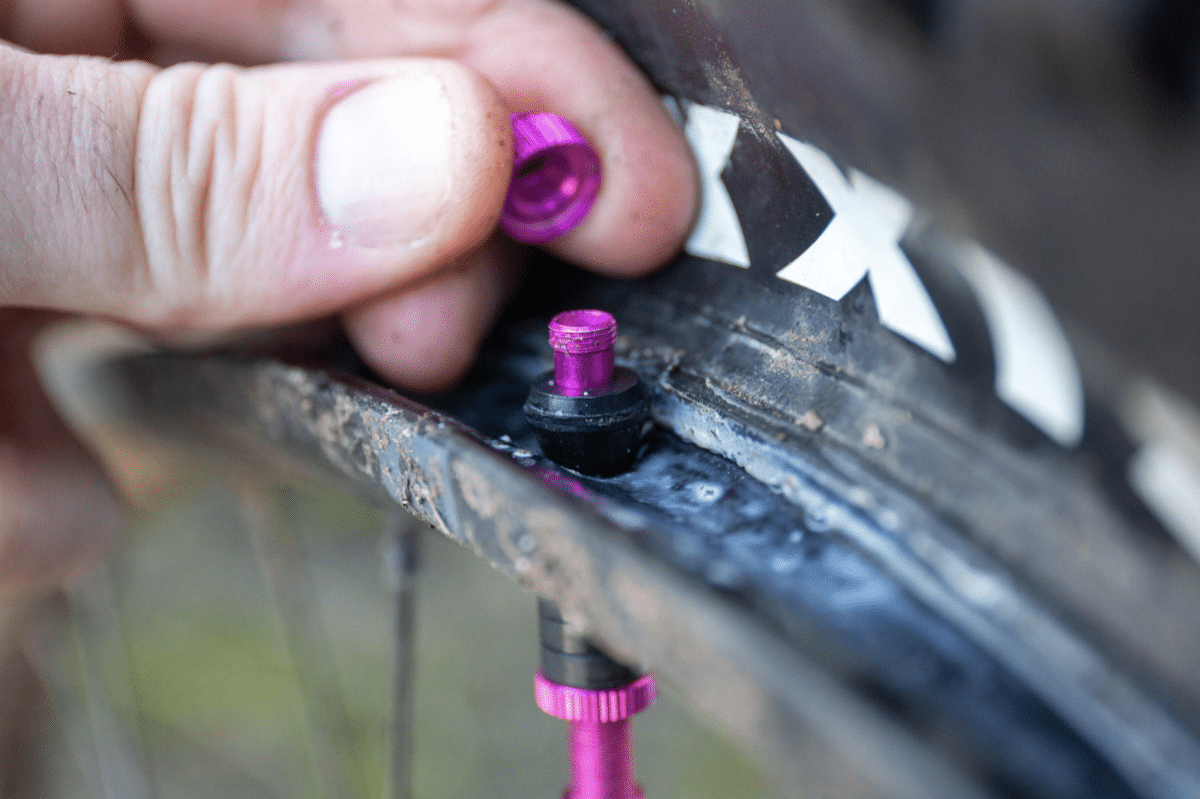
The tubeless valves that you’ll need for this setup actually have the exact same function as what your regular inner tube Presta valve would have. These valves will usually be fitted through a hole found in the wheel.
When you’ve slotted this valve through the hole and tightened the lockring down then it’ll essentially create an airtight seal around the valve hole and the rim tape.
A good tubeless valve will come with a removable core, which is quite nice to have as it helps with the initial inflation and seating of the tyre. Another reason why this is quite a nice feature to have is that if the valve core ever becomes clogged up with sealant or any other unwanted dirt then you’ll be able to either clean or replace it easily without having to unseat the whole tyre.
Sealant
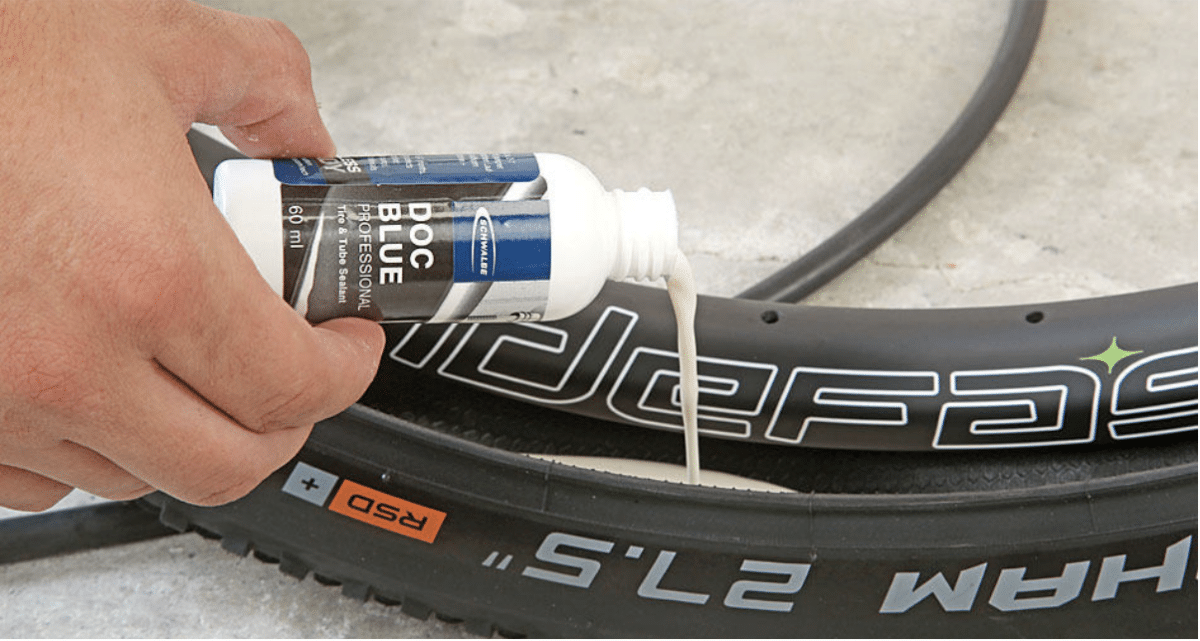
For tubeless tyres, probably the most important component is the sealant, which is a liquid that has been designed to plug small holes in a tyres casing. This means that whenever you get a small puncture you won’t have to stop and fix it, instead the liquid will fix it on its own and you probably won’t even notice that you ever had a puncture.
A Tubeless-Ready Rim
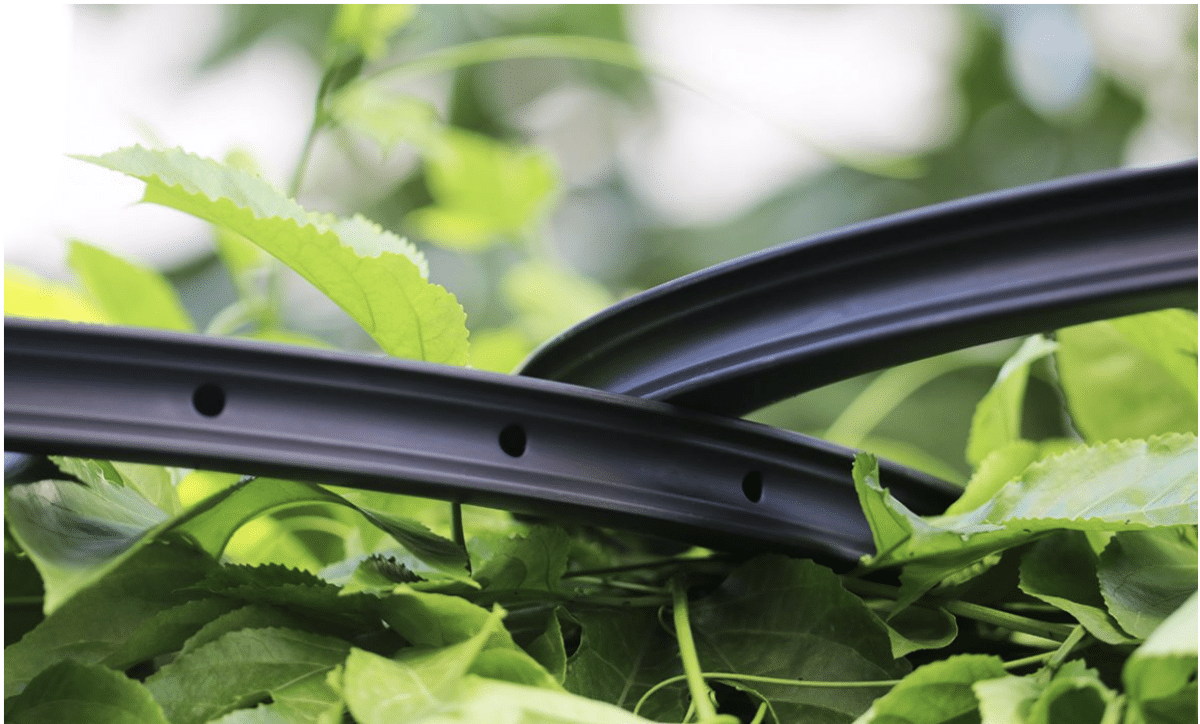
Much like the rubber tires they pair with, tubeless-ready road rims present a seemingly indistinguishable appearance from their conventional ‘tubed’ counterparts. After a careful examination, however, it unveils subtle differences.
The critical distinction resides in the rim’s bead hook profile, where the tire’s bead interfaces with the rim. The rim’s well, in some cases, tends to be slightly deeper. Notably, a handful of rims, primarily hailing from manufacturers like Mavic, adhere to the UST (Universal System Tubeless) standards. Among the many requirements, this standard mandates that the rim should be hermetically sealable without the need for additional tape, and the rim bed should be devoid of any perforations.
While such UST-compliant rims are relatively rare, the majority of road and gravel rims embrace the traditional drilled bed. A noticeable evolution in recent times is the ascendancy of hookless rims in this domain. These rims exhibit straight, vertical sidewalls, distinct from the traditional bead hooks, and they are typically exclusive to tubeless tire applications.
Should your choice of rims align with the hookless design, it’s crucial to make sure that your tyre that you are going to be running is compatible with it. It’s also essential to adhere to the prescribed ETRTO (European Tire and Rim Technical Organization) guidelines, which recommend not exceeding 73 psi (pounds per square inch) when inflating the tires to maintain optimal safety and performance.
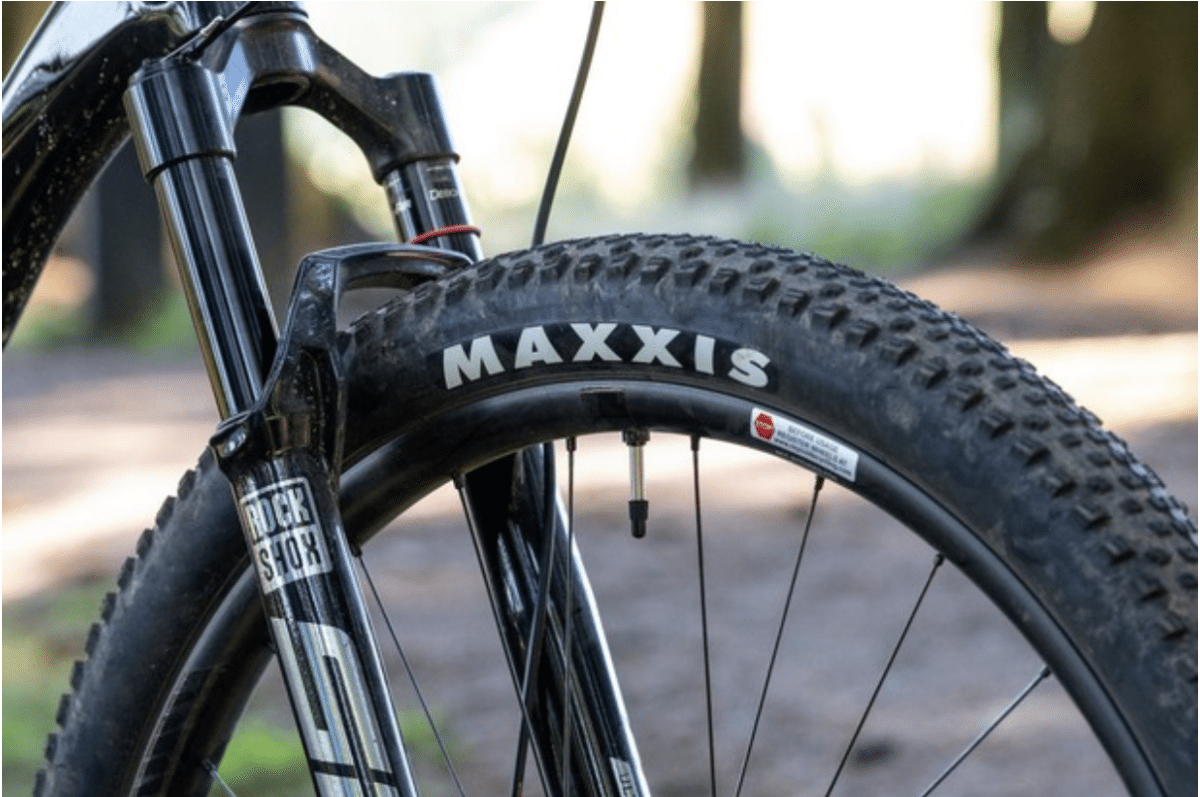
Tubeless Tyres

If you just have a quick glimpse at a tubeless tyre, you’ll probably not be able to tell the difference between that and a regular tyre straight away, however just like the tubeless rims, if you take a closer look then you’ll start to notice some subtle and critical differences.
The two main differences that you’ll have between these two types of tyres is their dimensions and profile of the bead. The bead of a tubeless tyre is usually a little bit smaller and has a bead profile that has been designed to specifically interlock with the unique hook of the tubeless rim.
The process of finding out whether or not a tyre is tubeless compatible is pretty straightforward as a lot of the brands will usually include a note on the actual tyre itself. An example of this is seen on the tubeless tyres from WTB, which actually feature a “TCS” graphic on them, which stand for tubeless compatible system.
Most of the time, you’ll experience that performance mountain and gravel bike tyres are tubeless compatible, however it isn’t always the case, so just to be 100 percent sure, it is always a smart idea to check.
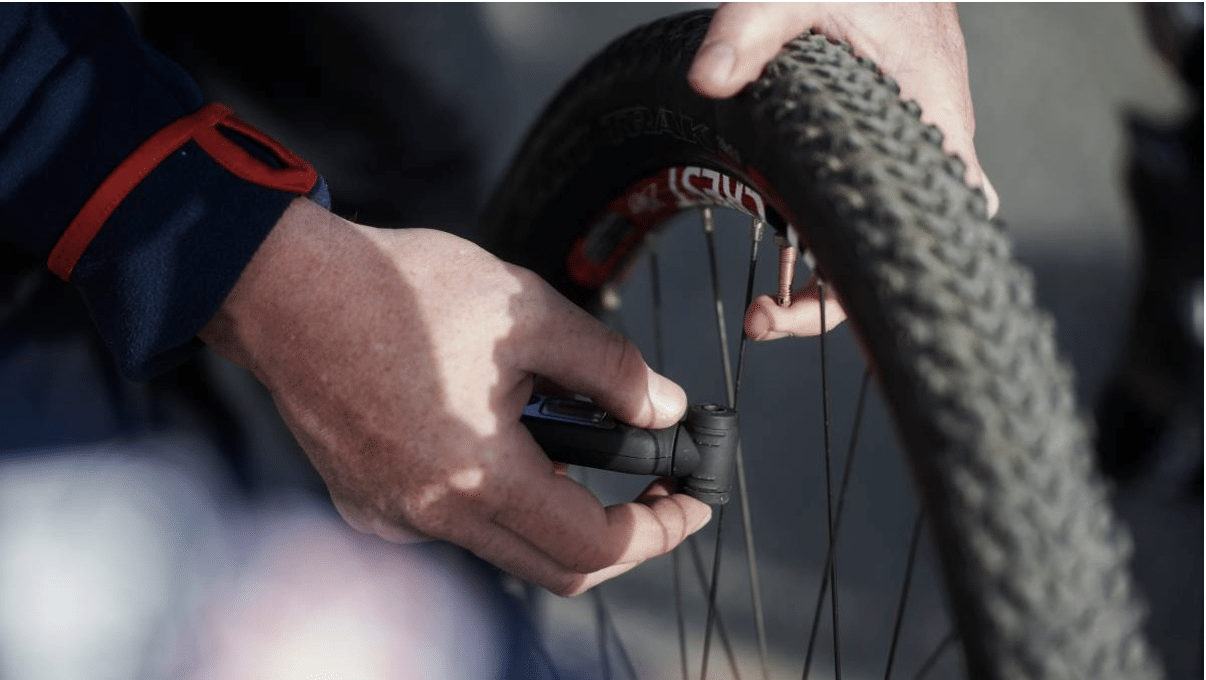
Tubeless Pump
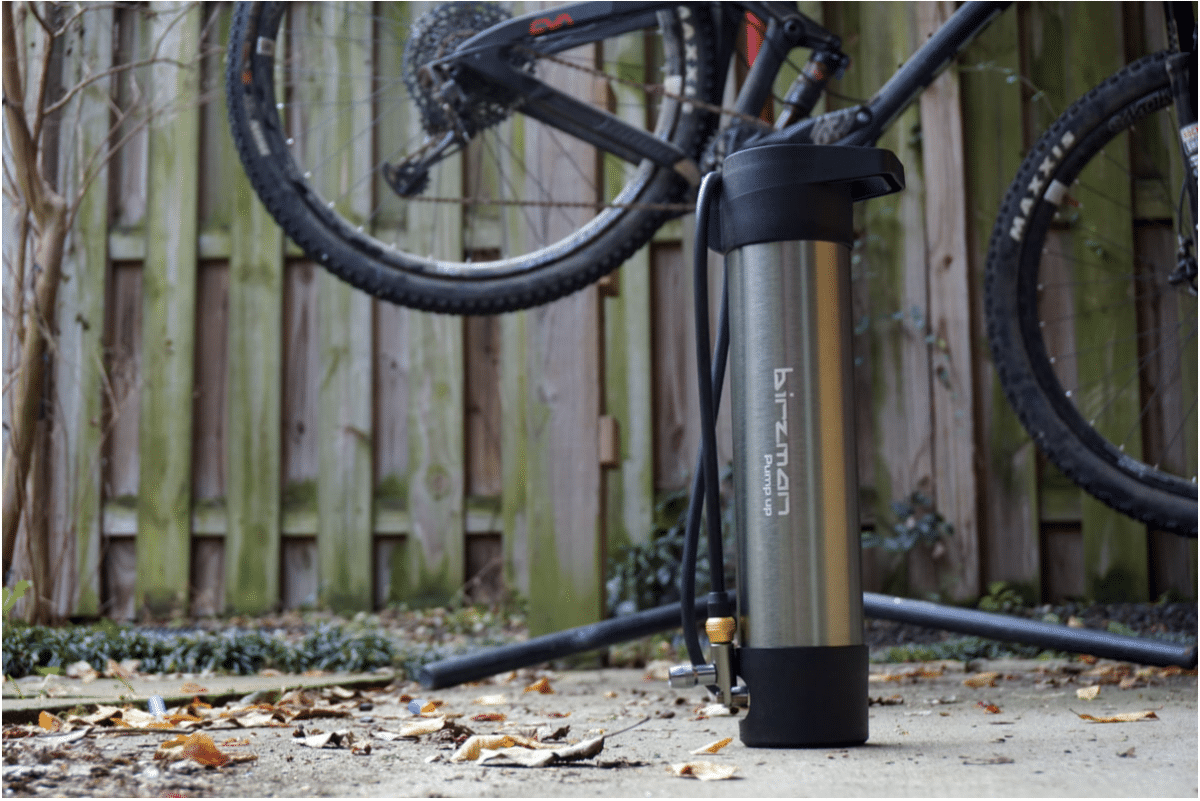
A tubeless pump is nice to have but it isn’t essential to setting up tubeless tyres. In order to get your tubeless tyres to seat properly, you’ll be required to blast a lot of air quickly into your tyre. A tubeless pump incorporates an air chamber, which you will pump up first so that it is filled up with air and then when you’re ready you can discharge all of the air into the tyre in one hit.
If you don’t have a tubeless pump in your arsenal then you don’t have to go run an purchase one as a lot of tubeless tyres will seat with a typical track pump or floor pump. If you are struggling a bit to get it to seat properly then you could also try to use an air compressor, which you can find a lot of the time at a petrol station. If you do choose to go down this route though, it’ll be important for you to make sure that you use a Presta valve adapter on the head of the compressor that you’ll be using.
As a last resort and in case of an emergency you could also use CO2 inflators, however these are definitely not recommended because a lot of the time they aren’t compatible with the sealant and could cause the sealant inside your wheel to harden.
Final Word
So there you have a full checklist of everything that you’ll need to have in order to set up a tubeless tyre all by yourself anywhere that you may be. Having all of these things is one thing but knowing exactly how to set up the tubeless tyre setup is also really important to know before you try to tackle this challenge completely blind.