A relatively new addition to the mountain biking world has been the use of tubeless tires and with every year they seem to be gaining more and more popularity amongst all riders. The first conversion to tubeless tires had been made on cars many many years ago, so it was just a matter of time till we saw these changes in the biking world as well.
If you are a rider who is still on the edge of following the trends and isn’t sure whether or not it is time to go tubeless then hopefully this article will be able to help you make a decision.
How exactly do tubeless tires even work
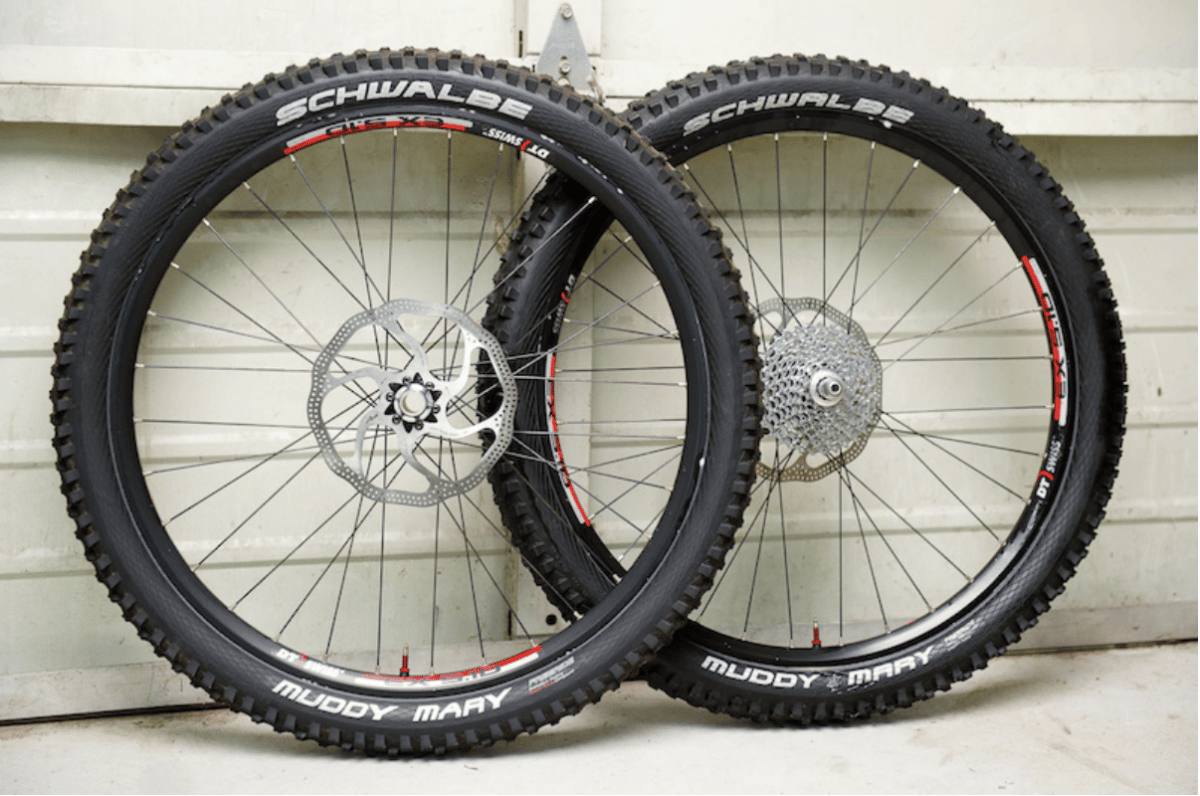
To figure out which setup you want to be running on your mountain bike it is important to know how tubeless tires even work in the first place so you can make a better educated decision. For your bike’s tire to become tubeless, you’ll have to have a tire that’s beads are able to lock securely onto the rim. Everything on your wheel, including your tire, rim and valve, have to be completely airtight, in order to be able to hold in all that air without a tube inside. Then lastly you’ll need a special type of sealant in order to make everything work.
Pros and Cons For Running A Tubeless Setup
Pros
- Fewer flats
- A better overall ride
- Weight saving
Cons
- Expensive
- Take longer to mount
- You’ll have to carry a backup tube
- Dealing with sealant
Pros
Fewer flats
When you are riding and hit a large rock or any object with force then there is a chance that the object you’re colliding with can squeeze against your rim forcefully enough to actually be able to tear the tube that is inside. These types of flats are called a “pinch flat” or “snake bite” and are very annoying to have to deal with when you are in the middle of a ride. If you make the decision to convert your setup to tubeless then you won’t have to worry about needing to ever fix a snake bite ever again.
What’s more is that even your more calm puncture flat will be less common thanks to the sealant that is put into the tires of your bike when the tubeless tires are being mounted. So, when you come home from a ride and look at your wheel and spot any thorns stuck in your tire you can rest easy knowing that your sealant will be able to fix these small punctures.
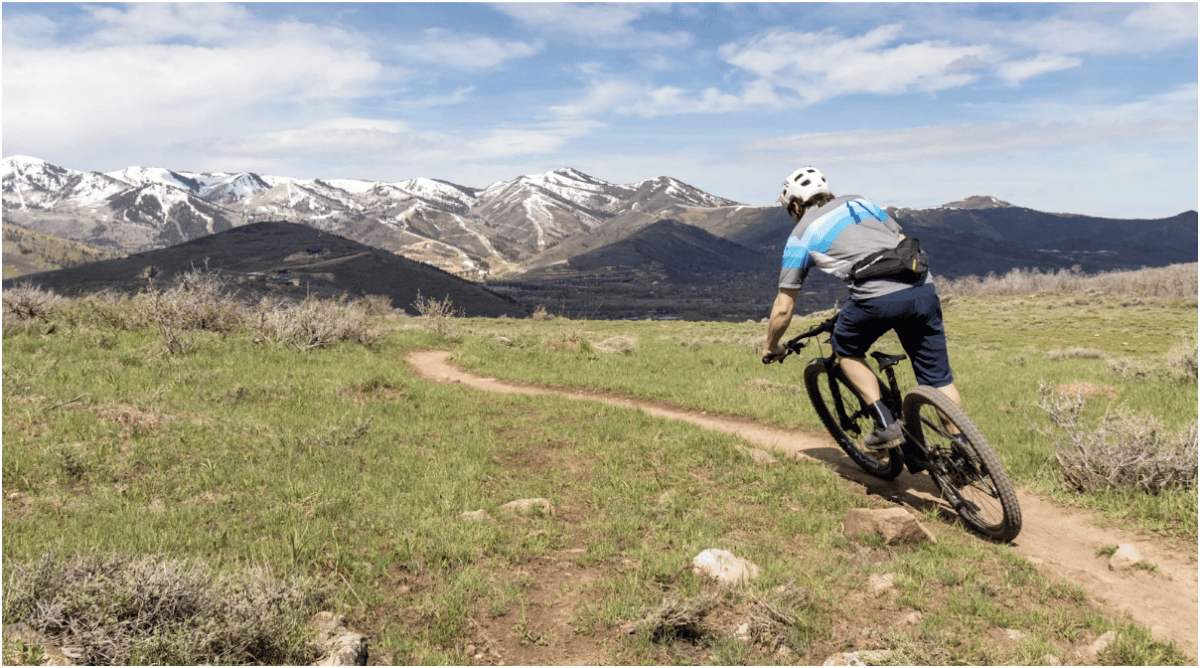
A better overall ride
A lot of riders over the years of using tubeless tires have explained that when they remove the tubes from inside their tires they actually develop a better feel on the trail. Since you don’t have to worry about any snake bite flats you are able to run tubeless tires at a much lower pressure than if you had tubes in them. By running your tires with less pressure you’ll be able to have more tire tread contact with the ground and thus will result in you having a lot more traction and will definitely help you around corners.
When you run your mountain bike’s wheels at a lower PSI you’ll also notice that you are able to keep your momentum a lot easier because your tires conform to the obstacles that you’re riding over, instead of bouncing on these obstacles like you would with a higher tire pressure. Since your tires will be able to absorb these blows, with the lower PSI, it’ll also make for a much more comfortable ride.
Weight saving
Since there are a few different ways to go tubeless, it is pretty hard to know exactly how much weight each rider will be saving by doing so. Most standard tubes weigh 200 grams so by removing these you’ve already saved 400 grams by converting the rear and front wheels to tubeless. However, these saved grams are almost cancelled out completely because the new tubeless wheels and tires come with an inflation valve and sealant inside, but overall the setups are normally a few grams lighter than tubed tires.
Even though there isn’t a lot of weight being saved, the fact that these few grams are saved in the wheels actually makes a lot of difference since it’s a rotational component of the bike. This means that your bike will require less energy expenditure from you as you are riding, meaning that your legs will be able to get a little break.
Cons
Expensive
For you to run a tubeless setup you will have to purchase tubeless-ready tires and wheels, which do cost more than your regular tires, but with tubeless tires and wheels you’ll generally be able to get more value for your money. When you look at the most-advanced tires and wheels that top brands are offering you’ll often see that they are already tubeless ready, meaning that when you are in shopping for these tubeless components you’ll more than likely get the most advanced rubber compounds and the strongest and lightest wheels.
Take longer to mount
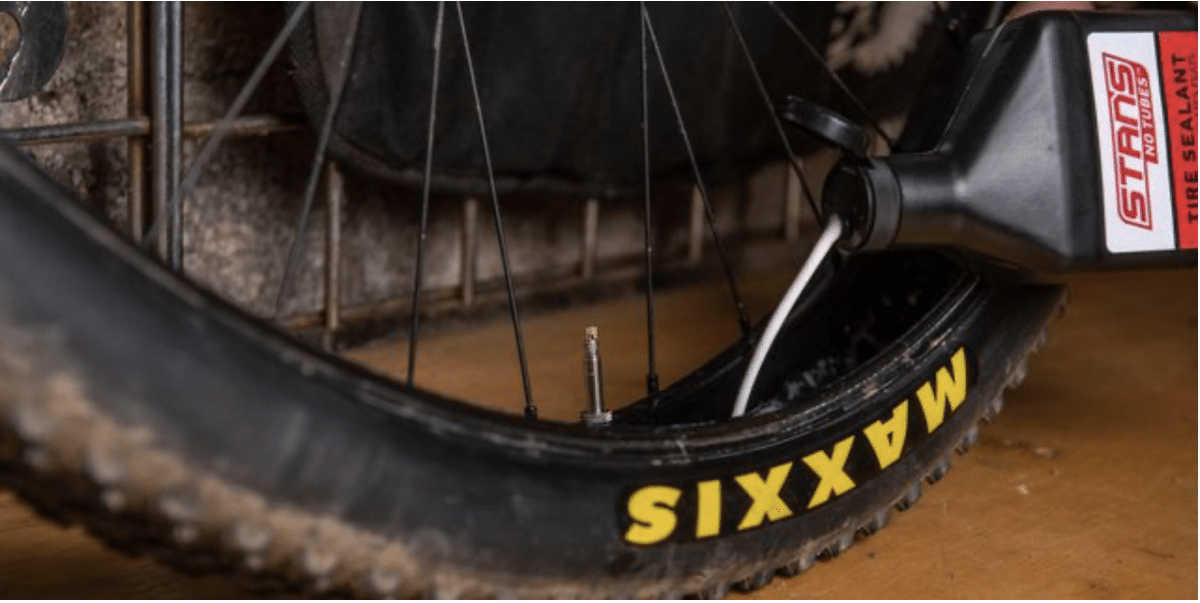
If it is your first time installing tubeless tires then you have to be prepared that it is a lot trickier to setup compared to your regular tubed setup. One of the biggest challenges that you’ll have to overcome is getting the tire bead to sit perfectly on the rim, because the seal has to be airtight so there is no room for error here. Once you’ve done this you’ll need to then add sealant into the tires and quickly add a lot of air to fill the tires.
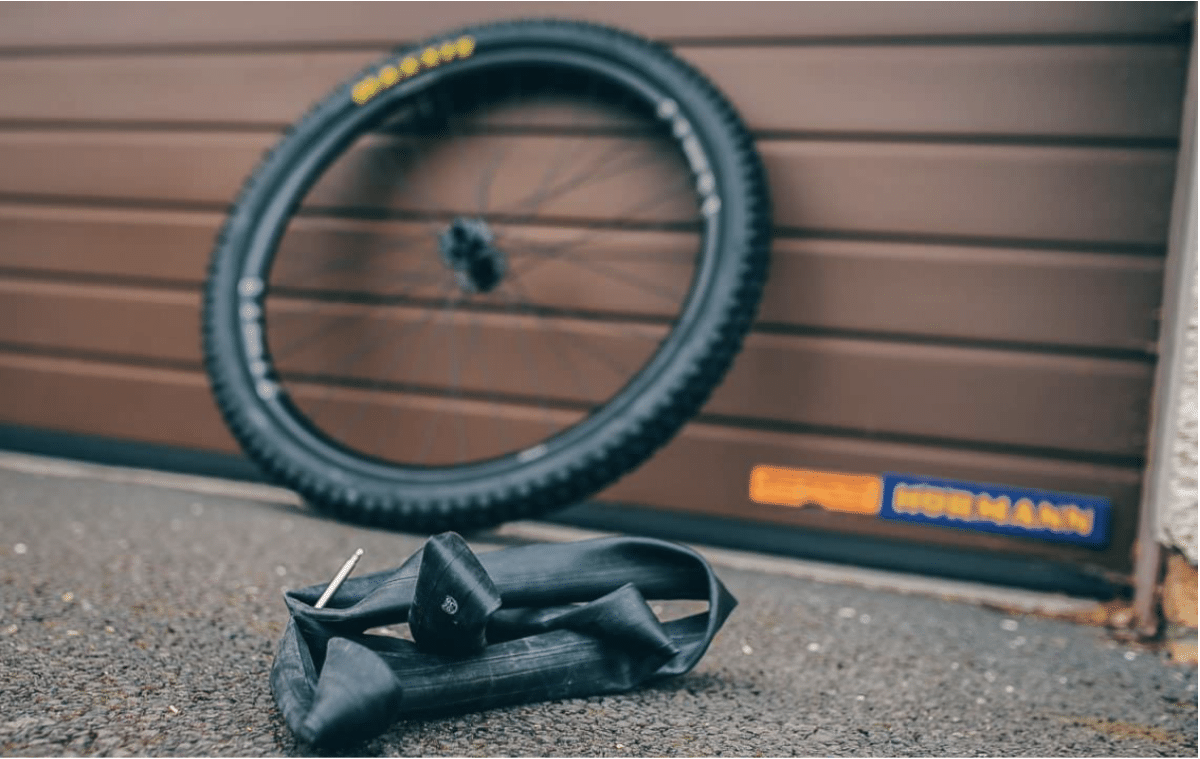
You’ll have to carry a backup tube
If you are in the middle of a bike ride and you suddenly do get a flat, it’ll be because there has been a breach in the tire that is too big for the sealant to be able to repair itself, meaning that yo be able to fix this problem on the go you’ll have to put a tube back into your tire. This means that each time you go out on a ride you’ll have to carry a backup tube for these situations.
Dealing with sealant
If you have ever installed a tubeless tire before then you’ll already know that having to deal with sealant and adding it into your tire for that airtight seal can be an extremely messy process. Then if anything happens during your ride that could cause your tire to get gashed enough to splatter sealant onto your components or clothing then you won’t have a lot of fun trying to clean off the sealant because it’s very hard to clean.
Tire sealant can also dry out or dissipate which means that you will have to add tire sealant to your tires now and again in order to keep your tubeless system running well. This isn’t such a big disadvantage because you’ll only have to do this every few months, if you live in a place with quite a warm climate, and sometimes even only once a year, if you’re living in a cool climate.
Different ways to go tubeless
Just buying Tubeless-Ready Wheels and Tires
The way that you will tell if a wheel or tire is tubeless is by checking the object itself or the packaging it comes in. more often than not they will have terms such as “tubeless ready”, “tubeless compatible” or “UST”, which means Universal System Tubeless, which will mean that they support tubeless systems.
The reason that you will need to invest in UST rims and tires instead of normal ones is that these will be easier to mount, since the tire beads are designed to lock onto the rim a lot better. Since these wheels and tires will be more airtight than traditional wheels and tires it means that you won’t have to use as much sealant when you are mounting them. The disadvantage that these UST components have is that they are heavy, which is why we see other tubeless-compatible systems rising in popularity.
A cool thing about if you have a bike that is relatively new is that they more often than not come tubeless-ready already, so it will definitely be worth just double-checking before you go and spend extra money unnecessarily. A lot of the high-end models nowadays come with tubeless-ready setups but have a tube inside of them because it is just easier that way to set up these bikes in the shops or the show rooms.
This first way of going tubeless is definitely the most expensive way on this list because you might have to buy new rims and tires, but they are also definitely the easiest to install onto your bike and since they were designed to be tubeless they also have the most reliable bead-to-rim seal. All that you will have to buy after you’ve got these wheels and tires is buy the sealant as well as the valve stems, but after this you should be all set for your upgrade.
Convert your current wheels and tires using a conversion kit
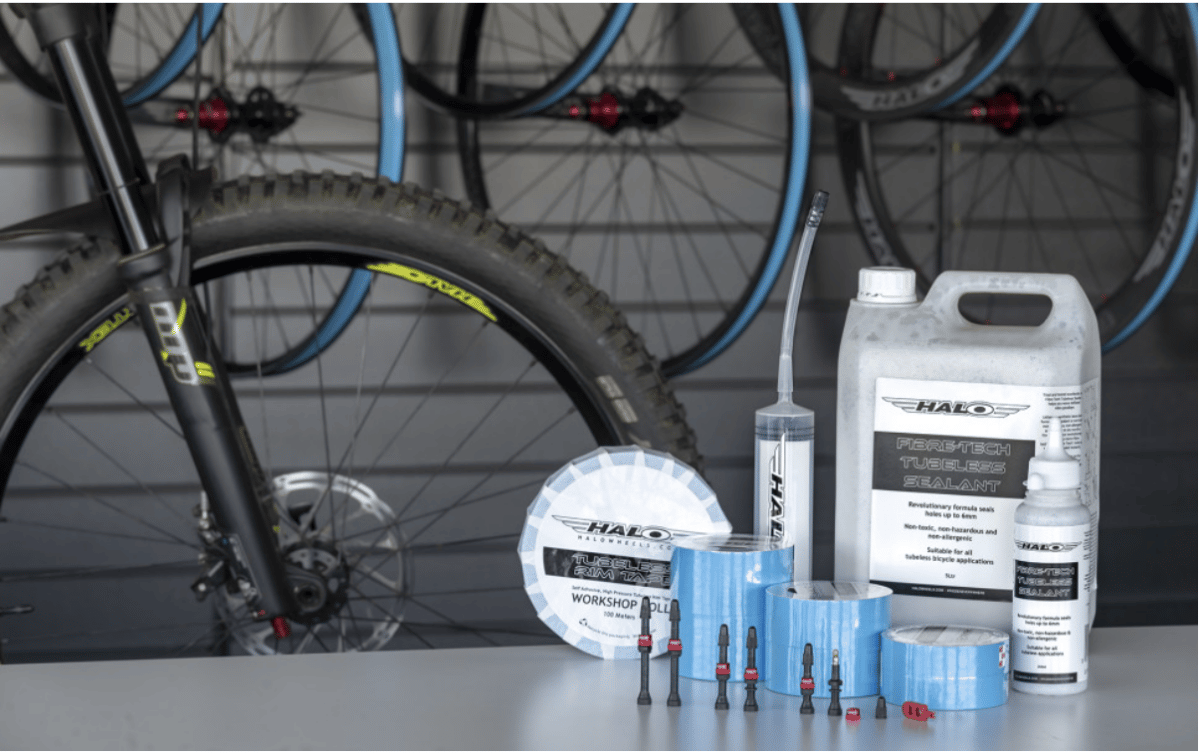
It is possible for you to convert almost any wheels and tires into a tubeless solution, by using a tubeless conversion kit. If you decide to go this route you will need to be ready that the whole process can either be extremely challenging or very easy, it will just depend on whether or not there will be a lot of air leakages in your non-tubeless ready components. These tubeless conversion kits will normally set you back around $70 but you will be able to cut this cost by buying each of the components that you need individually. At the bare minimum you will have to be ready to buy sealant, rim tape and a valve.
Tips to remember while mounting tubeless tires
Don’t be aggressive on the tire levers
If you aren’t too careful with your lever that you’re using, specifically the metal ones, then you may just kink the bead and actually create a leak yourself. So, remember that if you are going to be using any levers, no matter the material, you should always be extra careful with them. If you are struggling with coaxing the tire bead up over the rim, then a tip to you would be to try and use some soapy water.
Use an air compressor
If you are doing this at home for the first time, you may not have thought of using an air compressor, but it would be a good idea to buy one if you don’t already have one. The use of an air compressor will easily and quickly solve the problem of you having to fill up your tire fast enough with air in order to seat the bead into the rim. Another thing that you can use, that is actually a good thing to carry around with you even when you are riding, is a small CO2 cartridge, but these should only be used if you have to because if you have to do more than just one inflation it can get pretty expensive.
Remove the valve core
If the first thing you do is remove the valve core then you’ll actually notice that the tire will fill much faster, so that you are able to seat the tire bead onto the rim completely. Once you’ve done this correctly you can go back and actually replace the valve core and then inflate your tire to the PSI that you desire.
Putting in a tube could help
If you are struggling with this tubeless upgrade and the tire’s bead isn’t seating good enough then you could actually try inserting a tube. If you leave the tube inside of your tire overnight and come back the next day you will actually notice that the tire should go back to its original shape.
Final words of motivation
If you are a rider who is able to change your bike’s tire and are pretty good with following directions then there is no doubt that you will be able to do your own tubeless upgrade at home. If you get unhappy or unmotivated because you are having a couple of setbacks then it is important to remember not to give up because there are many people, even veterans and professionals that still mess this up sometimes. If it does turn out to be too much for you then there is always still the option of you just taking your bike to your local bike shop and having them do it for you, just at a higher price.