Lots of people think to take good looking photos you need to spend an insane amount on all the best camera equipment and courses but while this is true to some extent you can still take amazing photos with just your iphone! Iphone 14 pro has an even better camera.
Nowadays people already have a professional quality camera in their phone that they just don’t know how to use to its full potential yet. So to help you capture important moments or just things you think look cool here are a few tips to help you.
1. Show depth in your photos.
Most people find pictures more pleasing when they are able to convey a sense of depth from the photo because by creating depth in photos you actually draw the viewer’s eye into the scene you’ve captured. This technique is one of the most important techniques that should be used when photographing landscapes.
You could be wondering how to capture depth? I thought it was as easy as point and shoot. Well there are several techniques used to create depth in photos, one of the most powerful methods being leading lines in your composition.
Leading lines could be anything, from roads, paths, rivers or you could even use the beach break if you’re at the beach. All these are examples of excellent leading lines.

If you don’t have anything you can use to lead the viewer’s eye deeper into the photo you could also use random objects that you can place in the foreground of the photo such as rocks, flowers or whatever you find interesting.

If you are having trouble finding something to place in the foreground of your photo you could try to shoot from a lower angle and focus on the terrain more such as tall grass, plants or even a boat.

A good thing to remember when you’re taking pictures is to try and include subjects in the foreground, middleground and background. Just implementing this one tip will make all your pictures more three dimensional and take them to the next level.
2. Taking silhouette photos
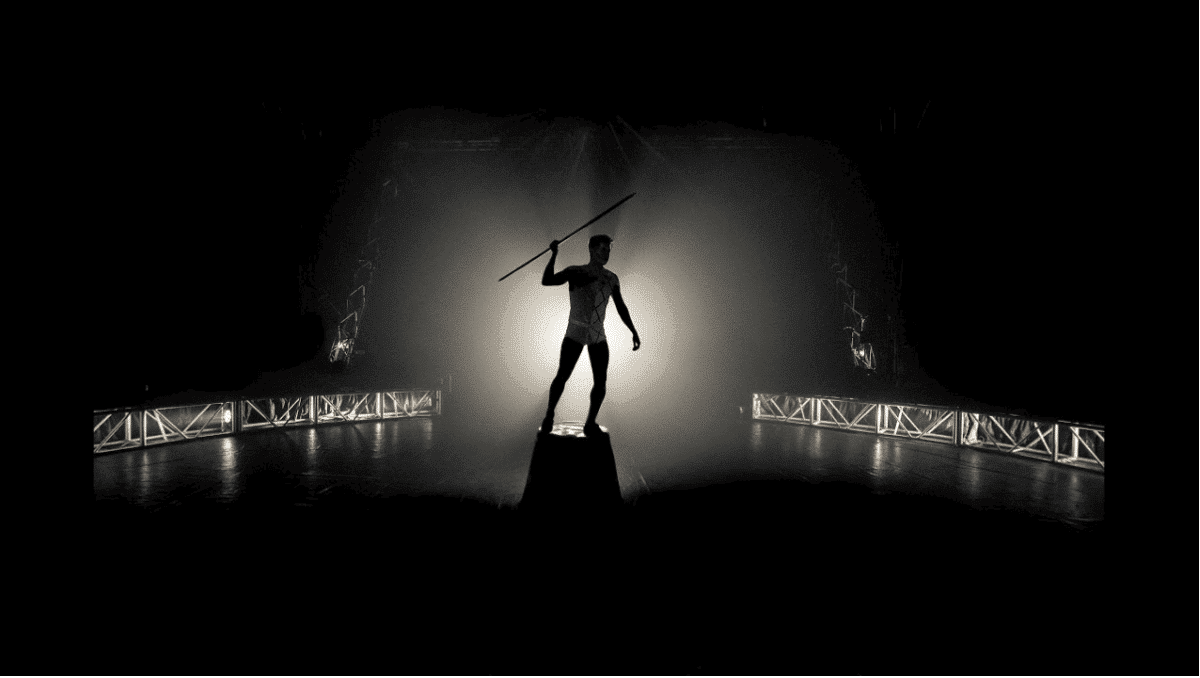
A silhouette is created when the object you’re taking the photo of is against a bright light, such as the sun, and it creates a dark shape of the object’s outline. This technique is very popularly used during sunset pictures.

Silhouettes can create beautiful photos and immediately catch a viewer’s eye despite what you might think, this technique is very easy to learn and start implementing.
So what exactly do you need to do to create this silhouette effect in your photos? First you’ll need to find an interesting subject you want to make the silhouette and then just shoot towards the light source.
To ensure that you get the best results and ensure that your silhouettes are dark you can tap to set the iphone focus, on the light source, when you’re in the camera app and swipe down to darken the exposure. You could always just edit the silhouettes afterwards as well to make them darker but by doing it in the camera app first it could help minimise how much you have to do afterwards.

Although the most popular place to take silhouette photos is outside with the sun, you can still take good photos indoors as well. As long as you have a light source that is behind your subject in the photo you’ll be able to create a silhouette.
If you’re planning to shoot indoors then it’s important to have a light source such as a window or artificial light, like a lamp, behind the subject of your photo.

Silhouettes are an extreme way to create a dramatic and eye-catching image. If you’re looking for a way to capture a viewer’s attention easily and immediately this could be the best tip you learn today.
3. Use symmetry
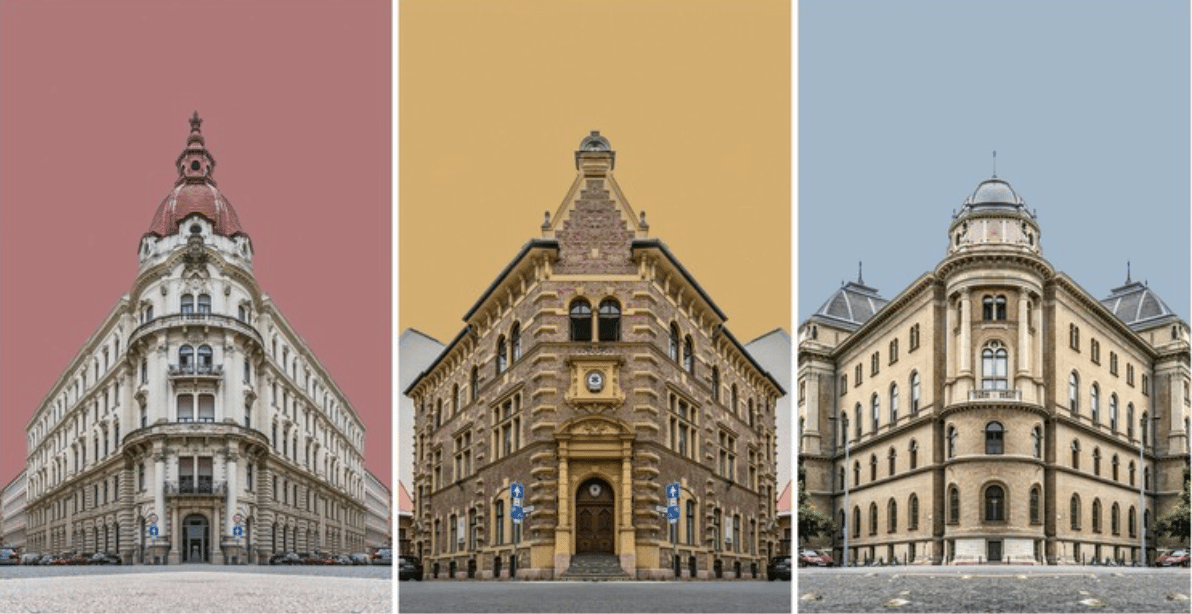
To help you create a very pleasing and striking image you can use symmetry or geometry in your photo. This could also make photography more fun as it provides you with a challenge to find symmetrical scenes to photograph wherever you are. The idea of symmetrical photography is to create a shot where both halves of the photo are identical or very close.

Reflections, such as the image above, is an easy way to create this symmetry because it already creates an exactly symmetrical image for you. The line of symmetry should be positioned across the centre of the image or frame to create the perfect symmetry.
Reflections are just one example of how symmetry can be achieved, there are many others. Another example is architecture. These objects made by us are often designed to be symmetrical already to make them look better.

These types of photos can be easy to photograph once you find the line of symmetry in your subject.
4. Using diagonal lines
If you’re serious about bettering yourself at being a photographer or even thinking of becoming professional you’ll need to develop an eye for balanced compositions.
Using diagonal balance in your photography is one of the best tips for not just iphone photography but all photography for creating visual harmony in your shots.

If you’re trying to photograph two or more subjects in your scene it is a good idea to place them in a diagonal alignment. This is one of the easiest ways to help create a more balanced composition and not only that but also helps encourage the viewer’s eyes to follow this line and flow through the scene as a whole.
If you have all of your subjects placed on one side of your photo it can make your whole image look unbalanced and uncomfortable for the viewers to look at. Once you start using diagonal balance you will see the difference in impact that your image will create for others.
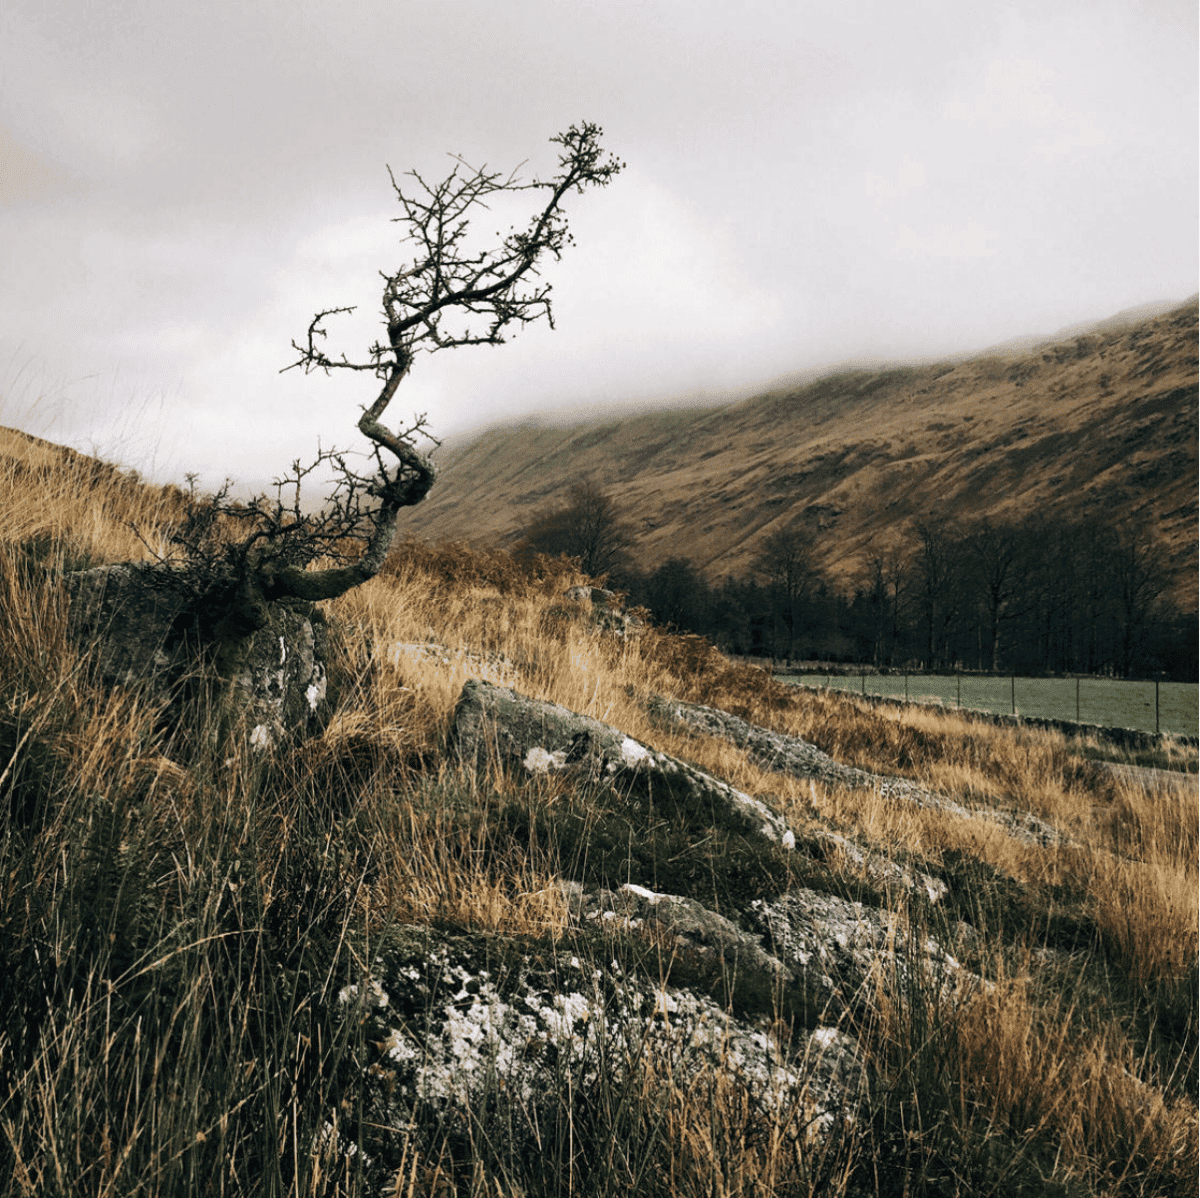
In certain scenarios however you won’t be able to control your subject placement like in landscapes the objects are often too big to move or don’t move at all. If you find yourself in an environment like this you should try to move the only thing you can, yourself. Try and find a point of view where the main subjects appear to be in diagonal alignment.

As we can see in this image above, the vegetation creates a natural diagonal line and achieves a balance with the mountains and rocks seen in the distance.
Once you’ve trained your eye to be able to notice these diagonal lines of subjects you’ll be able to compose your shots with that balanced composition much easier. This technique makes your photos more engaging for the viewers as it provides a journey for their eyes and leads them places within the image.
5. Use Panorama Mode
There aren’t actually many people that use panorama on their iphones even though it can make a huge difference in one’s photography while still being super easy to use.
Beautiful sunsets often have a low angle of light which adds contrast and depth to a scene you’re photographing. An amazing way you can capture the whole sunset in all its glory with the contrast and depth is by using panorama mode on your iphone.

This photo, seen above, was taken in panorama mode and thus is able to include both the darker foreground in the scene as well as the burst of colour that the sun created on the mountain in the middle ground in the distance.
The panoramic mode on your iphone is similar to the camera but the biggest difference is the huge difference that this mode can capture a much more expansive view, more contrast and even a wider range of light as seen in the sunset image going from darks to lights. This is just an overall amazing tool that can help you capture even more interesting sunset photos.

