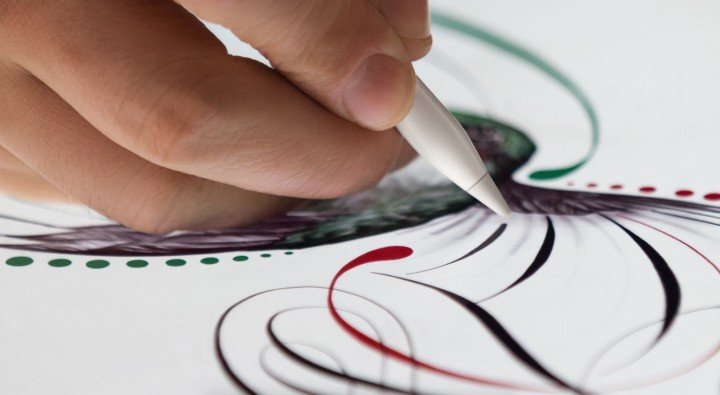
Connecting an Apple Pencil to an iPad is a simple process. With just a few steps, you can get your Apple Pencil up and running on your iPad.
7 Simple steps to connecting your Apple Pencil to iPad
Step 1: Get the Apple Pencil
If you don’t have an Apple Pencil yet, you can purchase one from the Apple Store (or online). Make sure you get the right model for your iPad.
Step 2: Turn on the iPad
Turn on your iPad and make sure it is fully charged.
Step 3: Remove the Cap
Remove the cap from the end of the Apple Pencil (the one with the lightning connector).
Step 4: Connect the Apple Pencil
Plug the Apple Pencil into the Lightning port on the iPad.
Step 5: Wait for the Connection
Wait a few seconds for the connection to be established between the Apple Pencil and iPad.
Step 6: Check the Battery
Once the connection is established, you can check the Apple Pencil’s battery level.
Step 7: Start Drawing
Now you’re ready to start drawing, writing, or sketching on your iPad with the Apple Pencil.
That’s it!
You’re all set up and ready to go. Enjoy your new Apple Pencil and iPad.

